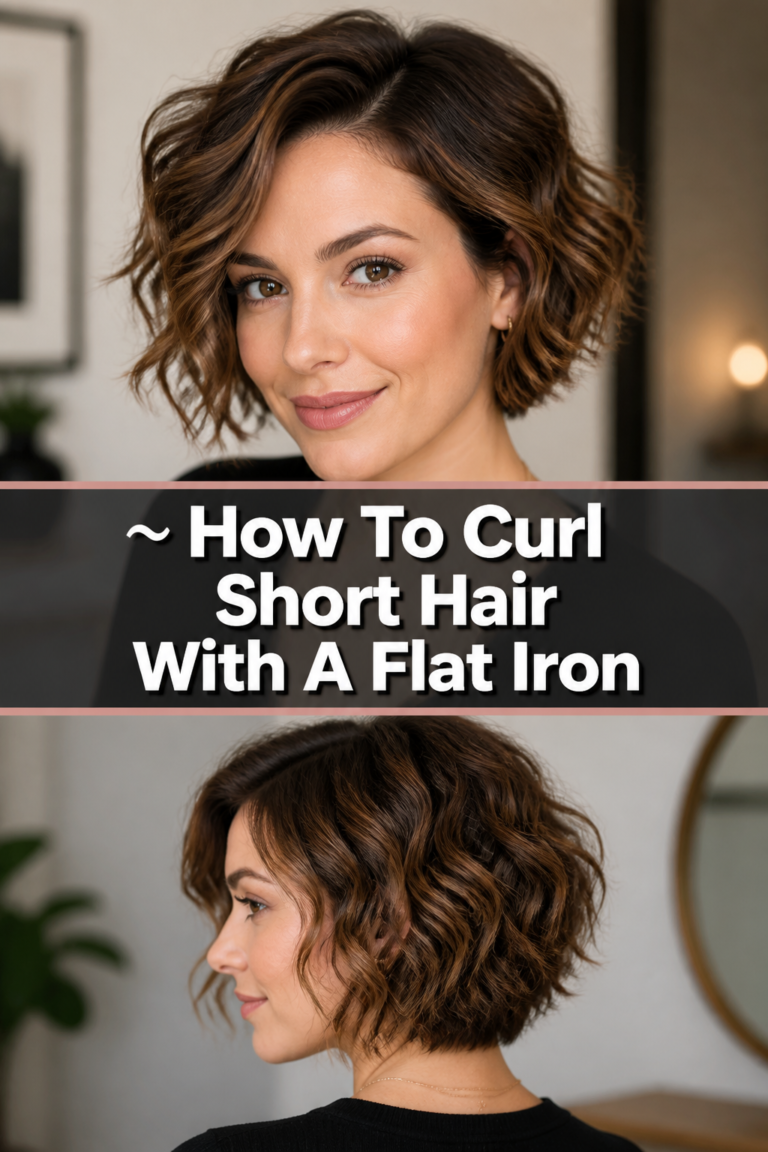
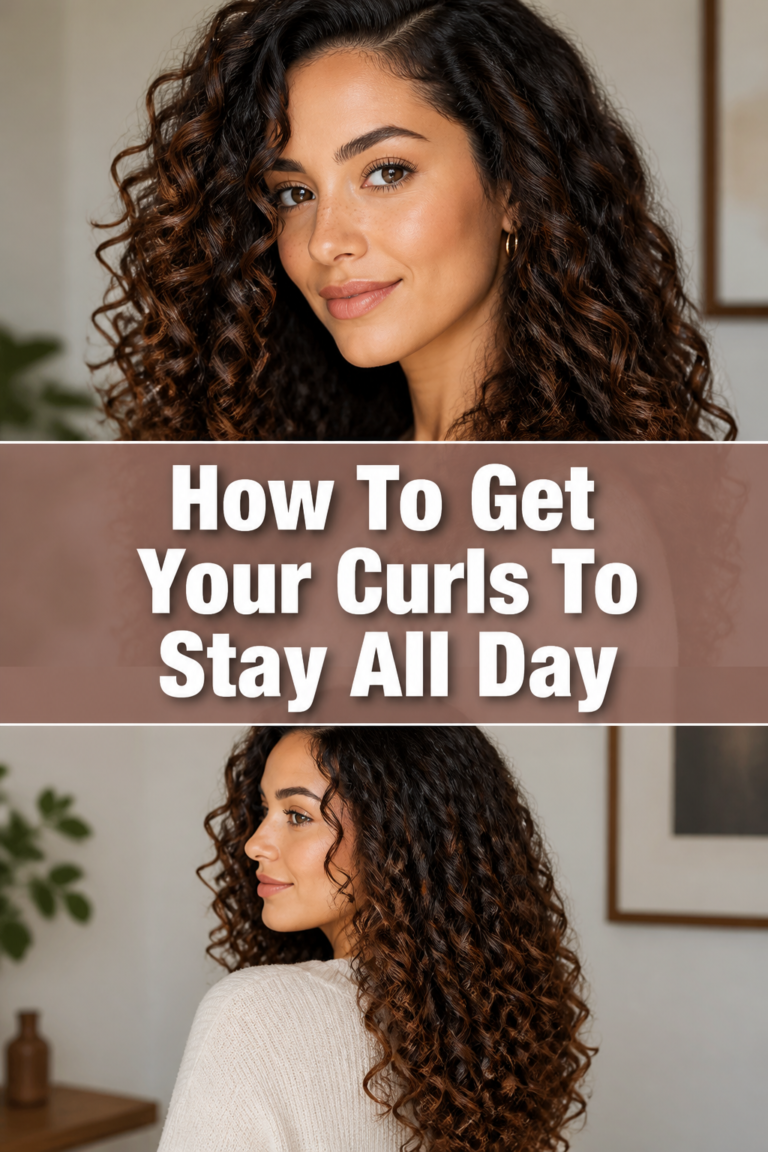
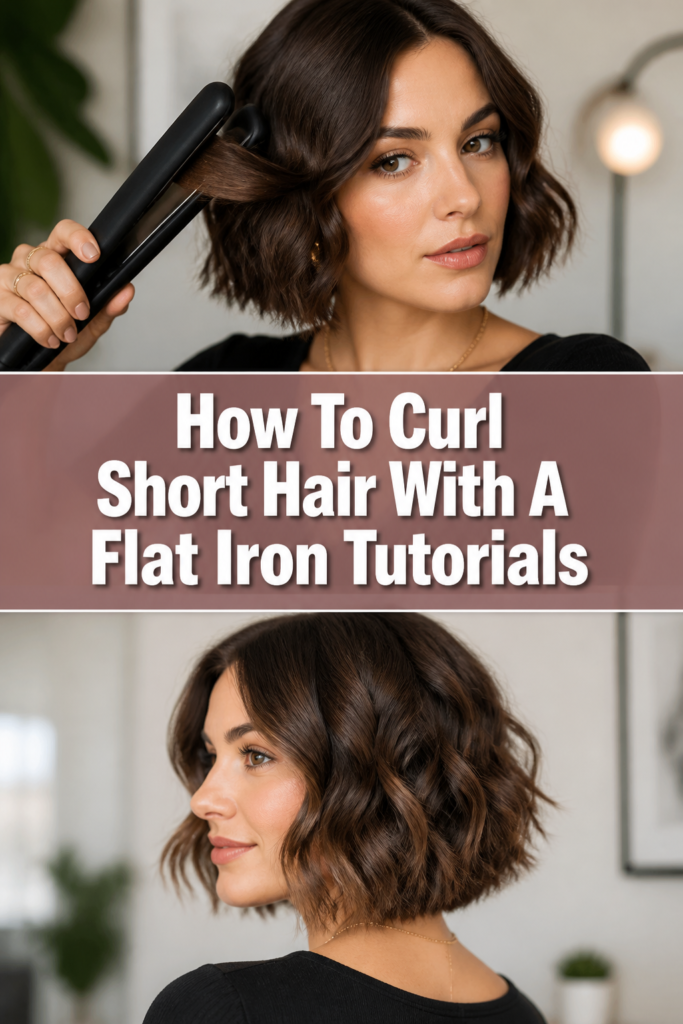
✨ How To Curl Short Hair With A Flat Iron Tutorials
Short hair can sometimes feel limiting when it comes to styling, but I’m here to tell you it’s not!
I’ve personally spent countless hours perfecting flat iron curls on my own bob and countless clients, transforming straight strands into bouncy, textured waves.
This guide shares my tried-and-true techniques, making stylish curls accessible and achievable for even the shortest cuts.
Quick Overview
- Time needed: 15-30 minutes (depending on hair length and density)
- Difficulty: Beginner
- What you’ll need: Flat iron (preferably 1-inch or smaller), heat protectant spray, hair clips, fine-tooth comb, light-hold hairspray.
Step-by-Step Instructions
Step 1: Prepare Your Hair
Start with clean, completely dry hair. Any dampness can cause damage and prevent curls from holding properly.
Thoroughly detangle your hair using a comb or brush. Smooth hair is essential for snag-free curling and even results.
Apply a high-quality heat protectant spray generously throughout your hair. This crucial step shields your strands from heat damage and helps lock in moisture.
Pro Tip: For extra hold, apply a lightweight mousse or styling cream to damp hair before blow-drying. This adds a subtle grip for better curl retention.
Step 2: Section Your Hair
Divide your hair into manageable sections. This makes the curling process more organized and ensures you don’t miss any spots.
Use hair clips to secure the top and middle layers of your hair, leaving only the bottom section exposed. For very short hair, you might only need two or three sections total.
Start at the nape of your neck and work your way up. Each section should be small enough to fit comfortably within your flat iron plates.
Step 3: Choose Your Flat Iron Technique
For short hair, the “rotation” method often works best, creating soft waves or defined curls.
You’ll be clamping the hair, rotating the iron, and gliding it down. Ensure your flat iron is heated to the correct temperature for your hair type – lower for fine hair, higher for thick or coarse hair.
Practice the motion without heat first to get a feel for the movement.
Step 4: Curl the First Section
Take a small, 1-inch section of hair from the bottom layer. Open your flat iron and clamp it around the hair, about an inch or two from the root.
Gently rotate the flat iron 180 degrees (half a turn) away from your face. Maintain a firm but not crushing grip.
Slowly glide the flat iron down the hair shaft, keeping the iron rotated. The slower you glide, the more defined the curl will be.
Pro Tip: Angle the flat iron slightly downwards as you glide. This helps create a smoother curl and prevents creasing.
Step 5: Work Through Remaining Sections
Continue this process, working through the entire bottom layer of your hair. Take consistent sections to ensure uniform curls.
Once the bottom layer is complete, release the next section of hair from your clips. Repeat the clamping, rotating, and gliding motion.
Alternate the direction of your curls (some away from the face, some towards) for a more natural, voluminous look, especially around the crown.
Step 6: Curl the Face-Framing Pieces
When you reach the front sections around your face, be gentle. These pieces are often more delicate.
Always curl these sections away from your face to open up your features. Start the curl slightly lower down the hair shaft for a softer wave rather than a tight curl near your eyes.
Use less heat if your hair around the hairline is finer or more fragile.
Step 7: Cool Down and Set
Once all sections are curled, resist the urge to immediately touch or brush your hair. This is a crucial step for curl longevity.
Allow the curls to cool completely. As they cool, the hair shaft sets into its new shape, making the curls last much longer.
You can gently cup a warm curl in your palm until it cools to help it hold its shape even better.
Step 8: Finish and Style
After your hair has cooled, gently break up the curls. Use your fingers to lightly rake through them for a softer, more natural wave.
For a more voluminous look, you can very gently brush them out with a wide-tooth comb. Avoid aggressive brushing, which can pull out the curls.
Finish with a light mist of hairspray to lock in your style. Choose a flexible-hold spray that won’t make your hair feel stiff or crunchy.
Common Mistakes to Avoid
Using Too Much Heat
Excessive heat is a common culprit for damaged hair and curls that fall flat. It can fry your strands, making them brittle and unable to hold a style.
Always start with the lowest effective temperature for your hair type. Fine hair needs less heat, while thick hair might require a higher setting.
Holding the Iron Still
Pausing the flat iron in one spot for too long creates harsh creases in your hair, not smooth curls. It also concentrates heat in one area, leading to potential damage.
Maintain a continuous, smooth glide from root to tip. The movement ensures even heat distribution and a fluid curl shape.
Not Sectioning Properly
Attempting to curl large, unsectioned portions of hair leads to uneven results and missed spots. The flat iron can’t properly heat and shape too much hair at once.
Always work in small, manageable sections. This allows for precise curling and ensures every strand is touched by the heat.
Curling All in One Direction
Curling every section of hair in the same direction can result in a stiff, unnatural “helmet” look. It lacks the organic flow of natural waves.
Alternate the direction of your curls – some away from your face, some towards it. This creates a softer, more voluminous, and natural-looking style.
Troubleshooting
Curls Don’t Hold
If your curls are falling flat quickly, you might not be using enough heat, or you’re touching them too soon. Your hair also might not be completely dry.
Ensure your hair is bone dry before starting and that you’ve applied heat protectant. Let each curl cool completely before styling, and consider a stronger hold hairspray.
Hair Looks Frizzy
Frizz can occur if the flat iron is too hot, or if your hair isn’t smooth before curling. It also happens if you’re pulling the iron too quickly or not sealing the cuticle.
Always comb through each section before curling to ensure it’s smooth. Try a slightly lower heat setting and ensure your flat iron plates are clean and smooth.
Getting Flat Iron Creases
Creases typically happen when you clamp the iron too hard or hold it stationary for too long. They can also occur if the iron isn’t fully closed or has a gap.
Practice a gentle, continuous glide without pausing. Ensure your flat iron has good, even plate closure. Start the curl an inch or two from the root, not right at the scalp.
Key Takeaways
- Proper hair preparation, including being completely dry and using heat protectant, is paramount for successful curling.
- Sectioning your hair into small, consistent pieces ensures even heat distribution and uniform curl patterns.
- Always allow your curls to cool completely before touching or styling them to maximize their hold and longevity.
- Experiment with alternating curl directions (away from and towards the face) for a more natural and voluminous finish.
- Use a flat iron with plates 1-inch or smaller for optimal control and definition on short hair.
- Finish your style with a lightweight hairspray to provide hold without stiffness, maintaining natural movement.
Frequently Asked Questions
Can I curl really short hair, like a pixie cut, with a flat iron?
Yes, you absolutely can! For very short hair, you’ll want to use a flat iron with even smaller plates, ideally 0.5 to 0.75 inches. Focus on creating bends and waves rather than full curls, using quick, gentle rotations on small sections.
What flat iron size is best for short hair?
For most short hairstyles, a flat iron with 1-inch plates is ideal. It’s versatile enough to create a range of curl sizes and provides good control. If your hair is exceptionally short, like a pixie, a smaller iron (0.5-0.75 inch) will offer more precision.
How do I make my flat iron curls last longer in short hair?
Longevity comes from proper prep, technique, and setting. Ensure your hair is completely dry and prepped with a volumizing or curl-enhancing product. Let each curl cool fully before touching it, and finish with a good quality, flexible-hold hairspray.
Should I curl towards or away from my face for short hair?
For face-framing pieces, curling away from your face typically creates a flattering, open look. For the rest of your hair, alternating directions (some towards, some away) provides a more natural, lived-in texture and adds volume. Experiment to see what you prefer!
Our Top Recommended Finds
- 1-Inch Ceramic Flat Iron: Ideal for short hair, ceramic plates provide even heat distribution and reduce frizz.
- Lightweight Heat Protectant Spray: Essential for shielding hair from damage, look for one that also adds shine without weighing hair down.
- Flexible Hold Hairspray: A non-tacky spray that allows for natural movement while keeping your curls in place all day.
- Sectioning Clips: Crucial for clean, organized work, making the curling process much smoother and more efficient.
Embrace Your Curly Potential Today
Curling short hair with a flat iron is a fantastic way to add texture, volume, and personality to your look. It opens up a world of styling possibilities you might not have considered before.
Don’t be afraid to practice and experiment with different techniques and directions. Each attempt brings you closer to mastering your perfect short-hair curl.
Grab your flat iron, follow these steps, and transform your short strands into beautiful, bouncy waves today!