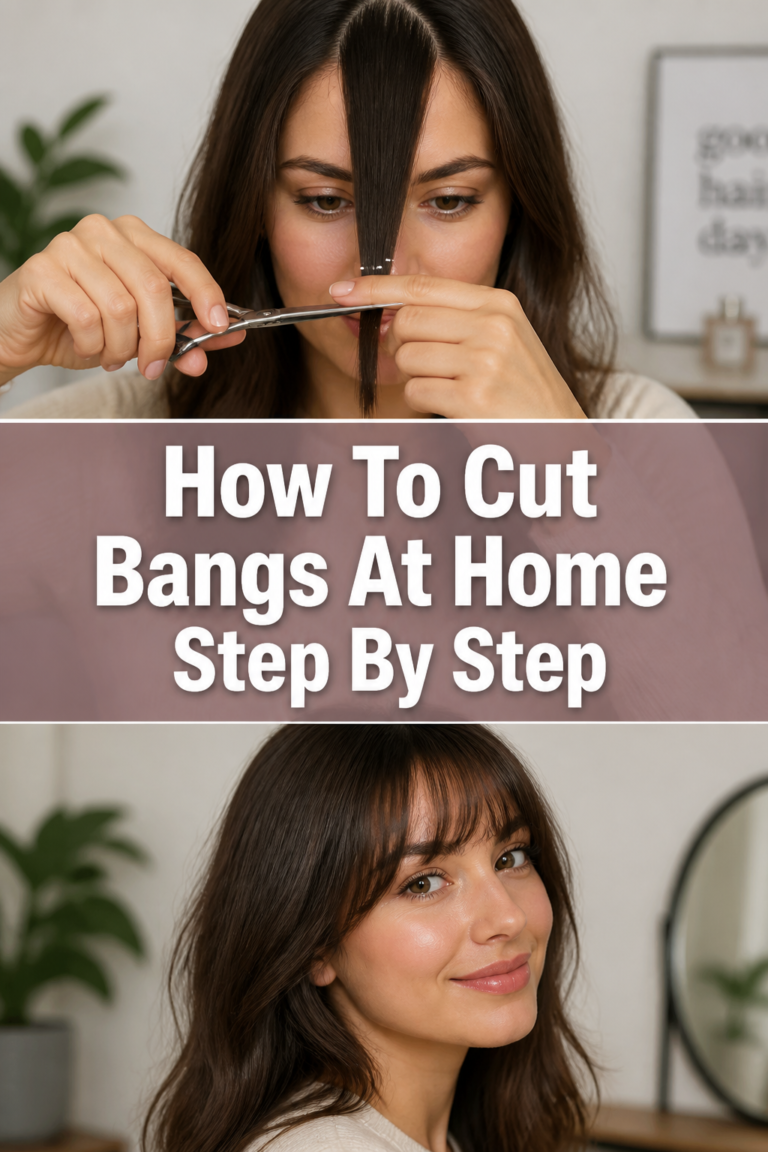
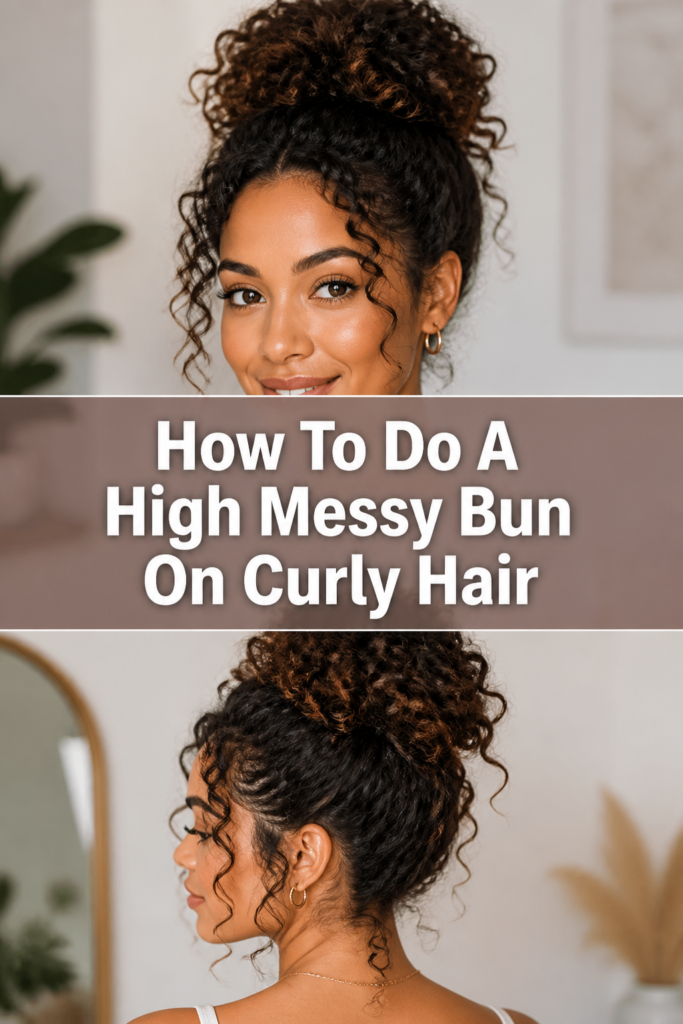
➰ How To Do A High Messy Bun On Curly Hair
Creating a high messy bun on curly hair can feel like a myth, especially when dealing with volume and texture.
But trust me, it’s absolutely achievable and looks effortlessly chic. I’ve spent years experimenting with my own curls, and I’m excited to share the foolproof method I’ve perfected.
This guide will walk you through each simple movement, helping you embrace your natural texture with a stunning, comfortable style.
Quick Overview
You’re about to master a go-to style that keeps your curls off your neck while celebrating their beautiful bounce. This high messy bun will become your new favorite for any occasion, from casual days to evening outings.
- Time needed: 10-15 minutes
- Difficulty: Beginner to Intermediate
- What you’ll need: Hair ties, bobby pins, optional styling products, a brush or comb.
Step-by-Step Instructions
Step 1: Prep Your Curls
Before you begin styling, ensure your hair is mostly dry. A little dampness is fine, but soaking wet hair will take longer to set and might not hold its shape as well.
Apply a lightweight curl cream or leave-in conditioner if your hair tends to get frizzy. This helps define your curls and provides a good base for the bun.
Gently detangle your hair using your fingers or a wide-tooth comb. Start from the ends and work your way up to minimize breakage and preserve your curl pattern.
Pro Tip: Avoid brushing dry curly hair extensively, as this can disrupt the curl pattern and lead to excessive frizz. Finger-detangling is often the best choice.
Step 2: Decide on Your Bun Placement
The “high” aspect of this bun is key. Choose a spot on the crown of your head where you want the bun to sit. This is usually directly on top or slightly towards the back of your crown.
Consider your face shape and personal preference. A higher bun can elongate your neck, while one placed a little further back offers a softer look.
Remember that “messy” means it doesn’t have to be perfect. The exact spot can be adjusted as you gather your hair.
Step 3: Gather Your Hair into a High Ponytail
Now, it’s time to bring all that beautiful hair up. Tilt your head back slightly, which makes it easier to gather hair without pulling too tightly on the front.
Use both hands to collect all your hair at the chosen high point on your head. Smooth out any major bumps, but don’t obsess over perfection; a few stray pieces contribute to the messy look.
Secure your hair into a high ponytail using a strong, snag-free hair tie. Wrap it around enough times to feel secure, but not so tight that it causes discomfort.
Pro Tip: Satin or silk scrunchies are excellent for curly hair. They reduce friction, preventing breakage and minimizing frizz compared to traditional elastic bands.
Step 4: Create the Bun Base
Once your ponytail is secure, you’re ready to form the bun itself. Take the length of your ponytail and loosely twist it once or twice.
This initial twist helps condense your curls and gives you a foundation to work with. Don’t twist too tightly; you want volume and an organic shape.
Wrap this twisted section around the base of your ponytail. The first wrap should be snug but not restrictive.
Step 5: Form the Messy Shape
This is where the “messy” magic happens. Instead of wrapping all your hair neatly, leave some ends out as you wrap.
Gently tug and pull at sections of your bun to create more volume and an undone texture. You want it to look full and effortless, not flat or tightly coiled.
Continue wrapping the remaining hair around the base, tucking some pieces and letting others hang loose. The goal is an organic, textured shape.
Step 6: Secure the Bun with a Hair Tie
With your bun roughly formed, it’s time to secure it. Take a second hair tie, preferably one that blends with your hair color.
Wrap this hair tie around the entire bun, not just the base. You might need to gently adjust the bun’s shape as you do this.
Ensure the second hair tie holds all the main sections in place, allowing the smaller, messier pieces to remain free.
Step 7: Pin and Perfect the Messy Look
Now, use bobby pins to refine your bun. Grab any stray pieces that feel too loose or are falling out of place, and secure them with bobby pins.
Insert the bobby pins strategically, pushing them into the bun towards the center. This anchors them securely and hides them within your curls.
Pull out a few small tendrils around your face, ears, and nape for an even softer, more relaxed effect. This adds to the overall messy charm.
Gently expand the bun by pulling at its edges to increase volume and create a wider, fuller appearance. Don’t be afraid to make it look intentionally imperfect.
Step 8: Set Your Style (Optional)
For added hold, especially on humid days, a light mist of hairspray can be beneficial. Hold the hairspray about 10-12 inches away from your head.
Spray a fine mist over the entire bun and any face-framing pieces. Choose a flexible hold hairspray so your curls still have movement.
Avoid heavy, stiff hairsprays that can make your curls crunchy or weigh down the bun. A natural finish is usually best for this style.
Common Mistakes to Avoid
Pulling Too Tightly
One common error is gathering your hair into a ponytail that is too tight. This can cause tension headaches and put unnecessary stress on your hair follicles.
It also makes the bun look stiff and less “messy” and voluminous. Always aim for a comfortable, slightly loose gather, allowing for natural movement and a softer look.
Over-Brushing Dry Curls
Brushing curly hair when it’s dry can disrupt the natural curl pattern, leading to frizz and a lack of definition. This makes the bun look less cohesive and more like a frizzy cloud.
Instead, detangle your hair when it’s damp with a wide-tooth comb or your fingers. If you must detangle dry, use a detangling spray and be very gentle, focusing on individual curls rather than brushing through everything.
Using the Wrong Hair Ties
Rough elastic hair ties can snag, pull, and break curly hair, especially when removing them. They also often leave noticeable dents in your curls.
Opt for satin scrunchies, silk hair ties, or spiral hair ties. These are much gentler on your strands, prevent damage, and are less likely to leave creases.
Forgetting Bobby Pins
While the goal is “messy,” you still want the bun to be secure. Skipping bobby pins means your bun might unravel quickly, especially with the weight of curly hair.
Strategic bobby pin placement is crucial for anchoring the bun and shaping it. Use them to tuck in loose ends and reinforce the overall structure, ensuring it lasts all day.
Troubleshooting
My Bun Is Falling Apart
If your bun struggles to stay put, it might be due to insufficient anchoring. Ensure your initial ponytail is very secure, using a strong hair tie that doesn’t slip.
Also, don’t be shy with bobby pins. Use more than you think you need, pushing them deep into the bun and angling them to catch sections of your hair and the hair tie underneath.
My Bun Looks Flat, Not Voluminous
A flat bun usually means you’ve wrapped your hair too tightly or haven’t pulled enough at the sections. After securing the bun, gently tug at various loops and sections of the bun.
Pull them outwards and upwards to create more volume and a wider shape. You can also use the end of a rattail comb to lift roots at the base of the bun for extra height.
I Have Too Many Flyaways/Frizz
Flyaways and frizz can be common with curly hair. Start with a good curl cream or leave-in conditioner before styling to help define curls and control frizz.
For persistent flyaways around the hairline, use a small amount of edge control gel or a light hairspray on an old toothbrush or spoolie brush. Gently smooth them down without making them stiff.
Key Takeaways
- Start with mostly dry, detangled hair to achieve the best results.
- Secure your initial ponytail firmly at the crown for a high bun.
- Don’t be afraid to be imperfect; embrace the “messy” aspect by pulling at sections.
- Use bobby pins strategically to secure the bun and shape it.
- Opt for gentle hair ties like satin scrunchies to protect your curls.
- A light hairspray can provide extra hold without making curls stiff.
Frequently Asked Questions
Can I do this bun on short curly hair?
Yes, you can! For shorter curly hair, you might need more bobby pins to secure all the strands. You may also achieve a smaller, more compact messy bun, but the technique remains the same. Don’t worry if some pieces fall out; that adds to the charm.
How do I make my messy bun last all day?
The key to longevity is a secure ponytail base and ample bobby pins. Make sure your first hair tie is tight enough without causing discomfort. After shaping, use 5-10 bobby pins, inserted from different angles, to anchor the bun firmly. A light mist of flexible-hold hairspray can also help.
What products are best for frizz control with this style?
Look for lightweight curl creams, leave-in conditioners, or anti-frizz serums specifically designed for curly hair. Apply them to damp hair before styling. For touch-ups, a small amount of hair oil or a frizz-controlling mist can smooth flyaways without weighing down your curls.
Should I wash my hair before doing a messy bun?
Not necessarily. Second or third-day hair often has more grip and texture, which can actually make it easier to create a messy bun that holds well. If your hair feels too oily, use some dry shampoo at the roots before styling.
Our Top Recommended Finds
- Satin Scrunchies: Essential for preventing breakage and reducing frizz, these are a curly girl’s best friend for ponytails and buns.
- U-Shaped Hair Pins: These pins are fantastic for curly hair as they hold more hair than traditional bobby pins and are less likely to get lost in your curls.
- Lightweight Curl Defining Cream: A good cream will enhance your natural curl pattern, add moisture, and provide a soft hold, making your bun look more polished yet still messy.
Embrace Your Effortless Curl Crown
You now have all the tools and techniques to create a beautiful, high messy bun that celebrates your unique curly texture. This isn’t just a hairstyle; it’s a statement of confidence and ease.
Don’t be discouraged if your first attempt isn’t perfect. Practice makes progress, and with curly hair, every bun will have its own charming personality.
Experiment with different placements, adjust the messiness to your liking, and enjoy the freedom of a stylish, practical updo. Go on, give it a try today!