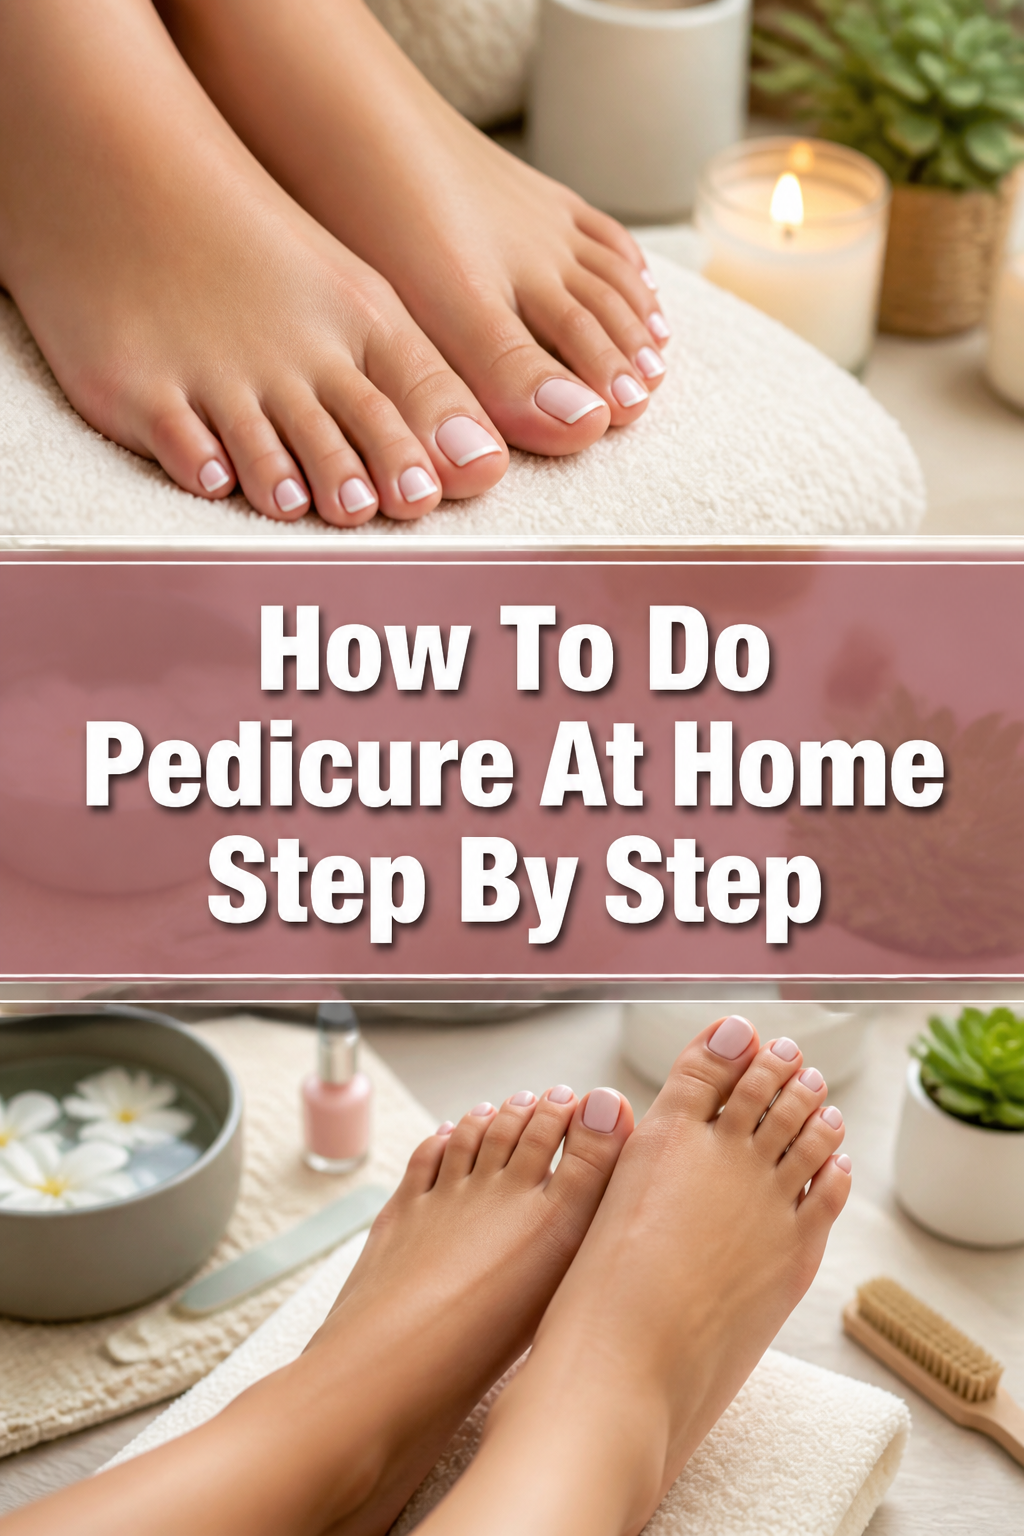
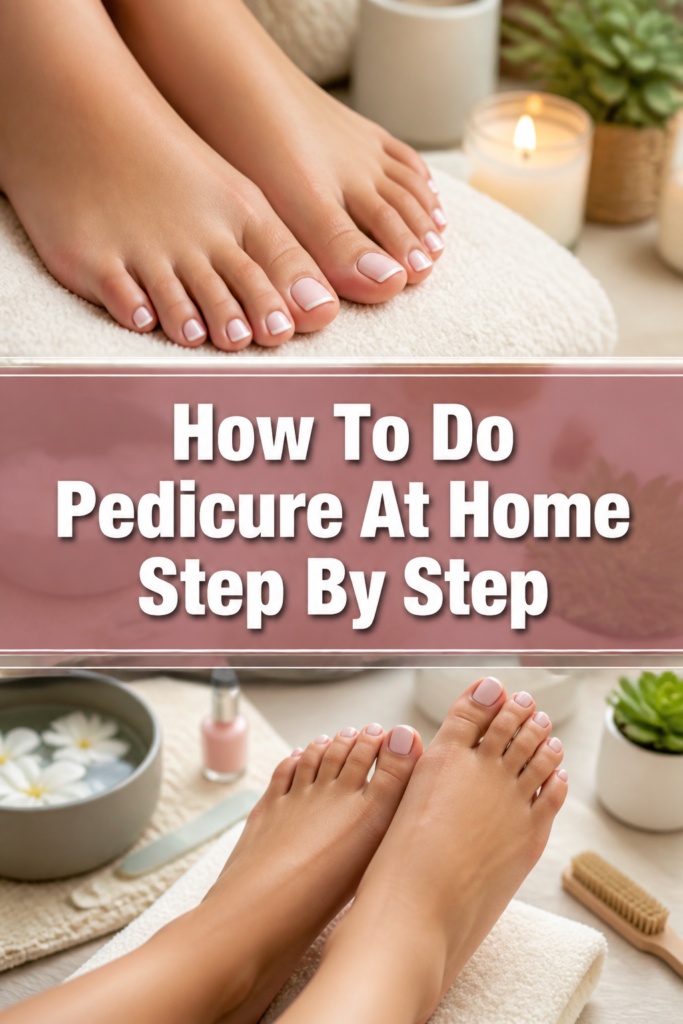
👣 How To Do Pedicure At Home Step By Step
I remember the first time I tried to give myself a pedicure; it ended with polish on my carpets and jagged nails that snagged on every sock I owned.
After years of practicing and learning from professional nail technicians, I have refined a process that delivers salon-quality results from the comfort of my own living room.
This guide is built on those years of experience to help you achieve soft, beautiful feet without spending a fortune at a spa.
Quick Overview
Transforming your feet from rough and tired to smooth and polished is a rewarding process that requires patience and the right tools.
- Time needed: 45 to 60 minutes
- Difficulty: Beginner
- What you’ll need: Nail polish remover, nail clippers, a nail file, a foot tub, Epsom salts, a pumice stone or foot file, cuticle pusher, moisturizer, base coat, nail polish, and a top coat.
Step-by-Step Instructions
Step 1: Clear the Canvas
Before you can begin the pampering process, you must start with a clean slate by removing any traces of old nail polish.
Use a high-quality nail polish remover and a cotton pad to gently wipe away old color, paying close attention to the edges near the cuticles.
Soak a cotton ball thoroughly and hold it against the nail for five seconds before wiping to make the removal easier and faster.
If you have stubborn glitter polish, you might need to let the cotton pad sit on the nail for a full minute to break down the adhesive.
Even if you aren’t wearing polish, wipe your nails with remover anyway to strip away natural oils that could prevent your new polish from sticking.
Pro Tip: Use non-acetone remover if your nails feel brittle or dry, as it is much gentler on the nail plate than standard acetone.
Step 2: Prepare Your Soaking Station
The soak is the most relaxing part of the process and serves the practical purpose of softening your skin and nails for easier grooming.
Fill a large basin or a dedicated foot tub with warm water, ensuring the temperature is comfortable but not scalding hot.
Add half a cup of Epsom salts to the water to help reduce swelling and soothe any aches in your feet after a long day.
You can also add a few drops of essential oils, like lavender for relaxation or peppermint for a refreshing, cooling sensation.
Place a towel underneath the basin to catch any splashes and keep another dry towel nearby for when you finish.
Sit back and let your feet soak for at least ten to fifteen minutes to ensure the calluses are properly softened.
Step 3: Trim and Shape with Precision
Once your nails are softened from the soak, they are much easier to trim without cracking or splitting the nail plate.
Clip your toenails straight across using a sturdy pair of nail clippers to prevent the development of painful ingrown nails.
Avoid cutting the corners too deeply into the skin, as this is the primary cause of nail growth issues and infections.
After clipping, use a nail file to smooth out any sharp edges and refine the shape to your preference.
File in one direction rather than using a back-and-forth sawing motion, which can weaken the nail and cause peeling.
Aim for a length where the nail is flush with the end of your toe for a clean, professional look.
Pro Tip: Use an emery board for natural nails and a glass file if you want a smoother finish that seals the nail edge.
Step 4: Manage Your Cuticles Gently
Cuticles act as a protective barrier for your nails, so it is vital to handle them with extreme care during your pedicure.
Apply a small amount of cuticle softener or oil to the base of each nail and let it sit for a minute to work its magic.
Use a wooden orange stick or a metal cuticle pusher to gently nudge the skin back toward the base of the toe.
Never cut your cuticles with nippers, as this can lead to infections and cause the skin to grow back thicker and rougher.
Wipe away any excess oil or dead skin cells with a damp cloth once you have finished pushing them back.
This step creates a larger surface area for your polish and makes your nail beds look elongated and elegant.
Step 5: Exfoliate and Smooth the Soles
Now that the skin is soft, it is time to tackle the rough patches and calluses on your heels and the balls of your feet.
Scrub your feet with a foot file or a pumice stone using firm, circular motions to lift away dead skin cells.
Focus on the areas that experience the most friction, such as the outer edges of the big toe and the back of the heel.
Don’t over-scrub; if the area starts to feel sensitive or red, stop immediately to avoid damaging the healthy skin underneath.
Apply a grainy foot scrub afterward to exfoliate the tops of your feet and between the toes where a file can’t reach.
Rinse your feet one last time in the warm water and pat them completely dry, especially between the toes.
Pro Tip: If you have very thick calluses, use a foot file on dry skin before the soak, then follow up with the pumice stone after the soak.
Step 6: Hydrate and Massage
Moisturizing is the secret to maintaining the results of your pedicure and keeping your skin feeling soft for days.
Massage a thick, rich foot cream or body butter into your feet, spending extra time on your arches and heels.
The massage helps improve circulation and allows the product to penetrate deeper into the toughened skin layers.
If your feet are exceptionally dry, you can use a product containing urea or lactic acid to help chemically soften the skin.
Clean the nail beds with a cotton swab dipped in rubbing alcohol after moisturizing to remove any lotion residue.
Any oil or cream left on the nail will prevent the polish from bonding, leading to early chipping and peeling.
Step 7: Apply the Base and Color
Painting your toenails requires a steady hand and a bit of strategy to ensure a clean finish without a mess.
Start with a thin layer of base coat, which protects your nails from staining and provides a smooth surface for the pigment.
Once the base coat is dry to the touch, apply your chosen color in three thin strokes: one down the center and one on each side.
Thin layers are the key to a long-lasting pedicure because they dry faster and are less likely to bubble or smudge.
Wait at least two minutes between the first and second coats of color to allow the polish to set properly.
If you get polish on your skin, dip a small makeup brush in remover and carefully clean up the edges for a crisp look.
Pro Tip: Use toe separators or even rolled-up paper towels between your toes to keep them apart while the polish dries.
Step 8: Seal and Protect
The final step is to apply a top coat that adds a high-gloss shine and protects your hard work from the elements.
Swipe the top coat over the entire nail and remember to “cap” the free edge by running the brush along the very tip of the nail.
This technique seals the polish and prevents it from lifting when your toes rub against the inside of your shoes.
Give your nails at least twenty minutes of undisturbed drying time before putting on flip-flops or walking around.
Avoid putting on closed-toe shoes or socks for several hours to ensure the polish is fully hardened through all layers.
Your feet are now refreshed, smooth, and ready to be shown off in your favorite sandals.
Common Mistakes to Avoid
Cutting Cuticles with Nippers
Many people believe they need to trim the skin around their nails to make them look clean, but this is a dangerous habit. Cutting the cuticle opens the door for bacteria and fungus to enter the nail bed, which can lead to painful infections. It is always better to soften and push them back gently than to use sharp tools on living tissue.
Soaking for Too Long
While a long soak feels incredible, staying in the water for more than twenty minutes can actually be counterproductive. Over-soaking causes the skin to expand and become waterlogged, making it more prone to tearing during exfoliation. It can also cause your nail polish to chip sooner because the nail plate expands in water and then shrinks as it dries, cracking the polish.
Skipping the Base Coat
It is tempting to go straight to the color to save time, but skipping a base coat is a recipe for yellow, stained nails. Darker colors like red, blue, or black have heavy pigments that can seep into the porous nail plate. A base coat acts as a shield and also helps the color grip the nail for a much longer-lasting finish.
Troubleshooting
Yellowing of the Nails
If you notice your nails have a yellowish tint after removing old polish, it is usually due to staining from dark pigments. You can remedy this by gently buffing the surface of the nail or applying a paste made of baking soda and lemon juice for five minutes. To prevent this in the future, always use two thin layers of base coat before applying dark colors.
Polish Smudging or Not Drying
When polish stays tacky for hours, it is usually because the layers were applied too thickly or the polish itself is old and gloppy. To fix a small smudge, dip your finger in a bit of saliva or nail polish remover and gently smooth the area before applying a fresh thin layer of top coat. For future applications, ensure each layer is paper-thin and wait several minutes between coats.
Rough Heels Even After Filing
Sometimes a single session isn’t enough to remove months of callus buildup, and over-filing in one day can cause pain. If your heels still feel rough, do not keep filing; instead, apply a heavy ointment or petroleum jelly to your feet at night and wear cotton socks. Repeat the exfoliation process gently every few days until the skin reaches your desired level of smoothness.
Key Takeaways
- Always remove natural oils from the nail plate with alcohol or remover before applying any polish.
- Trim nails straight across to avoid the pain and medical issues associated with ingrown toenails.
- Exfoliate only after the skin has been properly softened in warm water to prevent irritation or injury.
- Apply multiple thin layers of polish rather than one thick layer to ensure a durable and bubble-free finish.
- Maintain your results by applying a fresh layer of top coat every three days and moisturizing your feet daily.
Frequently Asked Questions
How often should I do an at-home pedicure?
For most people, a full pedicure every two to four weeks is ideal for maintaining foot health and appearance. However, you should moisturize your feet every night and use a pumice stone once a week in the shower to keep calluses at bay between full sessions. If you wear sandals frequently, you might find you need to refresh your polish more often due to exposure to the elements.
Can I use a metal scraper on my heels?
It is generally recommended to avoid “cheese grater” style metal scrapers at home because they can easily remove too much skin. These tools can cause deep cuts or trigger the skin to grow back even thicker as a protective response. Stick to pumice stones or emery-style foot files, which offer more control and a gentler exfoliation process.
Is it safe to do a pedicure if I have a fungal infection?
If you suspect you have a fungal infection, such as athlete’s foot or nail fungus, it is best to skip the polish and consult a professional. Applying polish can trap moisture and worsen the infection, while your tools could spread the fungus to other parts of your feet or to other people. Focus on medicated treatments and keep the feet dry until the infection has completely cleared up.
Our Top Recommended Finds
- Glass Nail File: These are superior to emery boards because they don’t cause microscopic tears in the nail and last a lifetime with proper care.
- Urea-Based Foot Cream: This specific ingredient is a “keratolytic,” meaning it helps break down the protein in dead skin, making it incredibly effective for cracked heels.
- Electric Foot File: For those who find manual scrubbing difficult, an electric file can quickly and safely buff away rough patches with minimal effort.
Master Your Self-Care Routine
Taking the time to care for your feet is more than just a beauty ritual; it is a fundamental part of physical comfort and self-respect.
Now that you have mastered the art of the home pedicure, you might want to explore DIY foot mask recipes or learn how to coordinate your toe colors with your wardrobe.
Pick up your tools this weekend and give your feet the attention they deserve—you will feel the difference with every step you take.