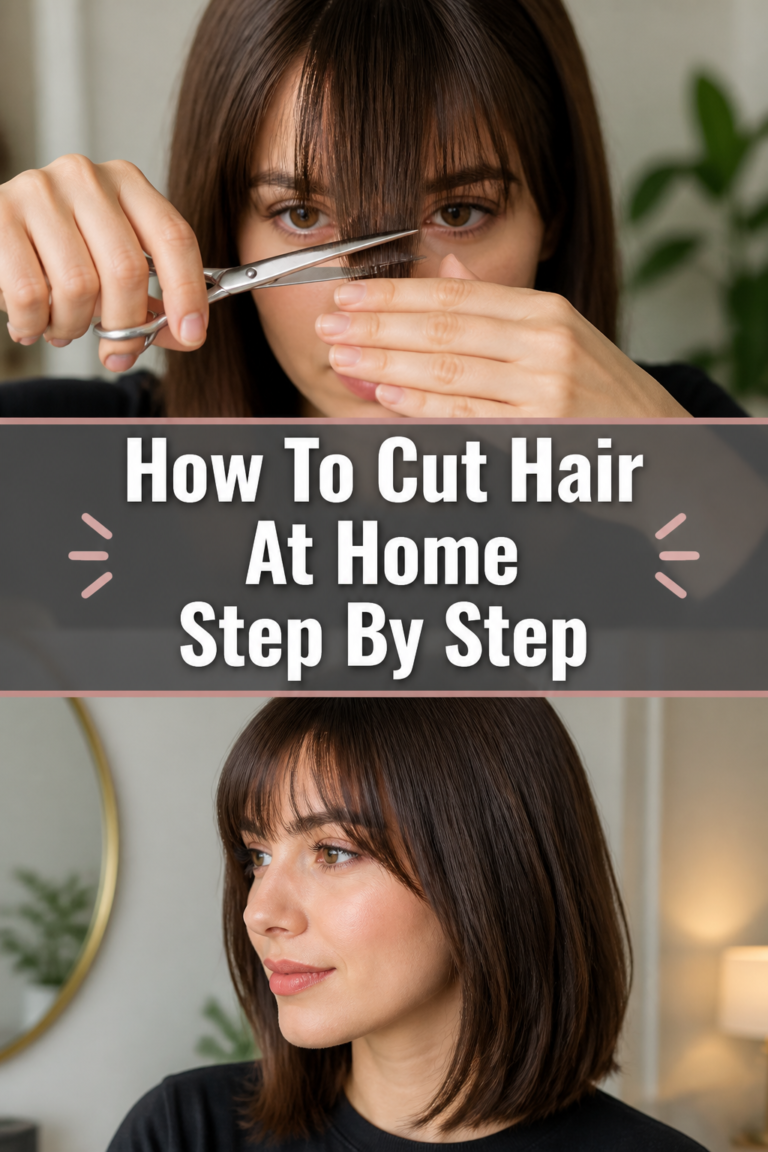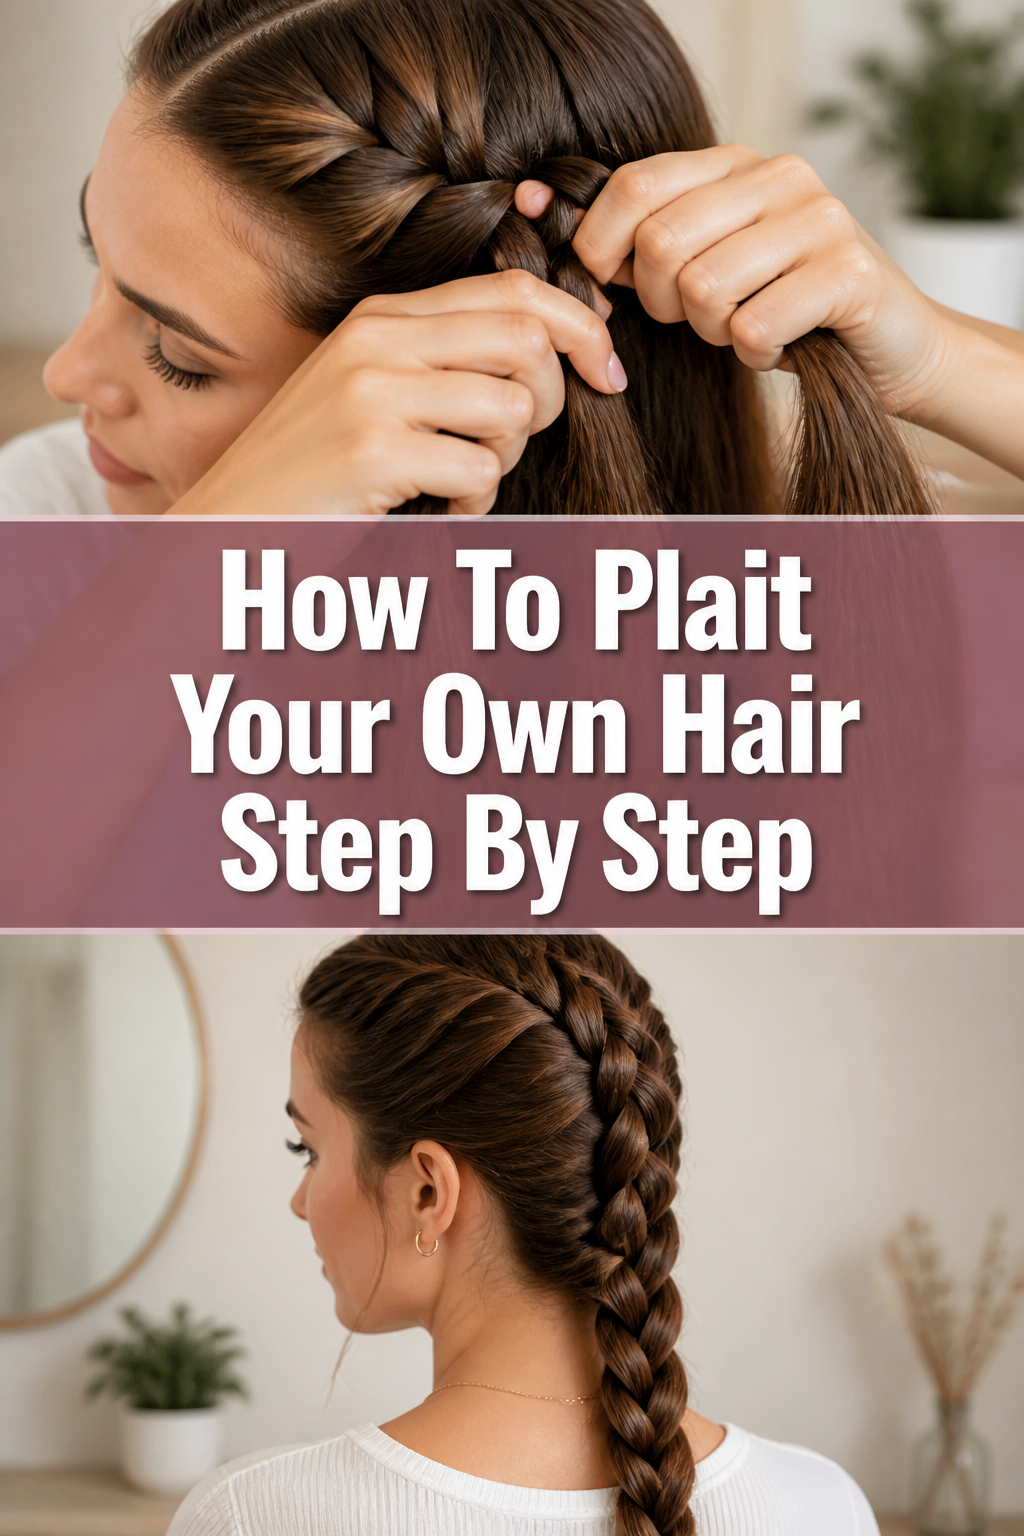
💇♀️ How To Plait Your Own Hair Step By Step
Learning to plait your own hair can feel like mastering a secret skill. I remember spending hours in front of the mirror, my arms aching, trying to get just one neat plait. It felt impossible at first.
But with patience and the right guidance, it becomes second nature. This guide draws on years of practice and countless attempts, offering you the clearest path to beautiful, self-plaited hair.
You can absolutely do this.

Quick Overview
This guide will walk you through the process of creating a classic three-strand plait on your own hair. You will learn how to prepare your hair, section it correctly, and master the weaving technique to achieve a neat, secure plait.
You’ll also discover how to troubleshoot common issues and avoid frustrating mistakes. By the end, you’ll have the confidence to plait your own hair with ease.
- Time needed: 15-30 minutes (for beginners, this may vary)
- Difficulty: Beginner
- What you’ll need: Hairbrush, comb, hair tie, mirror, water spray bottle (optional)
Step-by-Step Instructions
Step 1: Prepare Your Hair Thoroughly
Begin with dry or slightly damp hair. Ensure your hair is completely free of tangles. This crucial first step prevents snags and makes the plaiting process much smoother.
Use a wide-tooth comb or a detangling brush to gently work through any knots. Start from the ends and move upwards towards the roots.
Applying a leave-in conditioner or a light styling cream can help manage frizz and add slip, making the hair easier to handle. This also contributes to a neater finished plait.
Pro Tip: A mist of water from a spray bottle can help tame flyaways and give your hair more grip, especially if it’s very fine or silky. Avoid soaking it, just a light dampness.
Step 2: Decide on Your Plait’s Placement
Consider where you want your plait to sit. Will it be a single plait at the back, a side plait, or two plaits? This decision will influence how you section your hair.
For a classic single plait down your back, you’ll gather all your hair at the nape of your neck. If you prefer a side plait, bring all your hair over one shoulder.
Use your comb to create a clean part if necessary. A neat part provides a strong foundation for your plait and ensures it looks polished.
Step 3: Section the Hair for Plaiting
Once you’ve decided on the placement, gather the section of hair you intend to plait. Hold this section firmly in one hand. The size of this section will determine the thickness of your plait.
For a standard three-strand plait, you’ll need to divide this main section into three equal sub-sections. Use your fingers to carefully separate these three strands.
Try to make the strands as even as possible. Uneven strands can lead to a lopsided or messy-looking plait, so take your time with this part.
Step 4: Begin the Weaving Process (Right Over Middle)
With your three equal strands in hand, let’s start the plait. Hold the left strand in your left hand, the middle strand and right strand in your right hand for initial setup.
Take the strand furthest to the right. Carefully cross this right strand over the top of the middle strand. The original right strand is now in the middle position.
The strand that was originally in the middle is now on the right. This first crossover establishes the basic pattern.
Step 5: Continue the Pattern (Left Over New Middle)
Now, shift your grip slightly to accommodate the new positions of the strands. You will have a left, middle, and right strand again.
Take the strand furthest to the left. Cross this left strand over the top of the new middle strand. The original left strand now becomes the middle strand.
The strand that was just in the middle moves to the left position. You have now completed one full ‘cycle’ of the plait.
Step 6: Maintain Consistent Tension and Repeat
The key to a neat plait is consistent tension. As you cross each strand over the middle, gently pull it taut but not so tight that it feels uncomfortable.
Repeat the pattern: take the new rightmost strand and cross it over the current middle strand. Then, take the new leftmost strand and cross it over the new middle strand.
Keep your fingers close to where the plait is forming to maintain control. This helps prevent the plait from loosening at the roots or becoming uneven.
Pro Tip: If you find your arms getting tired, take a short break. Shake out your hands and then resume, making sure to pick up exactly where you left off. Practice will build your arm strength.
Step 7: Continue Down the Length of Your Hair
Keep repeating the right-over-middle, left-over-middle pattern. Work your way down the entire length of the hair section you are plaiting.
Try to keep your fingers moving smoothly and rhythmically. The more you practice, the more fluid your movements will become.
Ensure you’re incorporating all the hair from your initial section into the plait. Avoid letting stray pieces escape, as this can make the plait look untidy.
Step 8: Secure the End of Your Plait
Once you’ve plaited down to the desired length – usually to where the hair tapers off and can no longer be effectively woven – it’s time to secure it.
Use a hair tie to firmly fasten the end of your plait. Wrap the hair tie around the end several times to ensure it’s secure and won’t unravel.
Choose a hair tie that matches your hair color for a seamless look, or a decorative one to add a pop of style.
Step 9: Refine and Finish Your Plait
After securing the plait, take a moment to inspect your work. Gently tug at the loops of the plait to make it appear fuller, if that’s the look you desire.
You can also use a fine-tooth comb or your fingers to smooth down any flyaways around the hairline or along the plait itself. A light spritz of hairspray can help hold everything in place.
Check the back of your head using a handheld mirror and a wall mirror to ensure everything looks neat from all angles. Don’t be afraid to make small adjustments.
Common Mistakes to Avoid
Starting Too Loose
Many beginners make the mistake of starting their plait too loosely at the roots. This causes the plait to sag and look messy almost immediately. The plait won’t hold its shape or stay in place for long.
To fix this, ensure you begin with a firm grip on your initial three sections. Keep the tension consistent from the very first crossover, pulling gently but firmly. This creates a solid foundation that will support the rest of the plait.
Uneven Sectioning
Dividing your hair into three uneven strands is a common pitfall. If one strand is significantly thicker or thinner than the others, your plait will look lopsided and irregular. The pattern won’t flow smoothly.
Always take the time to carefully separate your hair into three roughly equal sections before you begin plaiting. Use a comb for precision if needed. Even strands are crucial for a balanced and aesthetically pleasing plait.
Not Detangling Properly
Attempting to plait hair that still has knots or tangles is a recipe for frustration. The comb will snag, the hair will pull, and the plait will end up looking bumpy and uneven. It can also cause damage to your hair.
Always detangle your hair thoroughly before you start. Use a wide-tooth comb or a detangling brush, working from the ends up. Smooth hair allows for a much smoother and neater plaiting process.
Ignoring Flyaways and Stray Hairs
As you plait, small hairs can escape, especially around the temples or nape of the neck. Ignoring these can make your finished plait appear untidy and less polished. These stray hairs can detract from an otherwise perfect plait.
Before you begin, use a little hair gel or styling cream on your hands to smooth down these areas. As you plait, gently sweep any stray hairs back into the main sections. A light mist of hairspray at the end can also help.
Troubleshooting
My Plait Keeps Falling Apart
This is a very common issue, especially when you’re just starting out. It usually means you’re not maintaining enough tension throughout the plaiting process. The strands are too loose to hold together.
Focus on keeping a consistent, gentle pull on each strand as you cross it over. Keep your fingers close to the section you are actively plaiting. Practice will help you find the right amount of tension that holds the plait without pulling too tight.
My Arms Get Tired Quickly
Plaiting your own hair, especially at the back of your head, can be an arm workout! This fatigue is normal for beginners and can make the plaiting process feel cumbersome. It often leads to rushing or uneven tension.
Try taking short breaks if your arms start to ache. Shake out your hands and stretch your shoulders. Using two mirrors (a wall mirror and a handheld one) can help you see better and reduce awkward arm positions. With practice, your arm stamina will improve significantly.
The Plait Looks Messy and Uneven
A messy or uneven plait often stems from a combination of factors: uneven sectioning, inconsistent tension, or not smoothing the hair properly. It can look frustratingly unkempt.
Go back to basics. Ensure your initial three strands are as equal as possible. Focus on applying consistent tension with each crossover. Before you start, make sure your hair is thoroughly detangled and smooth. A little styling product can also help tame frizz for a cleaner look.
Key Takeaways
- Always start with thoroughly detangled hair to ensure a smooth plait.
- Section your hair into three equal strands for a balanced and neat plait.
- Maintain consistent, gentle tension throughout the plaiting process to prevent unraveling.
- Practice the right-over-middle, left-over-middle pattern until it becomes fluid.
- Don’t be afraid to adjust and refine your plait once it’s secured.
- Patience and practice are your best tools for mastering self-plaiting.
Frequently Asked Questions
Can I plait my hair when it’s wet?
While you can technically plait wet hair, it’s generally not recommended. Wet hair is more fragile and prone to breakage when stretched or manipulated. Plaiting wet hair can also take a very long time to dry, sometimes leading to mildew or an uncomfortable feeling.
It’s best to plait your hair when it’s dry or slightly damp. This reduces the risk of damage and ensures a more comfortable experience.
How do I make my plait last longer?
To make your plait last longer, start with clean, dry hair. Use a light styling product like a mousse or gel to add grip and reduce frizz before plaiting. Ensure your plait is firm but not too tight.
Secure the end with a strong, non-slip hair tie. You can also use a light mist of hairspray over the finished plait to set it. Sleeping on a satin pillowcase can also help prevent friction and keep your plait neat overnight.
What if my hair is very short or layered?
Plaiting very short or heavily layered hair can be more challenging. Short layers tend to poke out of the plait, making it look messy. You might find it difficult to gather enough length for a traditional plait.
For shorter hair, focus on smaller, tighter plaits or try French or Dutch plaiting techniques that incorporate hair as you go. For layers, use styling gel or pomade to help smooth down flyaways and keep shorter pieces tucked in. Sometimes, waiting for a little more growth is the easiest solution.
How can I make my plait look fuller?
If you desire a fuller, thicker-looking plait, there are a few tricks. Once your plait is secured, gently pull on the outer loops of each section. Start from the bottom and work your way up, pulling just a little bit at a time.
This technique is called “pancaking” the plait. It expands the width of the plait, making it appear much thicker and more voluminous. Be careful not to pull too hard, or the plait might unravel.
Our Top Recommended Finds
- Detangling Brush: A good detangling brush glides through knots without pulling, making hair preparation much easier and gentler.
- Fine-Tooth Comb: Essential for precise sectioning and smoothing down any stray hairs for a polished finish.
- Strong, Seamless Hair Ties: These secure your plait without snagging or breaking your hair, ensuring it stays in place all day.
- Water Spray Bottle: Perfect for lightly dampening hair to tame flyaways and add grip, especially for very sleek or fine hair.
Your Next Hair Adventure Awaits
You’ve now taken the first step towards mastering a fantastic new skill: plaiting your own hair. This guide has equipped you with the knowledge and techniques to create beautiful, neat plaits with confidence. Every attempt is a learning opportunity.
Don’t be discouraged if your first few attempts aren’t perfect. Practice makes perfect, and each plait you create will improve your dexterity and understanding. Why not grab your comb and hair ties right now? Your beautiful, self-plaited hair is just a few steps away.