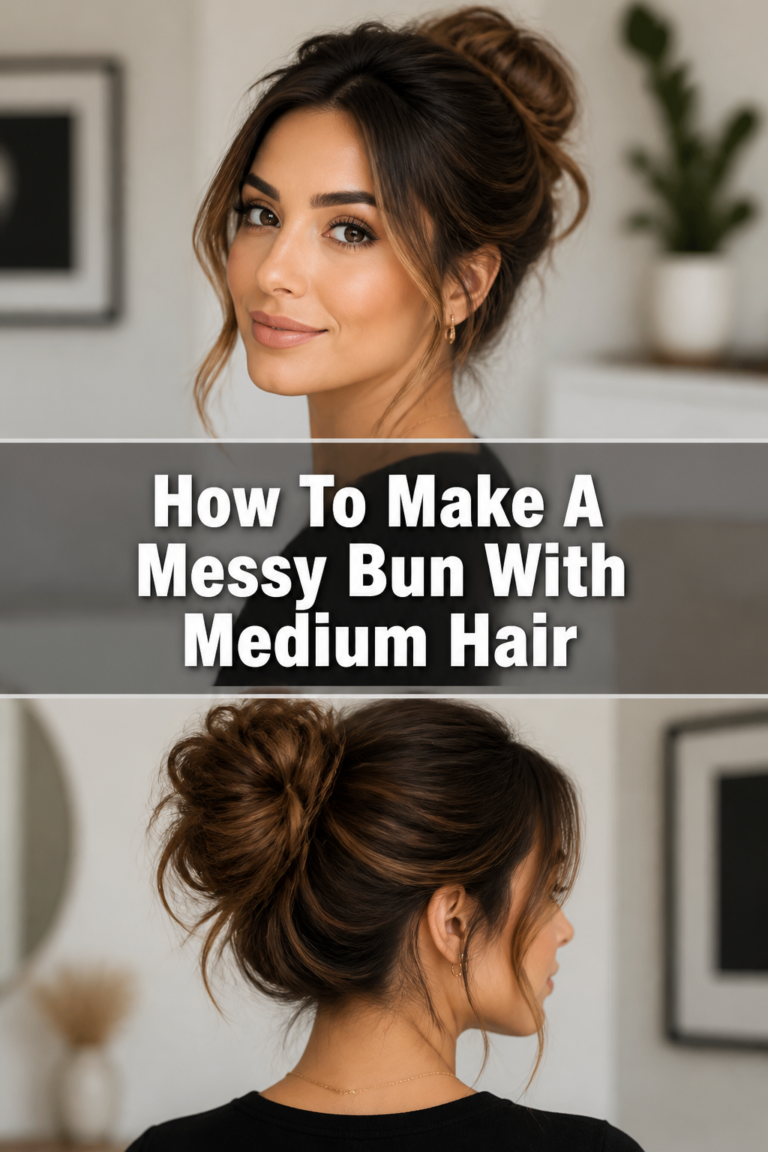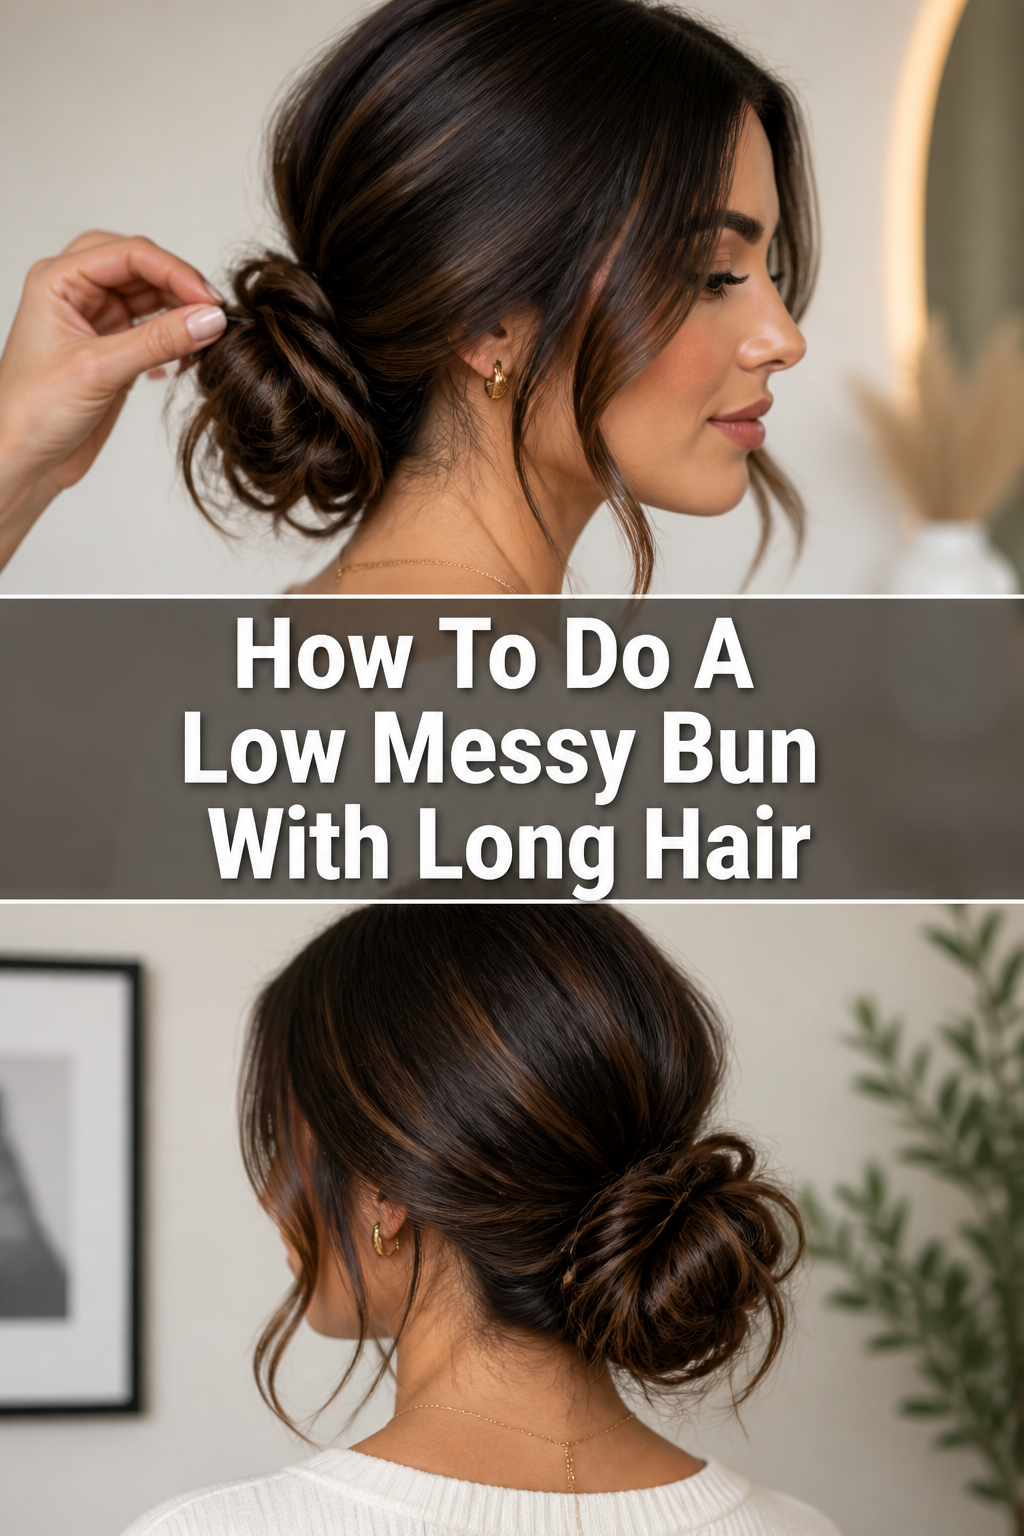
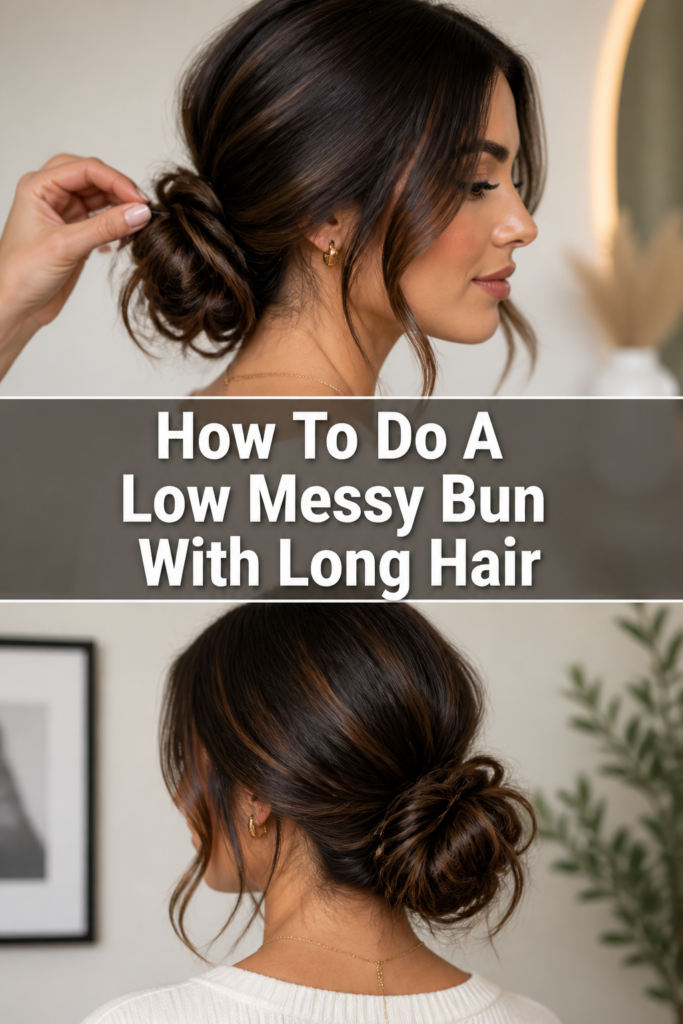
💁♀️ How To Do A Low Messy Bun With Long Hair
Creating a low messy bun is truly a game-changer for long hair. It’s that perfect blend of effortless chic and casual comfort. I’ve relied on this style for years, from busy workdays to relaxed weekends, always looking put-together without much fuss.
This guide will show you exactly how to achieve that coveted, perfectly imperfect look with ease.
Quick Overview
You’re about to master a versatile hairstyle that looks great for any occasion. This guide breaks down each step to ensure your low messy bun is both stylish and secure.
- Time needed: 5-10 minutes
- Difficulty: Beginner
- What you’ll need: Hair tie, bobby pins, hairspray (optional), texturizing spray (optional)
Step-by-Step Instructions
Step 1: Prep Your Hair for Texture
Begin with dry hair, ideally a day or two after washing. This gives your hair natural grip and texture, which is crucial for a messy bun. If your hair is too clean, it might be too slippery.
Consider using a dry shampoo at your roots. This will absorb excess oil and add volume, making your hair easier to work with. A texturizing spray applied throughout the mid-lengths and ends can also boost hold.
Pro Tip: Don’t skip the texture step, especially if your hair is naturally very fine or silky. A little grit makes all the difference in achieving that effortless “messy” look.
Step 2: Gather Your Hair into a Low Ponytail
Tilt your head back slightly. This helps ensure the bun sits comfortably at the nape of your neck, rather than pulling too tightly. Use your hands to gently gather all your hair at the base of your neck.
Aim for a relaxed hold, not a super tight grip. You want the ponytail to feel soft and slightly loose against your scalp. This forms the foundation for your low messy bun.
Step 3: Secure with Your First Hair Tie
Hold your gathered hair securely with one hand. Use your other hand to wrap a hair tie around the base of the ponytail. Don’t pull it too tight on this first pass.
You want it snug enough to hold, but loose enough to allow for future adjustments. This forms a soft, low ponytail, which is the starting point for your bun’s shape.
Step 4: Create the Initial Loop
Take your secured ponytail. On the last loop of your hair tie, pull your hair only halfway through. This creates a small loop of hair, with the ends still hanging down.
This partial pull-through is the secret to the messy bun’s distinctive shape. It gives you a base to work from that is already somewhat rounded.
Pro Tip: The size of this initial loop will influence the overall size of your bun. A larger loop can lead to a fuller, more dramatic bun, while a smaller loop results in a more compact style. Experiment to find what you like.
Step 5: Twist and Wrap the Remaining Ends
Take the hanging ends of your ponytail. Gently twist them once or twice, depending on your hair length and desired level of messiness. This twist adds structure.
Now, wrap these twisted ends around the base of the loop you just created. Aim to encircle the hair tie itself.
Step 6: Secure with a Second Hair Tie (or more)
Once the ends are wrapped around the base, take a second hair tie. Carefully secure this new bun shape by wrapping the hair tie around the entire bun. This helps to consolidate everything.
You might need to wrap it two or three times to ensure it’s firm. Don’t worry if it looks a bit “done” at this stage; we’ll loosen it next.
Step 7: Gently Pull and Loosen for Messiness
This is where the “messy” magic happens. Use your fingers to gently pull small sections of hair from around the bun. Pull from the top, sides, and even the loop itself.
Focus on creating soft, undone texture. You can also gently tug at the hair around your temples and ears to release a few face-framing pieces.
Pro Tip: Don’t be afraid to really tug and loosen sections. The more you “mess” with it, the more natural and effortless it will look. There’s a fine line between messy and falling apart, so find your comfort zone.
Step 8: Pin for Security and Shape
Grab your bobby pins. Use them to secure any loose strands that are escaping in an undesirable way, or to tuck in ends that are sticking out too much. Place pins discreetly into the base of the bun.
You can also use bobby pins to adjust the shape of the bun. If one side feels too flat, gently lift a section and pin it to create more volume.
Step 9: Set with Hairspray (Optional)
Once you’re happy with the shape and messiness, a light mist of hairspray can help hold everything in place. Choose a flexible hold spray for a natural finish.
Hold the can about 10-12 inches away from your head and spray evenly. Avoid saturating your hair, as this can make the bun stiff and less “messy.”
Step 10: Final Adjustments and Confidence Check
Step back and take a look at your creation from all angles. Use a mirror to check the back of your head. Tuck in any stray hairs, or pull out a few more for extra softness.
Remember, the beauty of a messy bun is its imperfection. Embrace the natural flow and enjoy your casually elegant new look.
Common Mistakes to Avoid
Making It Too Tight
A common pitfall is securing the initial ponytail or the bun itself too tightly. This can result in a bun that looks stiff and formal, losing its relaxed, messy charm. It can also cause tension headaches.
Always aim for a gentle, comfortable hold at the base. You want enough tension to keep it secure, but not so much that it pulls at your scalp. Loosen your grip if you feel any discomfort.
Skipping the Texture Step
Starting with super clean, slick hair often leads to a bun that struggles to hold its shape or looks too flat. Without texture, your hair lacks the grip needed to create that soft, voluminous messiness.
Always consider adding dry shampoo or a texturizing spray, especially if your hair is freshly washed. This simple step provides the necessary foundation for a truly effortless messy bun.
Placing It Too High or Too Low
The “low” in low messy bun is key. Placing the bun too high on your head can make it look like a traditional top knot or a formal updo, which defeats the purpose of the casual style. Conversely, placing it too low can make it feel like it’s falling out.
Aim for the nape of your neck, just above where your hairline ends. This placement provides the most flattering and comfortable look for a low messy bun.
Over-Complicating the Twist
Some people try to create intricate braids or twists before forming the bun, thinking it will add to the messiness. Often, this results in a bun that looks too “done” or becomes difficult to secure. The beauty of the messy bun lies in its simplicity.
Stick to the basic partial pull-through and a simple wrap of the ends. Let the gentle pulling and pinning create the desired texture and shape.
Troubleshooting
My Bun Falls Apart Too Easily
If your bun is constantly unraveling, your base might not be secure enough, or you might need more hidden support. Ensure your initial ponytail is snug, but not tight.
Try using two hair ties to secure the main bun shape, wrapping them in opposite directions if needed. Additionally, strategically placed bobby pins are your best friends. Tuck them into the base of the bun, anchoring sections to the hair beneath.
It Looks Too “Perfect” or “Done”
This is a common complaint when aiming for a messy look. The key is often in the final loosening step. Don’t be afraid to pull out more strands.
Gently tug at the bun itself, pulling small loops and pieces of hair to create more volume and an undone appearance. Loosen the hair around your face more aggressively. Sometimes, using less hairspray or a softer hold product can also help maintain that lived-in feel.
Hair Strands Keep Escaping Around My Neck
Those pesky shorter layers or baby hairs around the nape of your neck can be challenging. For these, a light application of hairspray or a dab of styling cream can help.
Gently smooth them up into the bun’s base and secure with small bobby pins. Sometimes, a thin headband worn around the nape can also help keep them in check, or you can embrace them as part of the “messy” aesthetic.
Key Takeaways
- Texture is Your Foundation: Always start with hair that has some grip, using dry shampoo or texturizing spray if needed.
- Low and Loose is Key: Gather your hair at the nape of your neck with a relaxed hold for an authentic low messy bun.
- The Partial Loop Method: Pulling your ponytail halfway through on the last loop creates the perfect base for your bun.
- Embrace the Mess: Don’t be afraid to gently pull and loosen sections of hair to achieve that effortless, undone look.
- Strategic Pinning: Use bobby pins not just for security, but also to refine the bun’s shape and tuck in stray hairs.
- Practice Makes Perfect: The more you experiment, the better you’ll get at creating your ideal messy bun.
Frequently Asked Questions
Can I do a low messy bun with thin hair?
Absolutely! Thin hair can benefit greatly from a messy bun as it creates the illusion of more volume. Focus on using a good texturizing spray or dry shampoo at the roots before you start.
When pulling out sections to create messiness, be gentle to avoid pulling too much hair out and making the bun look sparse. A slightly smaller bun shape might work best for you.
How do I make my messy bun last all day?
Longevity comes down to a few factors. First, ensure your initial ponytail base is secure. Second, don’t skimp on bobby pins; place them strategically to anchor the bun firmly.
Finally, a light to medium hold hairspray, applied at the end, will help seal the deal without making your bun too stiff. Avoid touching your bun excessively throughout the day, as this can loosen it.
What about bangs or face-framing pieces?
A low messy bun looks fantastic with bangs or face-framing layers. You can either leave them completely out for a soft, romantic look, or subtly incorporate longer pieces by twisting and pinning them back.
Experiment with how much hair you leave out around your face. Sometimes, pulling out just a few wisps can soften the entire look.
Can I use a scrunchie for this style?
Yes, a scrunchie works wonderfully for a low messy bun! It can add a touch of personality and often provides a softer hold than a traditional hair tie, which can contribute to the “messy” aesthetic.
You can use a scrunchie for both the initial ponytail and to secure the final bun. Just be mindful of its size; a very large scrunchie might overwhelm a smaller bun.
Our Top Recommended Finds
- Texturizing Spray: A good quality texturizing spray adds grit and volume, making your hair easier to style and helping the bun hold its shape without feeling sticky.
- Seamless Hair Ties: These ties prevent snags and damage, and their strong yet flexible hold is ideal for securing your bun without pulling. Look for ones that don’t leave a crease.
- Assorted Bobby Pins: Having a variety of sizes and colors (to match your hair) ensures you have the right tool for every securing and shaping need, from tiny wisps to larger sections.
Master Your Effortless Style
You now have all the tools and knowledge to create a beautiful, low messy bun with your long hair. This style isn’t just about convenience; it’s about embracing a look that is both relaxed and incredibly chic. It truly is the perfect go-to for almost any occasion.
Don’t be discouraged if your first attempt isn’t exactly what you envisioned. Hair styling is a skill that improves with practice and a little bit of experimentation. Play around with the placement, the amount of messiness, and even try adding a cute scarf or hairpin for an extra touch. Go ahead, give it a try today and discover your new favorite everyday hairstyle!