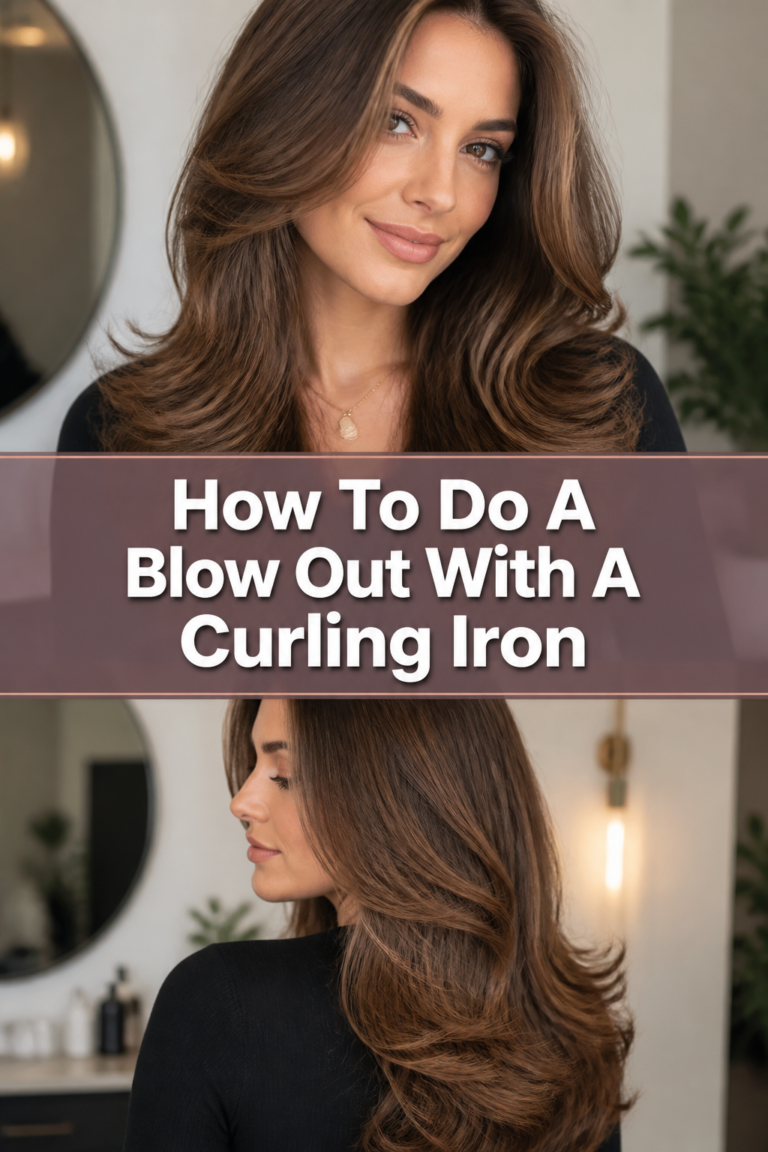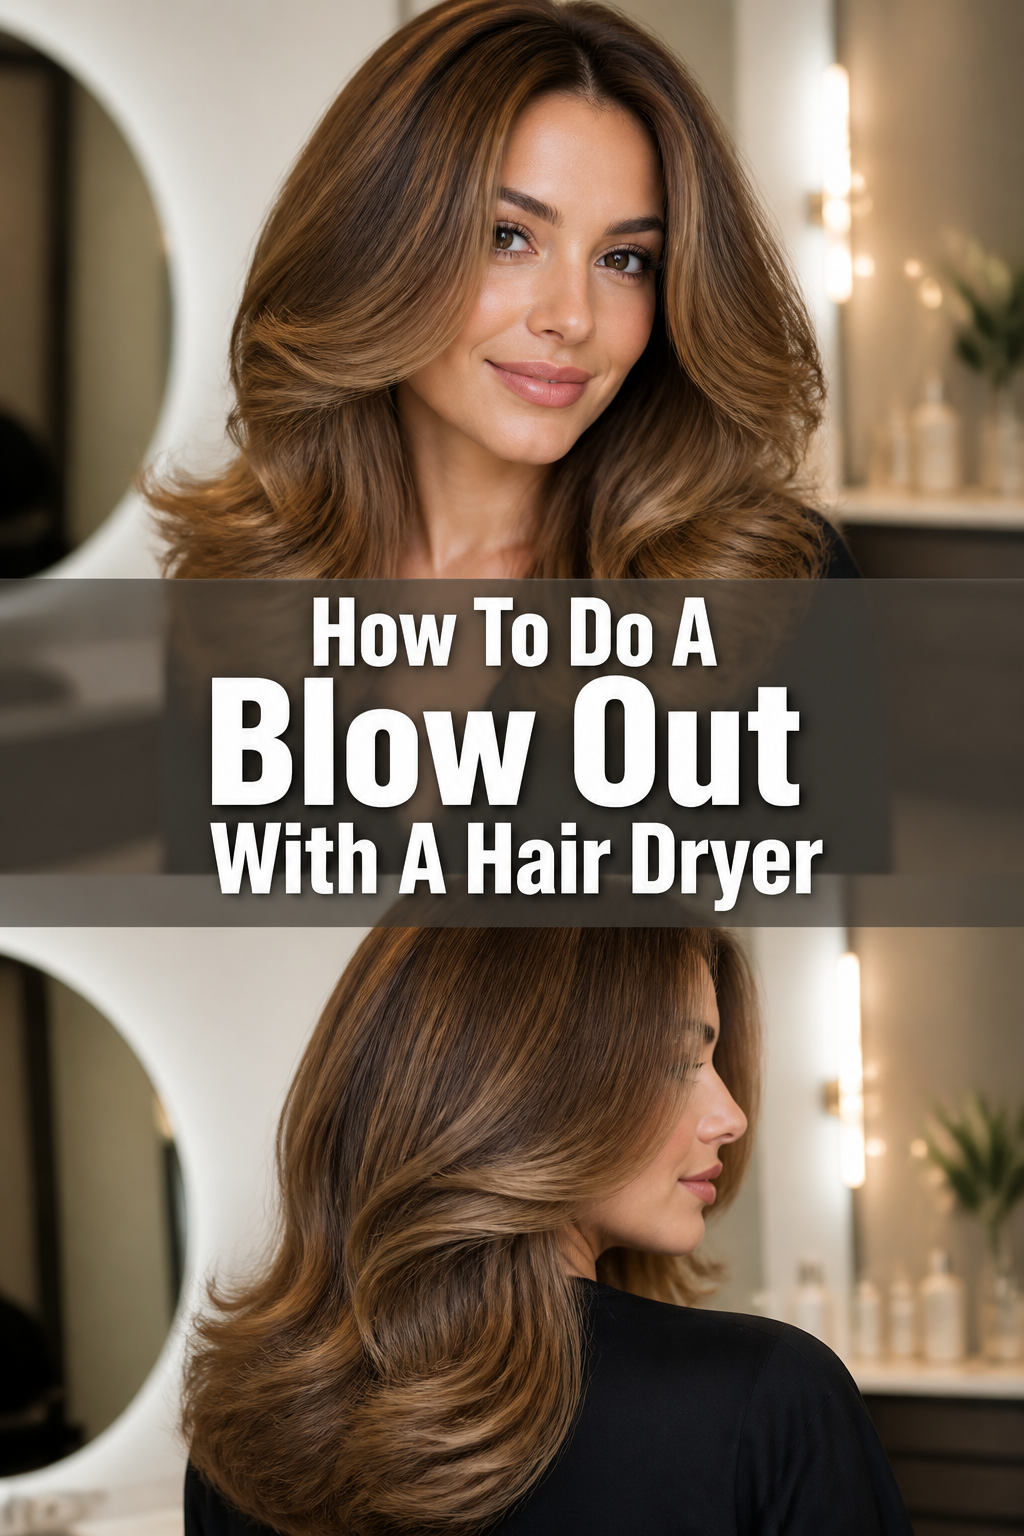
💇♀️ How To Do A Blow Out With A Hair Dryer
Walking out of a salon with a professional blowout makes you feel like a completely different person.
The bounce, the shine, and that incredible “expensive” look usually seem impossible to recreate in your own bathroom.
I spent years struggling with tangled brushes and frizzy ends until I learned the specific mechanics that stylists use behind the chair.

Quick Overview
This guide will teach you how to master the tension, heat, and sectioning required for a red-carpet finish at home.
- Time needed: 30–45 minutes (depending on hair length and thickness)
- Difficulty: Intermediate
- What you’ll need: Ionic hair dryer, concentrator nozzle, round brush, sectioning clips, heat protectant, and a microfiber towel.
Step-by-Step Instructions
Step 1: Prep Your Canvas Properly
Start with a clean base by washing your hair with a clarifying or volumizing shampoo to remove any heavy buildup.
Apply conditioner only from the mid-lengths to the ends to ensure your roots stay light and bouncy.
Blot your hair gently with a microfiber towel or an old cotton T-shirt instead of rubbing it aggressively.
Rubbing creates friction, which raises the hair cuticle and leads to immediate frizz before you even turn on the dryer.
Pro Tip: Never try to blow out soaking wet hair; you will end up exhausted and your hair will likely suffer heat damage from the extended drying time.
Step 2: Apply Targeted Products
Layer your products starting with a high-quality heat protectant to create a barrier against thermal damage.
Distribute a golf-ball-sized amount of volumizing mousse at the roots if you want lift, or a smoothing cream if you prefer a sleek look.
Comb the products through with a wide-tooth comb to ensure every single strand is coated evenly.
Using your fingers isn’t enough, as product clumps can lead to greasy spots or unprotected patches of hair.
Step 3: The 80 Percent Rough Dry
Flip your head upside down or lean to the side to begin the “rough dry” phase without using a brush yet.
Use your fingers to toss the hair around while directing the airflow toward the roots to encourage natural volume.
Stop drying once your hair is about 80% dry; it should feel damp to the touch but not dripping or heavy.
If you start using a round brush while the hair is too wet, you won’t have enough control to shape the style.
Pro Tip: Keep the dryer moving constantly during this phase to prevent “hot spots” that can singe the hair fibers.
Step 4: Section With Precision
Divide your hair into four main quadrants: two in the front and two in the back, using professional sectioning clips.
Subdivide the bottom-most section at the nape of your neck into a horizontal strip about two inches wide.
Secure the rest of the hair tightly so it doesn’t fall into the area you are currently working on.
Working in small, manageable sections is the “secret sauce” that separates a DIY job from a professional-grade blowout.
Step 5: Master the Round Brush Tension
Place your round brush underneath the first section of hair, right at the scalp.
Direct the concentrator nozzle of your dryer downward, following the brush as it moves from root to tip.
Pull the hair taut with the brush; the tension is what smooths the cuticle and creates that signature salon shine.
If the hair is drooping or loose on the brush, you won’t be able to “stretch” the frizz out of the strand.
Rotate the brush slightly at the ends to create a soft curl or a sleek under-tuck, depending on your preference.
Pro Tip: Always keep the nozzle pointed down the hair shaft to keep the cuticle flat and shiny.
Step 6: The Over-Direction Technique
Lift the hair segments at the crown of your head straight up toward the ceiling as you dry them.
Direct the heat at the base of the hair while holding the brush high above your head.
Allow the hair to cool for a few seconds in that elevated position before releasing the brush.
This “over-direction” creates maximum height at the roots that lasts all day without falling flat.
Step 7: Set With the Cool Shot
Press the “cool shot” button on your hair dryer once a section is completely dry and still wrapped around the brush.
Blast the hair with cold air for about 10 seconds to “lock” the hydrogen bonds into their new, smooth shape.
Release the brush slowly by unwinding it rather than pulling it straight through the ends.
Heat softens the hair to make it moldable, but cold air is what actually sets the style in place.
Step 8: Final Finishing Touches
Check for any damp spots behind the ears or at the nape of the neck, as these will cause the hair to frizz later.
Warm a tiny drop of finishing oil or serum between your palms until it feels almost invisible.
Lightly skim your hands over the surface of your hair to tame flyaways and add a final layer of gloss.
Avoid putting oil near your roots, as this will weigh down the volume you just worked so hard to create.
Common Mistakes to Avoid
Drying Soaking Wet Hair
Many people start the round-brush process while their hair is still dripping.
This leads to arm fatigue and uneven results because the water weight prevents the hair from taking a new shape.
Wait until the hair is mostly dry to save your strength and get a better finish.
Forgetting the Concentrator Nozzle
The flat attachment that comes with your dryer is not optional for a blowout.
Without it, the air blows in every direction, ruffling the hair cuticle and creating a bird’s nest of frizz.
The nozzle focuses the air exactly where the brush is, ensuring a smooth and polished result.
Using the Wrong Brush Size
A brush that is too small will create tight, messy curls, while a brush that is too large won’t provide enough grip for shorter layers.
As a general rule, use a medium-sized barrel for shoulder-length hair and a large barrel for long hair.
Metal barrels heat up faster for a “curled” look, while boar bristle brushes provide the best tension for smoothing.
Holding the Dryer Too Close
It is tempting to press the nozzle directly against the hair and brush to “force” it to dry.
This actually traps extreme heat against the hair fibers and can cause permanent heat damage or breakage.
Keep a gap of about one inch between the nozzle and the brush at all times.
Troubleshooting
The Hair Still Looks Frizzy
Frizz usually happens because there wasn’t enough tension on the brush or the hair wasn’t 100% dry before you moved on.
Try re-wetting the frizzy section slightly with a spray bottle and drying it again with more pull on the brush.
Make sure the nozzle is always pointing toward the floor, never upward against the grain of the hair.
Flat Roots and No Volume
If your hair looks sleek but limp, you likely didn’t dry the roots in an upward direction.
Go back to the crown area, lift a section of hair straight up, and blast the roots with heat while holding them taut.
You can also try using a lightweight root-lifting spray next time to give the hair more “grip” at the base.
The Brush Gets Stuck
This usually happens when you try to wrap too much hair around the brush at once.
If the brush gets tangled, do not pull or yank; instead, use the tail of a comb to gently lift the hair out of the bristles.
In the future, use thinner horizontal sections that are no wider than the brush itself.
Key Takeaways
- Preparation is vital: Rough dry your hair to 80% before introducing a round brush to save time and prevent damage.
- Tension creates shine: Keep the hair pulled tight against the brush to flatten the cuticle and eliminate frizz.
- Direction matters: Always point the dryer nozzle downward and over-direct the roots upward for maximum volume.
- The cool shot is a must: Use cold air to set the shape of each section before moving to the next.
- Sectioning saves sanity: Work in small, clipped-off layers to ensure every strand gets the attention it needs.
- Use the nozzle: Never blow-dry for a smooth finish without the concentrator attachment.
Frequently Asked Questions
How long should a DIY blowout last?
A well-executed blowout should last between three to five days depending on your scalp’s oil production.
Using a silk pillowcase and a bit of dry shampoo on the second day can help maintain the volume and smoothness.
Avoid getting your hair wet in the shower by using a high-quality terry-cloth lined shower cap.
Can I do a blowout on curly or coily hair?
Yes, but you will need a brush with more grip, such as a firm boar bristle brush, to provide the necessary tension.
You may also need to work in even smaller sections to ensure the heat penetrates the curl pattern effectively.
Applying a smoothing balm or a “straightening” cream while the hair is wet will make the process much easier.
Is a ceramic or a boar bristle brush better?
Ceramic brushes act like a curling iron because the core heats up, making them great for creating bounce and waves.
Boar bristle brushes are superior for creating a very smooth, shiny, and straight finish because they distribute natural oils.
Many professionals prefer a “hybrid” brush that features both nylon and boar bristles for the best of both worlds.
How do I prevent my arms from getting tired?
The best way to prevent fatigue is to ensure the hair is 80% dry before you start the heavy lifting.
Rest your elbows against your ribcage when working on the lower sections to take the weight off your shoulders.
Investing in a professional-grade hair dryer that is lightweight can also make a massive difference in comfort.
Our Top Recommended Finds
- Ionic Hair Dryer with Concentrator: Look for a model with multiple heat settings and a dedicated cool shot button for professional results.
- Ceramic Round Brush: A 2-inch or 2.5-inch barrel is the most versatile size for creating both volume and smooth ends.
- Professional Sectioning Clips: “Alligator” style clips are best because they can hold large amounts of hair without slipping.
Master Your Signature Style
Now that you understand the mechanics of a perfect blowout, the only thing left to do is practice.
Your first attempt might take a little longer than expected, but your muscle memory will improve with every session.
Once you’ve mastered the basic blowout, you can experiment with “pin curling” each section as it cools for even more dramatic volume.
Grab your dryer, section your hair, and enjoy the confidence that comes with a perfectly polished look today.