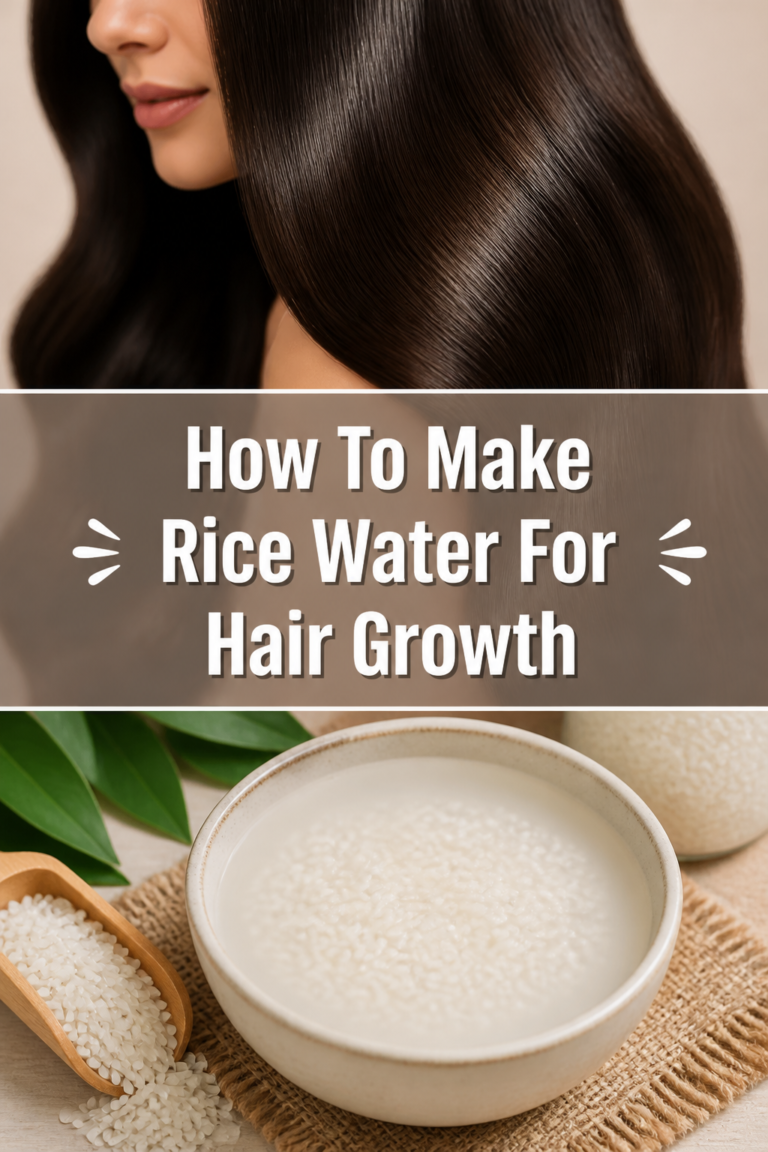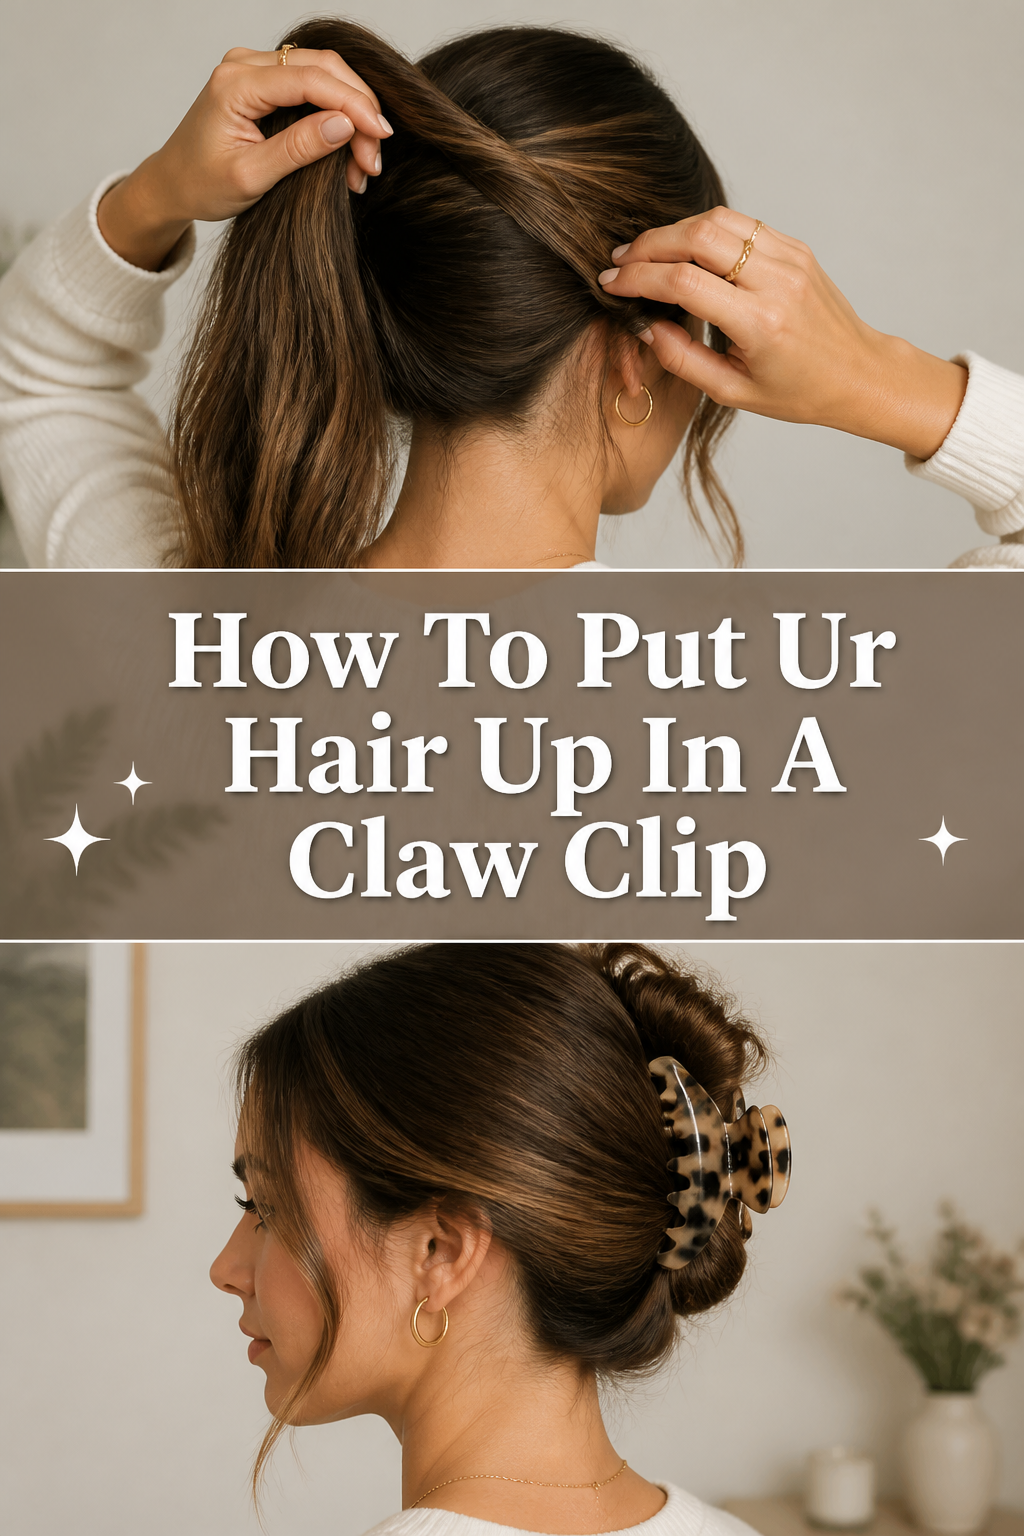
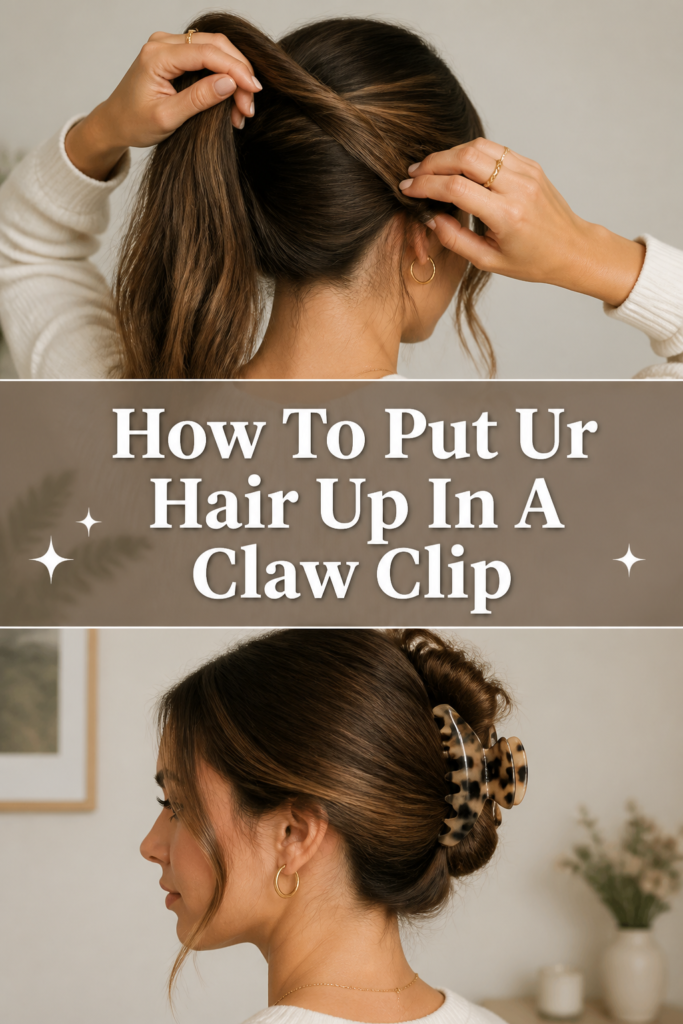
✨ How To Put Ur Hair Up In A Claw Clip
The claw clip has officially reclaimed its throne as the ultimate hair accessory for every occasion.
I have spent years testing every possible clip size and hair texture to find the perfect balance between “effortlessly chic” and “actually stays in place.”
This guide comes from countless mornings of trial and error, ensuring you get that polished look without the constant slipping or scalp pain.
Quick Overview
Mastering the claw clip is about understanding tension and placement rather than just snapping a plastic jaw onto your head.
- Time needed: 30 to 60 seconds
- Difficulty: Beginner
- What you’ll need: A high-quality claw clip, a wide-tooth comb or brush, and optional texture spray.
Step-by-Step Instructions
Step 1: Prep Your Texture
Start by brushing your hair to remove any large tangles that might prevent the clip from closing properly.
If your hair is freshly washed and feeling too “slippery,” spritz a bit of dry shampoo or sea salt spray throughout the mid-lengths to create some grip.
Pro Tip: Second-day hair usually holds a claw clip much better than silky, clean hair because the natural oils provide built-in traction.
Step 2: Gather Into a Low Ponytail
Use your hands to sweep all of your hair toward the nape of your neck as if you are making a low ponytail.
You do not need to use a hair tie for this, as the goal is to keep the base flexible and soft against your head.
Keep your grip firm but comfortable, ensuring no stray pieces are falling out from the bottom or the sides near your ears.
Step 3: Begin the Upward Twist
Hold the base of your ponytail with one hand and use the other hand to twist the hair tightly in a clockwise or counter-clockwise direction.
As you twist, begin to lift the length of your hair upward so it rests vertically against the back of your head.
The twist should be tight enough to feel secure but not so tight that it pulls uncomfortably on your scalp or hairline.
Pro Tip: For those with extra long hair, continue twisting until the “tail” of your hair starts to fold over itself naturally.
Step 4: Fold the Excess Length
If your hair is longer than the height of the clip, fold the remaining ends back down toward the base of the twist.
You can also tuck the ends inside the “pocket” created by the twist if you prefer a cleaner, more tucked-in look.
For a more casual “90s model” vibe, let the ends sprout out of the top of the clip like a fountain.
Step 5: Open and Position the Clip
Open your claw clip as wide as it will go and position it directly over the vertical twist you just created.
Make sure the teeth of the clip are touching your scalp on both sides of the twist to ensure maximum stability.
The clip should “bite” through the twisted hair and grab a small amount of the hair that is flat against your head.
Step 6: Secure and Snap
Release the clip slowly so the teeth lock into the hair and the spring tension holds everything in place.
Give your head a gentle shake from side to side to see if you feel any wobbling or loose sections.
If it feels heavy or lopsided, simply unclip and reposition it slightly higher or lower on the back of your head.
Step 7: Personalize the Face Frame
Gently tug on the hair at the crown of your head to create a bit of volume and prevent that “slicked-back” look.
Pull out a few small tendrils around your ears and temples to soften the style and frame your face beautifully.
You can use a tiny bit of hairspray on your fingertips to smooth down any flyaways that look messy rather than intentional.
Pro Tip: Use a mirror to check the profile view, as the angle of the clip can drastically change how your jawline and neck appear.
Common Mistakes to Avoid
Using the Wrong Clip Size
Many people struggle because they try to use a small decorative clip for a full head of thick hair. If the clip cannot close at least 75% of the way, it will eventually pop off or slide down throughout the day. Invest in an XL clip for thick hair or a mini clip for half-up styles.
Twisting Too Loosely
If the initial twist at the nape of your neck is loose, the weight of your hair will cause the clip to sag within minutes. Ensure the base of the twist is firm against your scalp before you even reach for the accessory. This foundation is what supports the entire weight of the look.
Ignoring the Scalp Connection
A common error is only clipping the “twist” of the hair without catching the hair that is actually attached to the scalp. If the teeth don’t make contact with the hair resting against your head, the clip has nothing to anchor to. Always feel for the teeth touching your skin lightly before snapping the clip shut.
Troubleshooting
The Clip Keeps Sliding Down
This usually happens with fine or very straight hair that lacks natural texture. Try backcombing the section of hair where the clip will sit to create a “shelf” for the teeth to grab onto. You can also try using a clip with a rubberized or matte finish, as these provide significantly more grip than smooth plastic or metal versions.
The Style Gives Me a Headache
If you feel a sharp pulling sensation, the clip is likely catching too much hair in one specific spot or is placed too high. Try lowering the placement of the clip toward the middle of the back of your head. You might also be twisting the hair too tightly at the root, so try a softer twist and let the clip do more of the holding work.
My Hair Is Too Short to Stay In
For those with bob-length hair, the “twist and lift” method might result in the bottom layers falling out. Instead of one large twist, try gathering the top half first and securing it, then using a second smaller clip for the bottom section. Alternatively, use bobby pins that match your hair color to pin up the stubborn “baby hairs” at the nape of your neck.
Key Takeaways
- Texture is your best friend: Use products or wait for second-day hair to ensure the clip has something to grip onto.
- Size matters: Match your clip size to your hair density and length to prevent slipping or breakage.
- Anchor to the scalp: Ensure the teeth of the clip make contact with the hair against your head for a secure hold.
- The twist is the foundation: A firm, upward twist provides the structural integrity needed for the style to last all day.
- Finish with intention: Pulling out face-framing pieces turns a functional hairstyle into a fashion statement.
Frequently Asked Questions
Are claw clips better for your hair than elastics?
Yes, claw clips are generally much healthier for your hair because they distribute pressure more evenly across a larger surface area. Traditional hair ties can cause “stress snaps” and breakage at the point of tension, whereas a clip holds the hair without squeezing the cuticle. They are an excellent choice for anyone trying to grow out their hair or reduce mechanical damage.
Can I wear a claw clip with wet hair?
You can, but you should be very careful because hair is most fragile when it is wet. Avoid twisting the hair too tightly, as wet hair stretches and can snap more easily than dry hair. Use a wide-toothed comb to detangle first and choose a clip with rounded, smooth teeth to avoid snagging the damp strands.
How do I make a claw clip look professional for work?
For a professional setting, opt for a sleek, matte-finish clip in a neutral color like tortoise shell, black, or cream. Instead of leaving the ends “fanning out” at the top, tuck them neatly into the twist for a sophisticated French twist look. Ensure the front of your hair is smoothed back with a light pomade or gel to eliminate fuzzy flyaways.
What do I do if my hair is too thick for any clip?
If you have extremely thick or curly hair, look for “octopus” style clips which have extra-long, curved teeth designed to wrap around more volume. You can also try the “half-up” method where you only clip the top section of your hair, leaving the rest down. Another trick is to use two medium-sized clips placed vertically next to each other to share the load of the hair’s weight.
Our Top Recommended Finds
- Matte Large Power Grip Clips: These are essential for anyone with long or thick hair because the matte coating prevents the plastic from sliding against silky strands.
- Metal French Twist Clips: These provide a more elevated, jewelry-like look for formal events while offering a much stronger spring tension than cheap plastic alternatives.
- Acetate Tortoise Shell Clips: Acetate is a high-quality, durable material that is much less likely to snap or break compared to standard molded plastic.
Level Up Your Accessory Game
Now that you have mastered the basic claw clip technique, you can start experimenting with different heights and styles.
Try a “half-up” look for a romantic dinner or a low, loose clip for a relaxed day at home.
The more you practice, the more you will realize that this simple tool is the most versatile item in your beauty arsenal.
Grab your favorite clip and try this routine right now to see how much easier your morning can be.