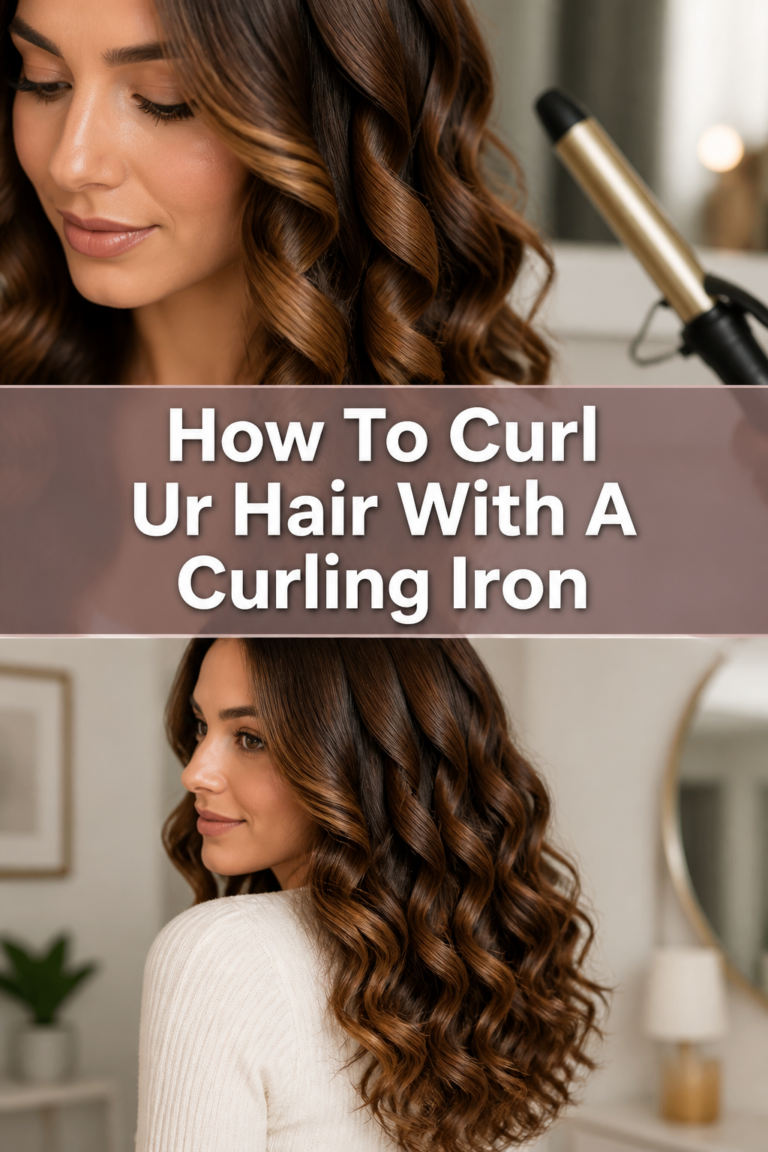
💇♀️ How To Curl Your Hair With A Curl Iron
I remember the first time I tried to curl my hair for a school dance and ended up with a giant, tangled mess of frizz.
After years of professional training and countless hours practicing on myself and clients, I have mastered the art of the perfect wave.
This guide shares every secret I have learned so you can achieve salon-quality results from your own bathroom.
Quick Overview
Before you plug in your iron, take a look at what this process involves and what you will need to get started.
- Time needed: 20 to 45 minutes depending on hair thickness
- Difficulty: Beginner
- What you’ll need: Curling iron, heat protectant, sectioning clips, wide-tooth comb, and hairspray.
Step-by-Step Instructions
Step 1: Start With Bone-Dry Hair
Ensure your hair is completely dry before you even think about touching a hot tool to your strands.
Applying high heat to damp hair creates “bubble hair,” which is when the water inside the hair shaft turns to steam and bursts through the cuticle.
If you hear a sizzling sound, stop immediately and finish blow-drying your hair until it is 100% dry to the touch.
Pro Tip: For the best results, wash your hair the night before so the natural oils can provide a bit of “grip” for the curl.
Step 2: Detangle and Smooth
Brush through your hair thoroughly to remove every single knot and tangle.
Any knots left in your hair will become permanent crimps once the heat hits them, making the final look appear messy.
Use a paddle brush or a wide-tooth comb to smooth the hair from the roots down to the very tips.
Step 3: Apply a Quality Heat Protectant
Mist a heat protectant spray all over your hair, ensuring you cover the middle and ends especially well.
This product acts as a physical barrier between your hair and the hot metal, preventing moisture loss and breakage.
Wait about thirty seconds for the spray to dry or “set” on your hair so you aren’t curling wet product.
Step 4: Choose the Right Temperature
Adjust the heat setting on your iron based specifically on your hair texture and health.
Fine or damaged hair should stay between 250°F and 300°F, while medium hair can handle 300°F to 350°F.
Only use settings above 350°F if you have very thick, coarse, or resistant hair that refuses to hold a shape.
Pro Tip: It is always better to start with a lower temperature and increase it only if the curls aren’t forming.
Step 5: Section Your Hair Properly
Divide your hair into at least three main layers: the bottom, the middle, and the top crown section.
Use clips to secure the top sections out of the way so you can focus on the bottom layer near the nape of your neck.
Working in small, manageable sections ensures that every strand gets even heat distribution and a consistent shape.
Step 6: Master the Clamp Technique
Take a one-inch section of hair and place the iron about halfway down the hair shaft with the clamp facing forward.
Slide the iron down toward the ends, then roll the iron back up toward your scalp, stopping an inch away from the skin.
This “mid-shaft start” technique ensures the heat is concentrated where the curl needs to be strongest, rather than just at the tips.
Step 7: Determine the Direction
Rotate the iron away from your face for most of your hair to create a modern, wind-swept appearance.
For the left side of your head, this means turning the iron clockwise; for the right side, turn it counter-clockwise.
Curling away from the face opens up your features and prevents the hair from falling forward and hiding your eyes.
Step 8: Hold and Release
Hold the hair in the iron for about five to eight seconds, depending on how thick the section is.
Open the clamp slightly and let the curl slide out into your palm instead of just letting it drop and hang.
Hold the warm curl in your hand for a few seconds to let it “set” in its coiled shape before letting it go.
Pro Tip: If you want your curls to last all day, pin the warm coil to your head with a bobby pin until it is completely cold.
Step 9: Finish the Crown
Release the top section of your hair and curl these pieces last, as they are the most visible.
Focus on the pieces right around your face, ensuring the iron stays at a consistent angle for a symmetrical look.
If you want more volume, pull these top sections straight up from the head before wrapping them around the iron.
Step 10: The Cool Down and Shake Out
Wait at least ten minutes until every single strand of hair is cold to the touch.
If you brush your hair while it is still warm, the curls will lose their structure and turn into a flat wave.
Once cool, use your fingers or a wide-tooth comb to gently break up the coils for a natural, soft finish.
Common Mistakes to Avoid
Curling Too Much Hair at Once
Taking sections that are too thick is the fastest way to get uneven curls that fall out within an hour.
When the section is too large, the heat cannot reach the center of the bundle, leaving the inner hairs straight.
Stick to sections that are no wider than the width of your curling iron barrel for the most consistent results.
Holding the Iron on the Hair for Too Long
Many people believe that holding the iron for thirty seconds or more will make the curl last longer.
In reality, this just cooks the hair and causes irreversible heat damage without adding any extra hold.
If the curl isn’t taking after ten seconds, your temperature is likely too low or your sections are too thick.
Using the Wrong Barrel Size
If you want beachy waves but use a half-inch iron, you will end up with tight ringlets that look very different from your goal.
Conversely, using a two-inch barrel on short hair will only provide volume and a slight flip rather than an actual curl.
A one-inch barrel is generally the “goldilocks” size that works for almost every hair length and style.
Troubleshooting
The Curls Fall Out Immediately
This usually happens because the hair was too clean or too heavy with heavy conditioners.
Try using a lightweight volumizing mousse on damp hair before blow-drying to give the hair some “grit.”
Also, ensure you are letting the curls cool completely in your hand or pinned to your head before touching them.
Fishhook Ends
Fishhooks are those awkward, bent ends that happen when the tips of your hair aren’t fully tucked into the iron.
To fix this, make sure you slide the iron all the way to the very ends of the hair before you start rolling up.
If you see a bent end, quickly run the iron over it to straighten it out and try the curl again.
The Hair Smells Burnt
A burnt smell is a major red flag that your iron is way too hot or your hair is too dry and damaged.
Immediately turn down the heat setting and check if there is product buildup on your iron barrel.
Clean your iron with a damp cloth (when it is unplugged and cool) to remove old hairspray that might be burning.
Key Takeaways
- Always start with 100% dry hair to prevent steam damage and “bubble hair.”
- Use a heat protectant every single time you use a hot tool to preserve hair health.
- Curling away from the face creates a more flattering and modern silhouette.
- Letting the curls cool completely before touching them is the secret to long-lasting style.
- Match your iron temperature to your hair texture to avoid unnecessary burning.
- Sectioning the hair allows for even heat distribution and a professional finish.
Frequently Asked Questions
Can I curl my hair every day?
It is generally not recommended to use high heat every day as it will eventually lead to breakage and split ends.
Try to limit heat styling to two or three times a week and use dry shampoo to extend the life of your curls.
Always use a deep conditioning mask once a week if you are a frequent user of curling irons.
What is the difference between a curling iron and a curling wand?
A curling iron has a clamp that holds the hair in place, which creates a very polished and uniform look.
A curling wand has no clamp, requiring you to wrap the hair around the barrel manually for a more relaxed, textured wave.
Irons are generally easier for beginners because the clamp does a lot of the work for you.
How do I get my curls to look like beach waves?
To achieve beach waves, leave the last inch or two of your hair out of the curling iron clamp.
Keeping the ends straight gives the style a more casual, lived-in feel rather than a formal “prom” look.
Once finished, mist the hair with a sea salt spray and shake it out vigorously with your fingers.
Should I use hairspray before or after curling?
It is best to use a very light-hold hairspray before curling for extra grip, but wait for it to dry first.
The heavy-duty, finishing hairspray should only be applied once the curls have cooled and been brushed out.
Applying strong-hold spray to wet hair and then hitting it with an iron can cause the hair to stick to the metal.
Our Top Recommended Finds
- 1-Inch Ceramic Curling Iron: Ceramic barrels provide even heat and emit negative ions that reduce frizz and add shine.
- Professional Sectioning Clips: Look for “alligator” style clips that can hold large amounts of hair without slipping.
- Wide-Tooth Carbon Comb: These are heat-resistant and perfect for breaking up curls without creating static.
Mastering Your Signature Style
Now that you have the foundation for the perfect curl, the best thing you can do is practice.
Try different section sizes and varying temperatures to see how your specific hair type reacts to the heat.
Once you get the hang of the wrist motion, you will be able to style your entire head in minutes.
Grab your iron, put on your favorite playlist, and start experimenting with your new skills today.