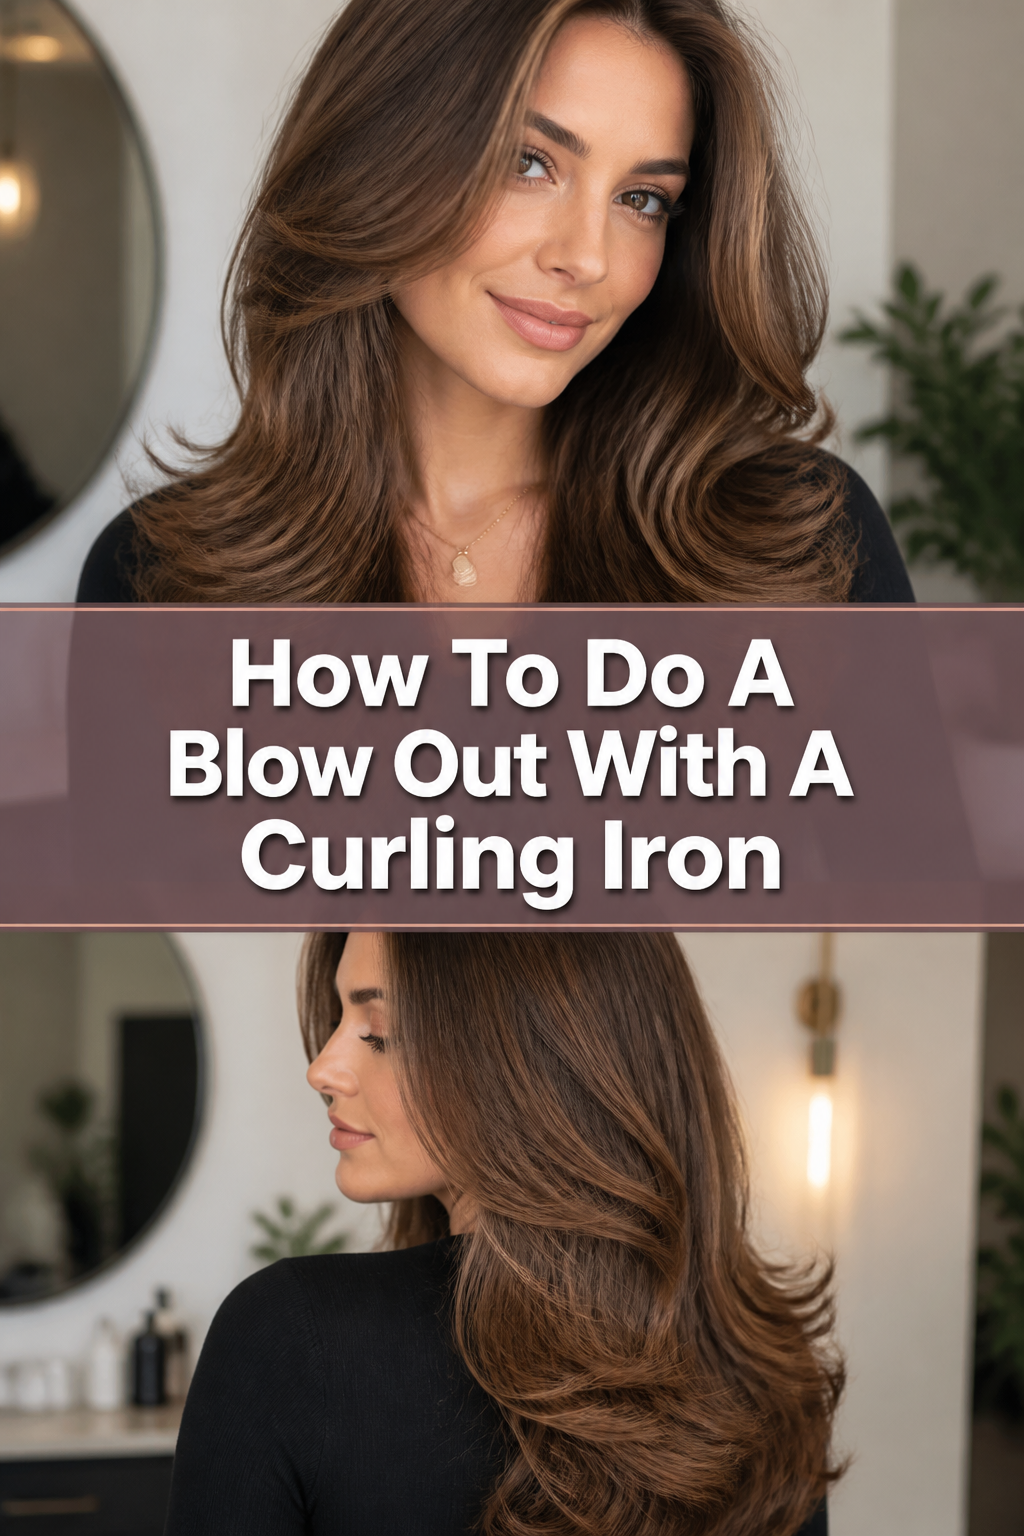
💇♀️ How To Do A Blow Out With A Curling Iron
Getting that perfect salon-quality blowout at home can feel like a daunting task. Many of us struggle with the coordination required for a round brush and hairdryer.
I’ve been there, wrestling with my hair and feeling frustrated with less-than-stellar results. That’s why I discovered a simpler, more effective way to achieve bouncy, voluminous hair.
This guide shares the exact method I use, turning a tricky styling goal into an achievable routine with just a curling iron.

Quick Overview
Achieving a beautiful, bouncy blowout with a curling iron is simpler than you might think. This method focuses on creating volume and smooth waves that mimic a traditional salon blowout, but with less effort. You’ll learn how to prep your hair, use the curling iron effectively, and set your style for lasting results.
- Time needed: 45-75 minutes (depending on hair length and thickness)
- Difficulty: Intermediate
- What you’ll need: Curling iron (1-1.5 inch barrel recommended), heat protectant, volumizing mousse or spray, sectioning clips, paddle brush, wide-tooth comb, hairspray, setting clips (optional)
Step-by-Step Instructions
Step 1: Prepare Your Hair
Begin with clean, damp hair. This technique works best when your hair is about 80-90% dry, either air-dried or rough-dried with a blow dryer. Ensure your hair is free of tangles before applying any products.
Brush through your hair gently to remove any knots. A wide-tooth comb or a paddle brush works well for this initial detangling.
Apply a generous amount of heat protectant evenly throughout your hair. This crucial step shields your strands from potential heat damage from the curling iron.
Work in a volumizing mousse or spray, focusing on the roots and mid-lengths. This product provides the foundation for lift and body, essential for a blowout look.
Pro Tip: For extra root lift, apply volumizing product directly to your scalp and massage it in before drying. This ensures maximum bounce right where you need it.
Step 2: Section Your Hair
Proper sectioning is key to ensuring every strand gets attention and heat. This makes the styling process manageable and yields more consistent results. Divide your hair into horizontal sections, starting from the bottom.
Create a horizontal part from ear to ear, just above your nape. Secure the top section of your hair with a large clip.
Divide this bottom section into 2-3 smaller, vertical subsections. The smaller the sections, the more precise your curls and volume will be.
Continue working your way up your head, creating horizontal sections. Each section should be roughly 1-2 inches thick, depending on your hair density.
Step 3: Choose Your Curling Iron and Heat Setting
The right tools and temperature are vital for a successful blowout. Select a curling iron barrel size that suits your desired level of wave and volume, and adjust the heat accordingly. A 1-1.5 inch barrel is ideal for a classic blowout look.
Select a curling iron with a barrel size appropriate for a voluminous, bouncy wave. A 1-inch barrel gives tighter curls that drop into waves, while a 1.25 or 1.5-inch barrel creates softer, looser waves.
Adjust the heat setting based on your hair type. Fine or damaged hair requires lower temperatures (250-300°F), while thick or coarse hair can handle higher heat (350-400°F).
Allow your curling iron to fully heat up before you begin styling. Consistency in temperature ensures even styling results across all sections.
Step 4: Curl and Wrap Away from Your Face
This step is where the magic happens, creating those outward-facing, voluminous waves. The direction you wrap your hair is crucial for achieving the classic blowout effect. Always curl away from your face for a flattering finish.
Take your first subsection of hair. Hold the curling iron horizontally, about halfway down the strand, with the clamp facing forward.
Clamp the hair gently, then begin to wrap the hair around the barrel, away from your face. Ensure the ends are smoothly tucked around the barrel, not crimped by the clamp.
Hold for 5-10 seconds, depending on your hair type and the heat setting. You want the hair to heat through completely to set the curl.
Release the clamp and gently slide the curling iron out, allowing the curl to remain coiled. Do not pull or brush it out yet.
Step 5: Pin and Set Each Curl
Setting your curls while they cool is the secret to long-lasting volume and bounce. This step allows the hair’s cuticle to close around the new shape, locking in your style. Without setting, curls can fall flat quickly.
Catch each freshly curled section in your hand as you remove the curling iron. Gently re-coil the warm curl into a loop.
Secure the coiled curl against your scalp using a setting clip or bobby pin. This technique preserves the curl’s shape as it cools.
Repeat this process for all sections of your hair. Ensure every curl is pinned up and allowed to cool completely.
Pro Tip: For extra hold, lightly mist each pinned curl with a flexible hold hairspray before it cools. This provides an additional layer of setting power.
Step 6: Cool Down and Release
Patience is key during the cooling phase. Rushing this step will compromise the longevity and definition of your blowout. Allow your hair ample time to cool completely.
Wait at least 15-20 minutes, or longer if you have very thick hair. The longer your hair cools in its coiled state, the better the curls will hold.
Remove all the setting clips or pins one by one, carefully releasing each curl. Avoid pulling or tugging on the hair.
Gently shake your head to loosen the curls slightly. This helps them relax into a more natural wave pattern.
Step 7: Finish with Volume and Hold
The final steps involve blending your curls into a cohesive blowout and locking in your hard work. This is where you achieve that seamless, bouncy finish. Do not over-brush or over-comb your hair.
Flip your head upside down and gently run your fingers through your hair at the roots. This helps to break up the curls and create impressive volume.
Use a wide-tooth comb or your fingers to softly comb through the curls, blending them into soft waves. Avoid using a brush as it can flatten the volume.
Mist your entire head with a medium-hold hairspray. Hold the can about 10-12 inches away from your head for an even application.
Gently scrunch your hair or lift at the roots as you spray to maximize volume and ensure the spray reaches all areas.
Common Mistakes to Avoid
Using Too Much Heat
Applying excessive heat to your hair can lead to damage, breakage, and a dull appearance. High temperatures can also make your curls fall flat faster because the hair becomes overly pliable and loses its ability to hold shape. Always start with a lower heat setting and increase only if necessary for your hair type.
Not Using Heat Protectant
Skipping heat protectant is a direct path to hair damage. Without a protective barrier, the direct heat from the curling iron can scorch your hair, leading to split ends, dryness, and a lack of shine. Always apply a quality heat protectant evenly before styling.
Curling Hair in the Wrong Direction
Curling all sections towards your face or in random directions can result in a messy, uncoordinated look rather than a polished blowout. For a classic blowout effect, always curl the sections around your face away from your face. This opens up your features and creates a beautiful, flowing wave pattern.
Not Letting Curls Cool
Releasing or brushing out curls before they have fully cooled is one of the most common reasons a blowout doesn’t last. Hair cools into its shape; if you disrupt it while it’s still warm, the curl will relax and fall out quickly. Patience during the cooling phase is essential for lasting results.
Troubleshooting
Curls Fall Flat Quickly
If your curls lose their bounce shortly after styling, it’s often due to insufficient cooling time or improper product use. Ensure each curl is pinned up and allowed to cool completely, ideally for 15-20 minutes or longer. Using a setting spray or a stronger hold volumizing mousse during prep can also help.
Also, check your heat setting. If the heat is too low for your hair type, the curl might not set properly. Conversely, if it’s too high, it can over-process the hair, making it limp. Experiment with your curling iron’s temperature.
Hair Looks Frizzy
Frizz can appear if your hair isn’t completely dry before styling or if you’re pulling too hard on the hair while curling. Ensure your hair is 80-90% dry and smooth before using the curling iron. Applying a small amount of anti-frizz serum or oil after styling can help tame flyaways.
Humidity is another common culprit for frizz. Finish your style with a humidity-resistant hairspray to lock out moisture. Gently comb through your curls with your fingers or a wide-tooth comb instead of a brush to avoid disturbing the cuticle too much.
Lack of Volume at the Roots
If your blowout lacks the desired lift at the crown, you might not be focusing enough on root volume during prep and styling. Make sure you’re applying volumizing products directly to your roots before drying. When curling the top sections, lift the hair straight up before wrapping it around the iron.
Consider using a root-lifting spray or powder on dry hair before you begin curling. After releasing the curls, gently backcomb a few sections at the crown for an extra boost. Flipping your head upside down and tousling your roots before applying hairspray also helps.
Key Takeaways
- Always start with clean, 80-90% dry hair and apply heat protectant generously.
- Proper sectioning is crucial for an even, consistent blowout effect.
- Choose the right curling iron barrel size and heat setting for your hair type.
- Curl hair away from your face for a flattering, voluminous finish.
- Pin each curl to cool completely; this is the secret to long-lasting hold.
- Use your fingers or a wide-tooth comb to gently blend curls, preserving volume.
Frequently Asked Questions
What size curling iron is best for a blowout look?
A 1-inch to 1.5-inch barrel curling iron is generally best for achieving a classic blowout look. The 1-inch barrel creates tighter curls that will relax into bouncy waves, while the 1.25 or 1.5-inch barrel gives softer, looser waves and more volume. Your hair length and desired tightness will influence your choice.
Can I do this on short hair?
Yes, you can absolutely do a blowout with a curling iron on short hair, such as a bob or lob. The key is to use smaller sections and potentially a smaller barrel curling iron (e.g., 0.75 or 1 inch) to ensure you can wrap the hair effectively. Focus on lifting at the roots for maximum volume.
How do I make my blowout last longer?
To make your blowout last, ensure your curls cool completely while pinned up. Use a good quality hairspray as a finishing touch. Avoid touching your hair excessively throughout the day. Sleeping on a silk pillowcase and using a dry shampoo at the roots on subsequent days can also help extend the style.
Should my hair be completely dry before I start?
It’s best if your hair is about 80-90% dry before you start using the curling iron. If your hair is too wet, the curling iron won’t effectively set the curl and can cause unnecessary damage. If it’s completely dry, you risk losing some of the volume and flexibility that slightly damp hair provides when combined with heat.
Our Top Recommended Finds
- Quality Heat Protectant Spray: Essential for shielding your hair from high temperatures and maintaining its health and shine.
- Volumizing Mousse or Root Spray: Provides the necessary lift and body at the roots, giving your blowout that desired fullness.
- Sectioning Clips: These make the styling process much more manageable, allowing you to work through your hair systematically.
Master Your At-Home Blowout Today
You now have all the tools and knowledge to create a stunning, voluminous blowout using just a curling iron. No more struggling with round brushes or expensive salon visits for that coveted look. This method simplifies the process, making beautiful hair accessible right from your home.
Don’t let the fear of complex styling hold you back. Grab your curling iron, follow these steps, and discover the confidence that comes with a perfectly styled mane. Start practicing today, and you’ll be amazed at the gorgeous, bouncy results you can achieve.