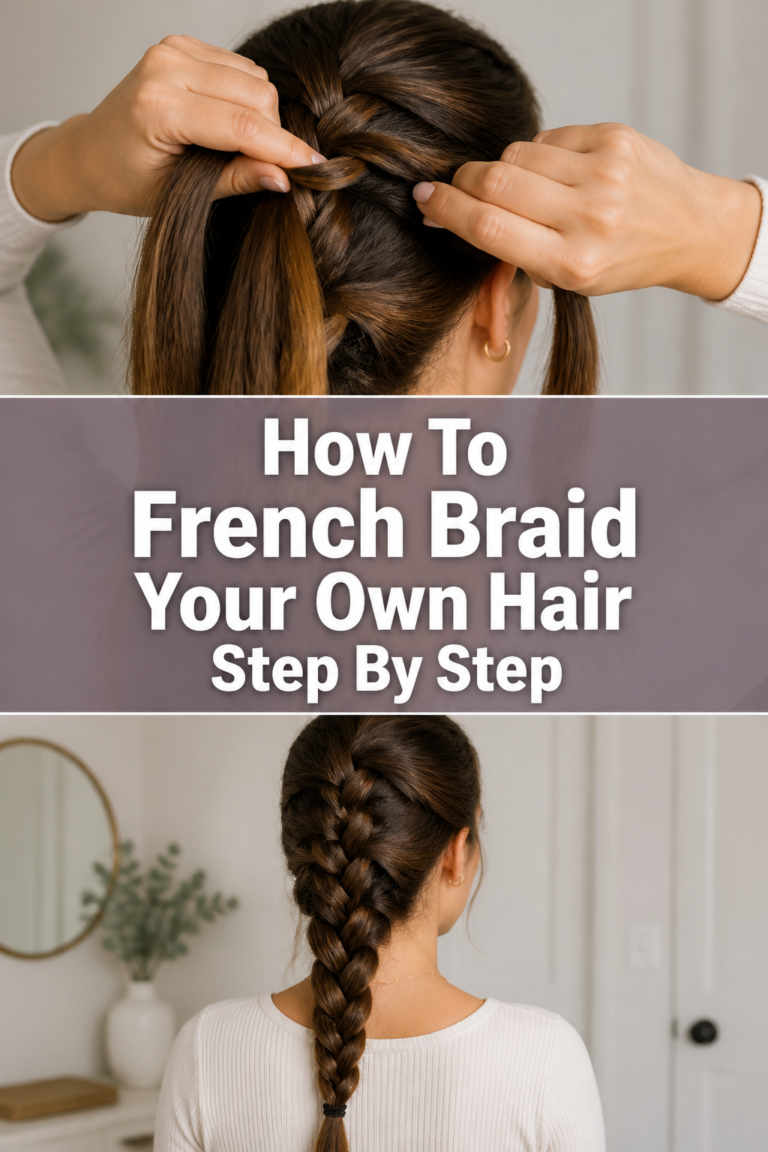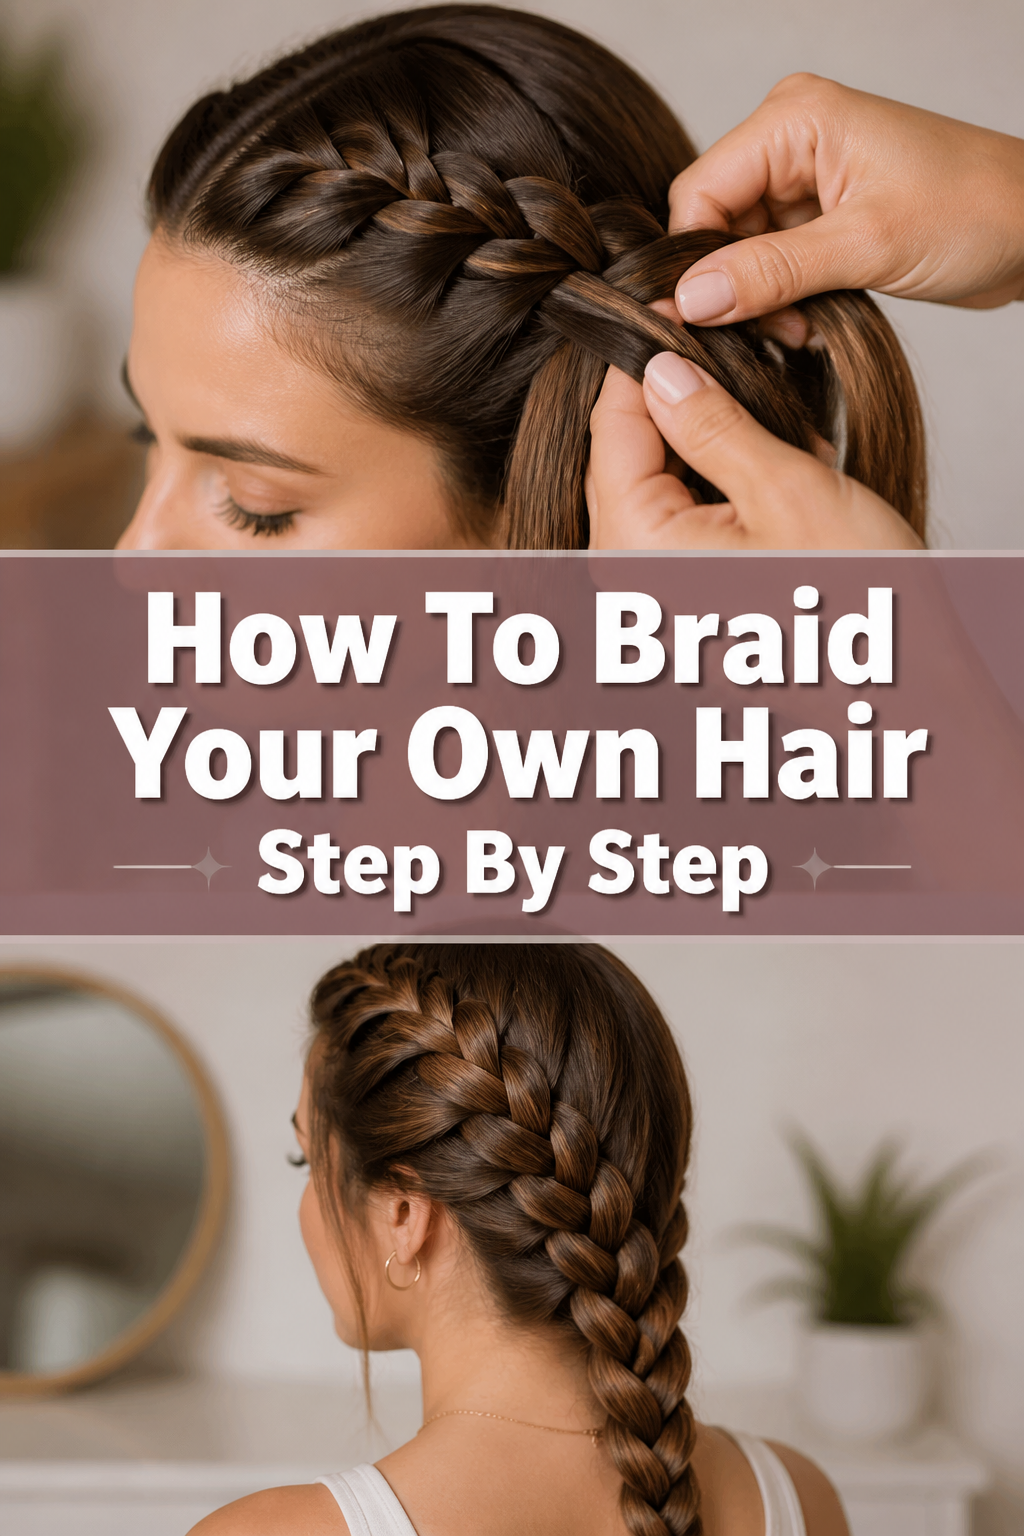
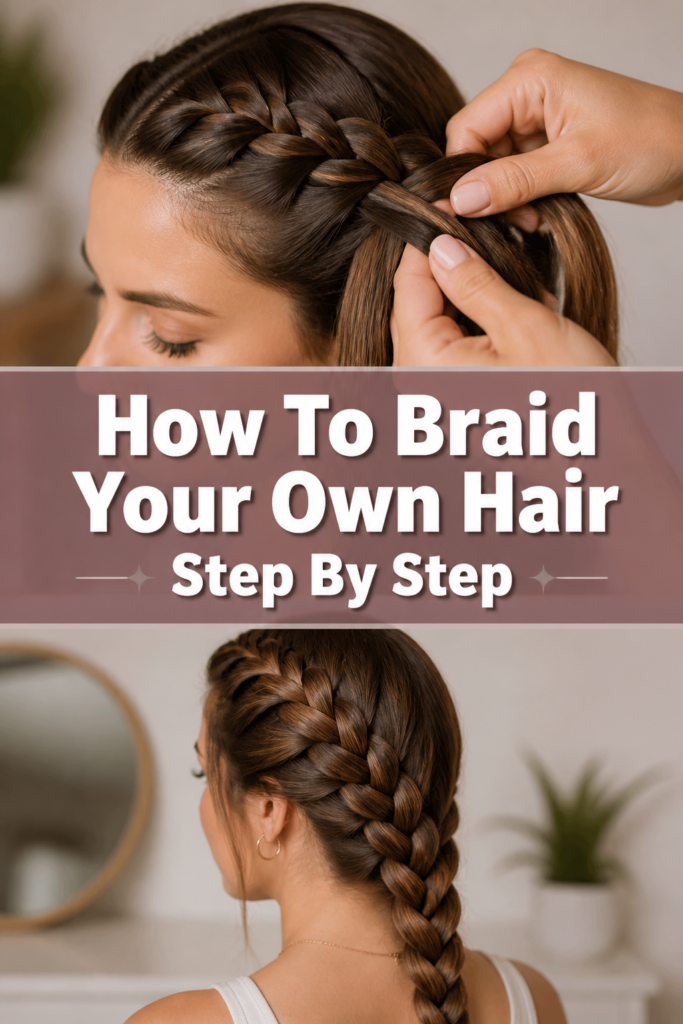
💇♀️ How To Braid Your Own Hair Step By Step
Learning to braid your own hair can feel like mastering a magic trick.
I remember struggling with my own hair, tangled fingers and uneven sections, before finally cracking the code of consistent, beautiful braids.
This guide shares those lessons, helping you create elegant styles right at home with confidence.
Quick Overview
This guide will walk you through the process of braiding your own hair, focusing on the classic three-strand braid, a fundamental skill for many other styles.
- Time needed: 10-20 minutes (for beginners, this can vary)
- Difficulty: Beginner
- What you’ll need: Hairbrush or comb, hair elastic, optional: water bottle with spray, styling cream, mirror.
Step-by-Step Instructions
Step 1: Gather Your Tools and Prepare Your Hair
Before you begin, make sure you have everything within reach. This prevents you from stopping mid-braid to search for an elastic.
Brush your hair thoroughly to remove any knots or tangles. Smooth hair is much easier to work with and helps create a neater braid.
If your hair is very dry or prone to flyaways, a light mist of water or a small amount of leave-in conditioner can help.
Pro Tip: Use a wide-tooth comb for detangling wet hair to minimize breakage. For dry hair, a paddle brush works well.
Step 2: Decide on Your Braid Placement
Think about where you want your braid to sit. Do you want a single braid down your back, two pigtail braids, or a side braid?
For a single braid, you’ll gather all your hair at the back or to one side. For pigtails, you’ll create a neat part down the middle of your head.
Once you’ve decided, use your comb to create a clean part if necessary. Precision here makes a big difference in the final look.
Step 3: Section Your Hair
Take the section of hair you intend to braid and hold it firmly. For a standard three-strand braid, you need to divide this section into three equal smaller strands.
Use your index finger and thumb to separate the first strand, then repeat for the second and third. Try to make them as even as possible.
Uneven sections can lead to a lopsided or messy-looking braid, so take your time with this step.
Pro Tip: If you’re struggling to keep the sections separate, try holding the main section of hair taut with one hand while using your other hand to divide it.
Step 4: Begin the Braiding Pattern (First Cross-Over)
Hold the three strands: let’s call them Left (L), Middle (M), and Right (R).
Take the Left strand and cross it over the Middle strand. The Left strand is now in the middle position, and the original Middle strand is now on the left.
Keep a firm, but not painful, grip on all three strands as you make this movement.
Step 5: Continue the Braiding Pattern (Second Cross-Over)
Now, take the Right strand and cross it over the strand that is currently in the middle position (which was originally your Left strand).
The Right strand is now in the middle, and the previous middle strand is now on the right.
You have completed one full cycle of the three-strand braid. The pattern is simply Left over Middle, then Right over Middle, repeatedly.
Pro Tip: Use a mirror to help you see what you’re doing, especially when you’re first learning. It can be tricky to coordinate your hands without visual feedback.
Step 6: Repeat the Pattern Down the Length of Your Hair
Continue the sequence: cross the new leftmost strand over the middle strand, then cross the new rightmost strand over the middle strand.
Maintain consistent tension with each cross-over. This is key to a neat, even braid.
As you braid, try to keep your hands close to your head at the base of the braid to prevent it from becoming loose at the top.
Step 7: Secure the Braid
Once you’ve braided down to the end of your hair, or as far as you wish, it’s time to secure it.
Hold the end of the braid firmly with one hand. With your other hand, wrap a hair elastic around the end of the braid several times until it feels secure.
Ensure the elastic is tight enough to hold the braid, but not so tight that it causes discomfort or pulls on your hair.
Step 8: Refine and Finish Your Braid
Once secured, take a moment to inspect your braid. Are there any loose strands or flyaways?
Gently tug on the loops of the braid for a slightly looser, more voluminous look, or smooth down any stray hairs with a little styling cream or hairspray.
A final mist of hairspray can help set the style and keep it looking neat throughout the day.
Common Mistakes to Avoid
Uneven Sections
Starting with three strands of unequal thickness is a common error. This results in a braid that looks lopsided and can be difficult to manage.
Always take the time in Step 3 to carefully divide your hair into three as-equal-as-possible sections. This foundation is crucial for a balanced braid.
Inconsistent Tension
If you braid too loosely at the beginning and then tighten up, or vice versa, your braid will appear uneven and bumpy. It won’t hold its shape well.
Aim for a consistent, firm tension from start to finish. Practice helps you find the right balance, keeping it tight enough to hold but not uncomfortably so.
Braiding Too Far Down
Many beginners braid all the way to the very last tiny wisps of hair, making it hard to secure with an elastic. This can also result in a scraggly end.
Stop braiding about an inch or two before the very ends of your hair. This leaves enough room to wrap the elastic neatly and creates a cleaner finish.
Forgetting to Detangle
Trying to braid hair that still has knots or tangles is a recipe for frustration and potential hair damage. It will pull, snag, and make your braid look messy.
Always brush or comb your hair thoroughly before you even think about sectioning. Smooth hair is the easiest to work with and gives the best results.
Troubleshooting
My braid is falling apart at the top.
This usually happens because the initial sections or the first few cross-overs were too loose. The braid isn’t securely anchored near your scalp.
When you start, ensure your hands are close to your head and you’re applying firm, consistent tension to the first few sections. You can also try securing the base of the section with a small, clear elastic before you start braiding, especially for pigtails.
I can’t keep the sections separate; they keep tangling.
This is a common issue when learning. It can be due to overly dry hair, very fine hair, or simply needing more practice with hand coordination.
Try lightly dampening your hair with a spray bottle or applying a small amount of styling cream or gel before you start. This adds a little grip and weight, making the strands less prone to slipping and tangling. Practice helps your fingers learn to isolate each section.
My arms get tired before I finish.
Braiding your own hair, especially at the back, requires some arm strength and flexibility. It’s a workout for your shoulders and biceps!
Take breaks if you need to. You can try sitting in front of a mirror with good lighting, which might reduce strain. As you practice, your muscles will adapt, and you’ll become faster and more efficient, reducing the time your arms are held up.
Key Takeaways
- Preparation is key: Always detangle your hair completely before starting.
- Consistency matters: Aim for even sections and consistent tension throughout the braid.
- Practice makes perfect: Don’t get discouraged if your first attempts aren’t flawless; braiding is a skill that improves with repetition.
- Use a mirror: A good mirror (or even two for the back of your head) can be incredibly helpful.
- Secure properly: Use a suitable hair elastic to prevent your braid from unraveling.
- Experiment with finishes: Gently pulling on the braid loops can create different styles, from sleek to bohemian.
Frequently Asked Questions
Can I braid my hair when it’s wet?
Yes, you can braid wet hair, and it can even help reduce frizz and create waves when it dries. However, wet hair is more fragile and prone to breakage, so be extra gentle when detangling and braiding. Make sure not to pull too tightly.
What if my hair is layered? Will it still braid well?
Layered hair can absolutely be braided, but you might find more short pieces popping out, especially at the ends. Using a styling cream or gel can help smooth these layers into the braid. For a neater look, you might need to use bobby pins to secure shorter flyaways once the braid is finished.
How do I make my braid look thicker?
To make a braid appear thicker and more voluminous, gently “pancake” or pull apart each loop of the braid once it’s secured. Start from the top and work your way down, carefully tugging on the edges of each section. This expands the braid and gives it a fuller appearance.
Is there a trick to braiding the back of my head?
Braiding the back of your head is often the most challenging part for beginners. The best trick is to use two mirrors: one large mirror in front of you and a smaller handheld mirror to see the back of your head. This provides a full view. You can also try braiding over one shoulder, bringing the hair forward as much as possible.
Our Top Recommended Finds
- Detangling Brush: Essential for smoothing out knots without breakage, making the braiding process much easier.
- Fine-Tooth Comb: Perfect for creating sharp, clean parts and separating precise sections of hair.
- Clear Hair Elastics: These blend seamlessly into your hair, providing a discreet and strong hold for your finished braid.
Embrace Your Inner Braider
Mastering the art of braiding your own hair is a rewarding skill that opens up a world of styling possibilities.
It might feel a bit awkward at first, but with each attempt, your fingers will learn the rhythm, and your confidence will grow.
Don’t wait! Grab your brush, find a mirror, and start practicing today. You’ll be amazed at what you can create.