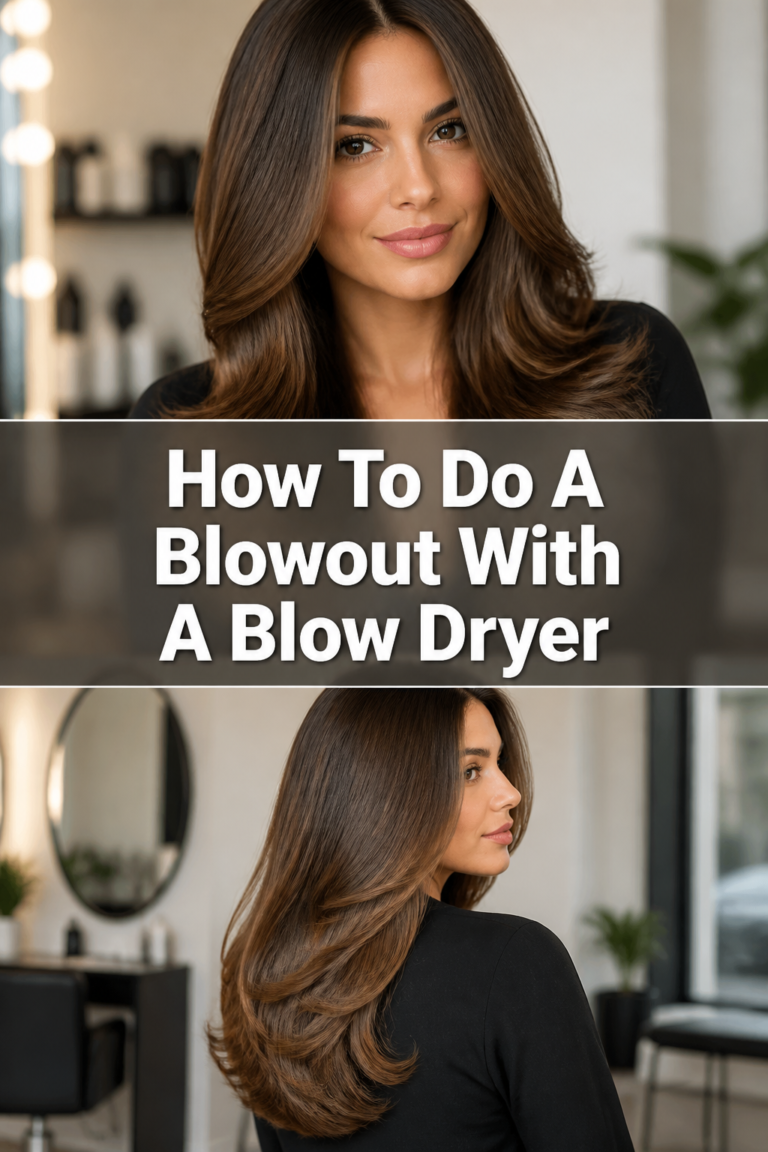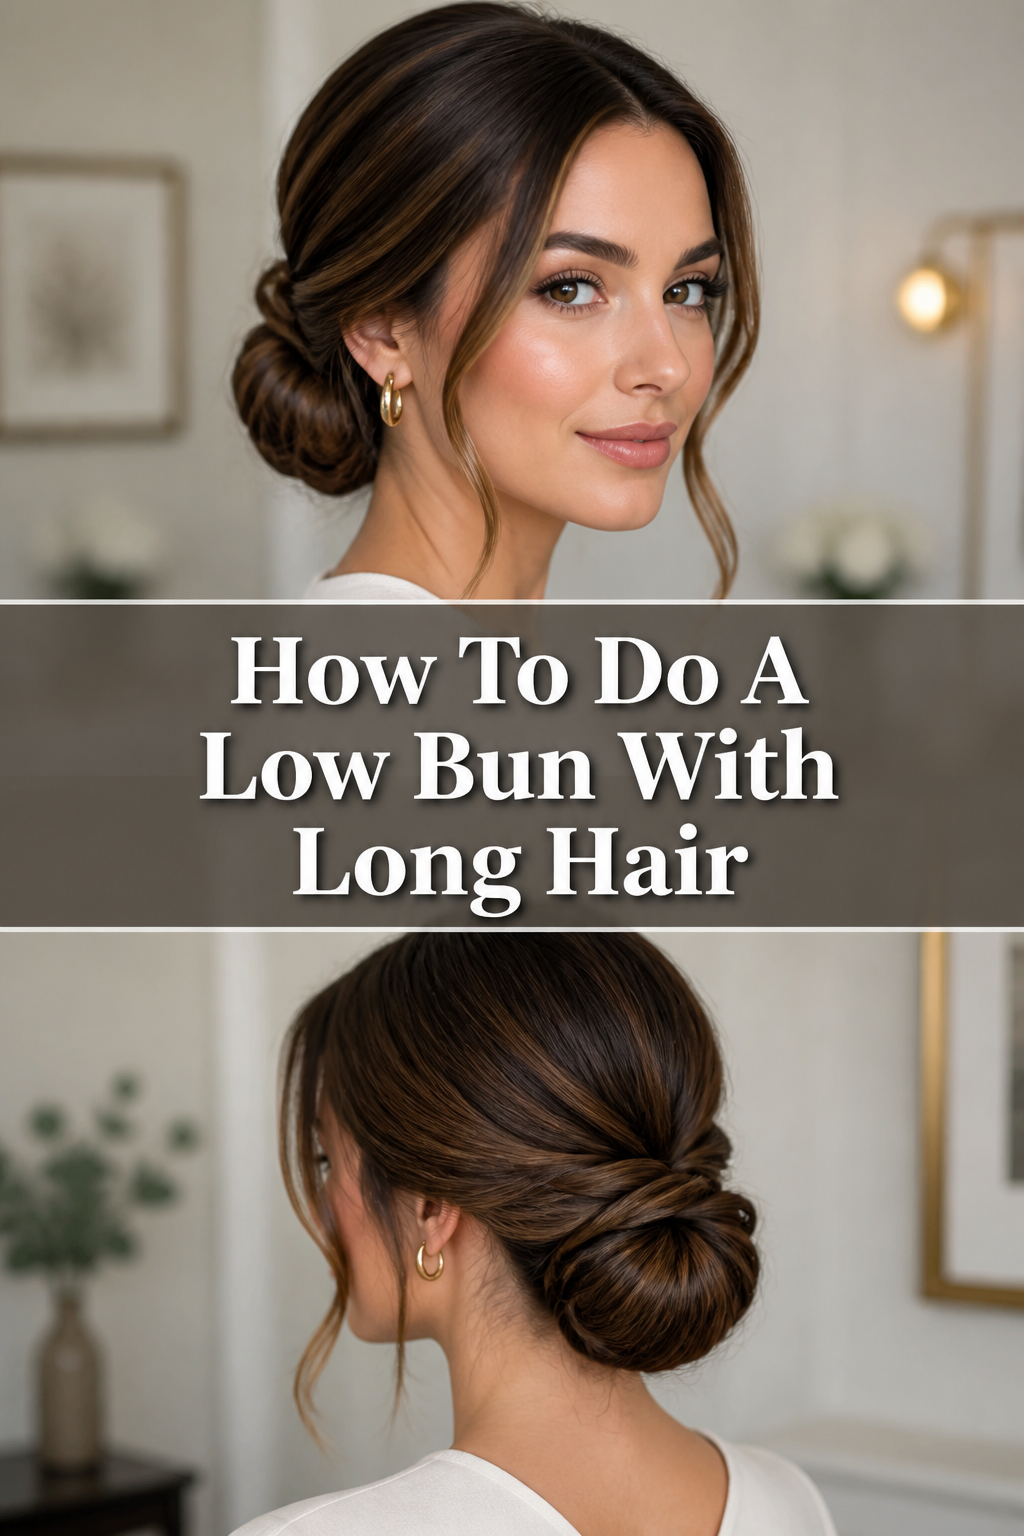
How To Do A Low Bun With Long Hair
Styling long hair can sometimes feel like a daily puzzle, especially when you desire an elegant yet simple look. I’ve personally spent countless mornings perfecting updos that are both beautiful and practical. This guide shares the exact techniques I rely on for a perfectly secure and chic low bun.
You’ll discover how to transform your long locks into a sophisticated style with ease and confidence.

Quick Overview
This guide will walk you through creating a classic low bun, perfect for any occasion. You’ll learn the essential steps and tips to ensure your bun stays in place and looks polished.
- Time needed: 10-15 minutes
- Difficulty: Beginner (with a little practice)
- What you’ll need: Hair elastic, bobby pins (U-shaped and/or regular), hairspray, a comb or brush, and optional texturizing spray.
Step-by-Step Instructions
Here’s how to create a beautiful low bun that holds all day. Each step is designed for clarity and ease.
Step 1: Prepare Your Hair
Start with dry, detangled hair. Brushing through your hair removes any knots and ensures a smooth foundation for your bun. This initial step is crucial for a sleek finish.
You can also apply a heat protectant or a light leave-in conditioner if your hair is prone to frizz. This adds an extra layer of smoothness and manageability. A little product goes a long way here.
Pro Tip: For added grip and volume, spritz a texturizing spray or dry shampoo throughout your hair before you begin. This gives fine hair more body and helps the bun hold better.
Step 2: Create a Low Ponytail
Gather all your hair at the nape of your neck. Use a comb or brush to smooth out any bumps or flyaways as you collect your hair. The lower you place this ponytail, the lower your bun will sit.
Secure your hair with a strong hair elastic. Make sure the ponytail is snug but not uncomfortably tight. The base of your bun will form around this ponytail.
Ensure the ponytail is centered or slightly off-center, depending on your preferred bun placement. A good, firm elastic is key for stability.
Step 3: Twist Your Ponytail
Take your secured ponytail and begin to gently twist it. Twist the hair firmly from the base all the way to the ends. This twisting motion creates the foundational shape for your bun.
Keep the twist consistent and relatively tight. This helps the bun maintain its structure and prevents it from looking messy or falling apart. A consistent twist ensures an even bun.
If your hair is very long, you might need to twist it several times around itself. The goal is to create a rope-like strand of hair.
Step 4: Wrap the Twisted Hair
Once your ponytail is fully twisted, begin wrapping it around the base of your ponytail. Wrap it clockwise or counter-clockwise, whichever feels more natural to you. This forms the circular shape of your bun.
As you wrap, keep the twisted hair close to your head. Don’t let it loosen too much, or your bun will become floppy. Guide the hair around the elastic.
Continue wrapping until you reach the very end of your hair. The end piece should be tucked underneath the bun. This hides any stray strands.
Step 5: Secure with Bobby Pins
Now it’s time to secure your bun. Use U-shaped bobby pins for the best hold; they are designed to scoop hair. Insert pins around the perimeter of the bun, pushing them into the base.
Aim to catch a small section of the bun and then push the pin into the hair elastic and scalp hair. This anchors the bun firmly in place. Use as many pins as needed until the bun feels completely secure.
Don’t be shy with the pins; usually, 5-10 pins are required for a truly stable low bun. Focus on areas that feel loose or floppy. Regular bobby pins can also be used to tuck in any small flyaways around the edges.
Pro Tip: For extra security, try interlocking your bobby pins. Insert one pin from the right, then another from the left, crossing them over each other. This creates a stronger hold.
Step 6: Refine and Adjust
Gently tug on small sections of the bun to create a slightly softer, fuller look if desired. Be careful not to pull too hard, or the bun might unravel. This adds a touch of effortless elegance.
Check for any loose strands or bumps around your hairline and the nape of your neck. Use a comb to smooth these down. A small amount of hairspray on a toothbrush can tame tiny flyaways.
Ensure the bun is symmetrical and sits comfortably. Make any final adjustments to its shape and placement. Your comfort is just as important as the look.
Step 7: Lock in the Style
Finish your low bun with a generous mist of hairspray. Hold the can about 8-10 inches away from your head and spray evenly. This helps to set the style and control any remaining frizz.
For extra hold, you can lightly spray your hands and gently pat down any stubborn flyaways. This creates a polished, long-lasting finish. A good hairspray is your best friend for longevity.
Take a final look in the mirror to ensure everything is perfect. Your elegant low bun is now complete and ready for your day. Enjoy your new sophisticated look.
Common Mistakes to Avoid
Even with the best intentions, a few common errors can prevent your low bun from looking its best. Knowing these pitfalls helps you achieve perfection.
Making the Ponytail Too Loose
If your initial ponytail is too loose, your bun will lack a solid foundation. It will likely sag or fall out quickly throughout the day. A loose ponytail makes for a flimsy bun.
Always ensure your ponytail is snug and secure at the nape of your neck. It should feel firm to the touch without being uncomfortably tight. This creates a strong base for wrapping.
Using Too Few Bobby Pins
One of the biggest reasons buns unravel is an insufficient number of bobby pins. People often underestimate how many pins are truly needed to secure a voluminous bun. A few pins simply won’t cut it.
Don’t be afraid to use a good handful of pins. Focus on anchoring the bun from multiple points around its perimeter, pushing pins deep into the base and scalp hair. More pins equal more security.
Incorrect Bun Placement
Placing the bun too high or too far to one side can make it look awkward or feel unbalanced. A low bun is meant to sit gracefully at the nape of the neck. Incorrect placement can ruin the intended aesthetic.
Ensure your initial ponytail is at the very base of your neck, centered or slightly to one side. This guarantees the bun will fall naturally in the desired low position. Proper placement is key for elegance.
Skipping Hair Preparation
Jumping straight into styling without brushing or adding product can result in a messy or frizzy bun. Unprepared hair might resist forming a smooth twist or hold its shape well. Prep work is fundamental.
Always detangle your hair thoroughly before starting. Consider using a texturizing spray or dry shampoo for grip, especially on clean, slippery hair. Good preparation saves styling time later.
Troubleshooting
Even with careful steps, you might encounter a few issues. Here are solutions to common low bun problems. Don’t worry, these are easily fixable.
Bun Falls Out Easily
If your bun keeps coming undone, the primary culprits are usually a loose base or insufficient pinning. A wobbly bun is frustrating and quickly ruins your look. This is a common challenge.
First, re-evaluate your ponytail. Ensure it’s pulled tight and secured firmly with a strong elastic. Then, increase the number of bobby pins you use, focusing on anchoring them deep into the bun and scalp hair. Try interlocking pins for extra grip.
Flyaways and Frizz
Stubborn flyaways and frizz can make an otherwise elegant bun look messy. This is especially common in humid weather or with certain hair types. Taming these strands is crucial for a polished finish.
After styling, spray a light mist of hairspray onto a clean toothbrush or a soft bristle brush. Gently brush down any flyaways around your hairline and the bun itself. For persistent frizz, a small amount of hair oil smoothed over the top can help.
Bun Looks Flat or Small
If your low bun appears too flat or lacks volume, it might be due to very fine hair or a lack of texturizing. A flat bun can sometimes feel less impactful than a fuller style. You want a bun with presence.
Before creating your ponytail, backcomb the hair slightly at the crown and in the ponytail itself. Apply a volumizing or texturizing spray generously. Once the bun is pinned, gently tug on small loops of hair within the bun to expand its shape.
Key Takeaways
Mastering the low bun involves a blend of technique and patience. Remember these core principles for a perfect updo every time.
- Foundation is Key: Always start with a secure and firm low ponytail to ensure your bun has a stable base.
- Twist for Structure: A consistent and tight twist of the ponytail creates the essential framework for a neat bun.
- Pin Generously: Don’t skimp on bobby pins; use enough to anchor the bun from multiple angles for lasting hold.
- Refine and Polish: Take time to smooth flyaways, adjust the shape, and set the style with hairspray for a polished finish.
- Practice Makes Perfect: The more you practice, the quicker and more effortlessly you’ll be able to create this elegant style.
- Product Power: Utilize texturizing sprays or dry shampoo to add grip and volume, especially for finer hair types.
Frequently Asked Questions
Many people have specific questions when trying out a new hairstyle. Here are answers to common inquiries about the low bun.
Can I do this bun with layered hair?
Yes, you absolutely can create a low bun with layered hair. The key is to ensure all layers are gathered securely into the initial ponytail. You might need extra bobby pins to tuck in shorter layers around the bun’s perimeter or at the nape of your neck. Using a strong hairspray will also help keep those shorter pieces in place.
How do I make my bun look fuller?
To make your bun appear fuller, start by applying a volumizing mousse or texturizing spray to your hair before styling. Once your ponytail is secured, gently backcomb sections of the ponytail before twisting and wrapping. After pinning, carefully tug on small loops of the bun to expand its shape, creating a softer, more voluminous look.
What’s the best way to secure a bun for all-day wear?
For all-day wear, focus on a very tight ponytail base and generous pinning. Use U-shaped bobby pins that are specifically designed to hold more hair. Interlock your bobby pins by inserting them from opposite directions. Finish with a strong-hold hairspray, paying extra attention to the areas around the bun and your hairline.
Can I use a hair donut for this style?
Yes, a hair donut (or bun maker) can be used to create a low bun, especially if you desire a very neat and perfectly round shape. You would pull your ponytail through the donut, fan your hair over it, and then tuck the ends underneath, securing with pins. This method is excellent for a very structured and polished bun.
Our Top Recommended Finds
Having the right tools makes a significant difference in achieving a perfect low bun. These items are indispensable for a smooth styling experience.
- Strong, Seamless Hair Elastics: These prevent hair breakage and provide a firm grip for your ponytail, ensuring your bun doesn’t sag. Look for ones without metal clasps.
- U-shaped Bobby Pins: Unlike standard bobby pins, U-shaped pins are designed to scoop and hold more hair, offering superior security for your bun. They are easier to insert and hide.
- Lightweight Texturizing Spray: This adds grip, volume, and texture to your hair, making it easier to twist and ensuring the bun holds its shape, especially for fine or very clean hair.
Mastering Your Elegant Updo
You now have all the practical steps and insider tips to create a beautiful, secure low bun with your long hair. This classic style is versatile, elegant, and surprisingly easy to achieve with a little practice. It’s perfect for a busy day, a special event, or simply when you want to feel put-together.
Don’t hesitate to experiment with different placements or add a decorative hair accessory to make it uniquely yours. Take these steps and transform your hair today. Embrace the confidence that comes with a perfectly styled low bun!