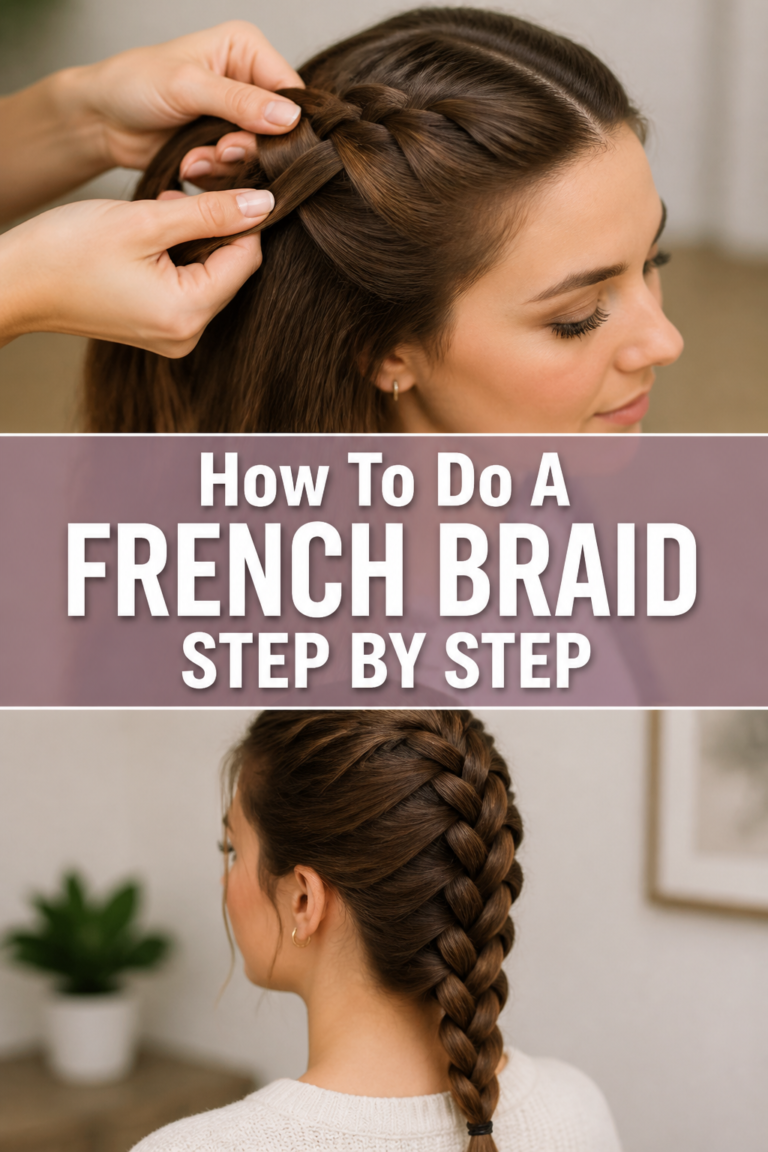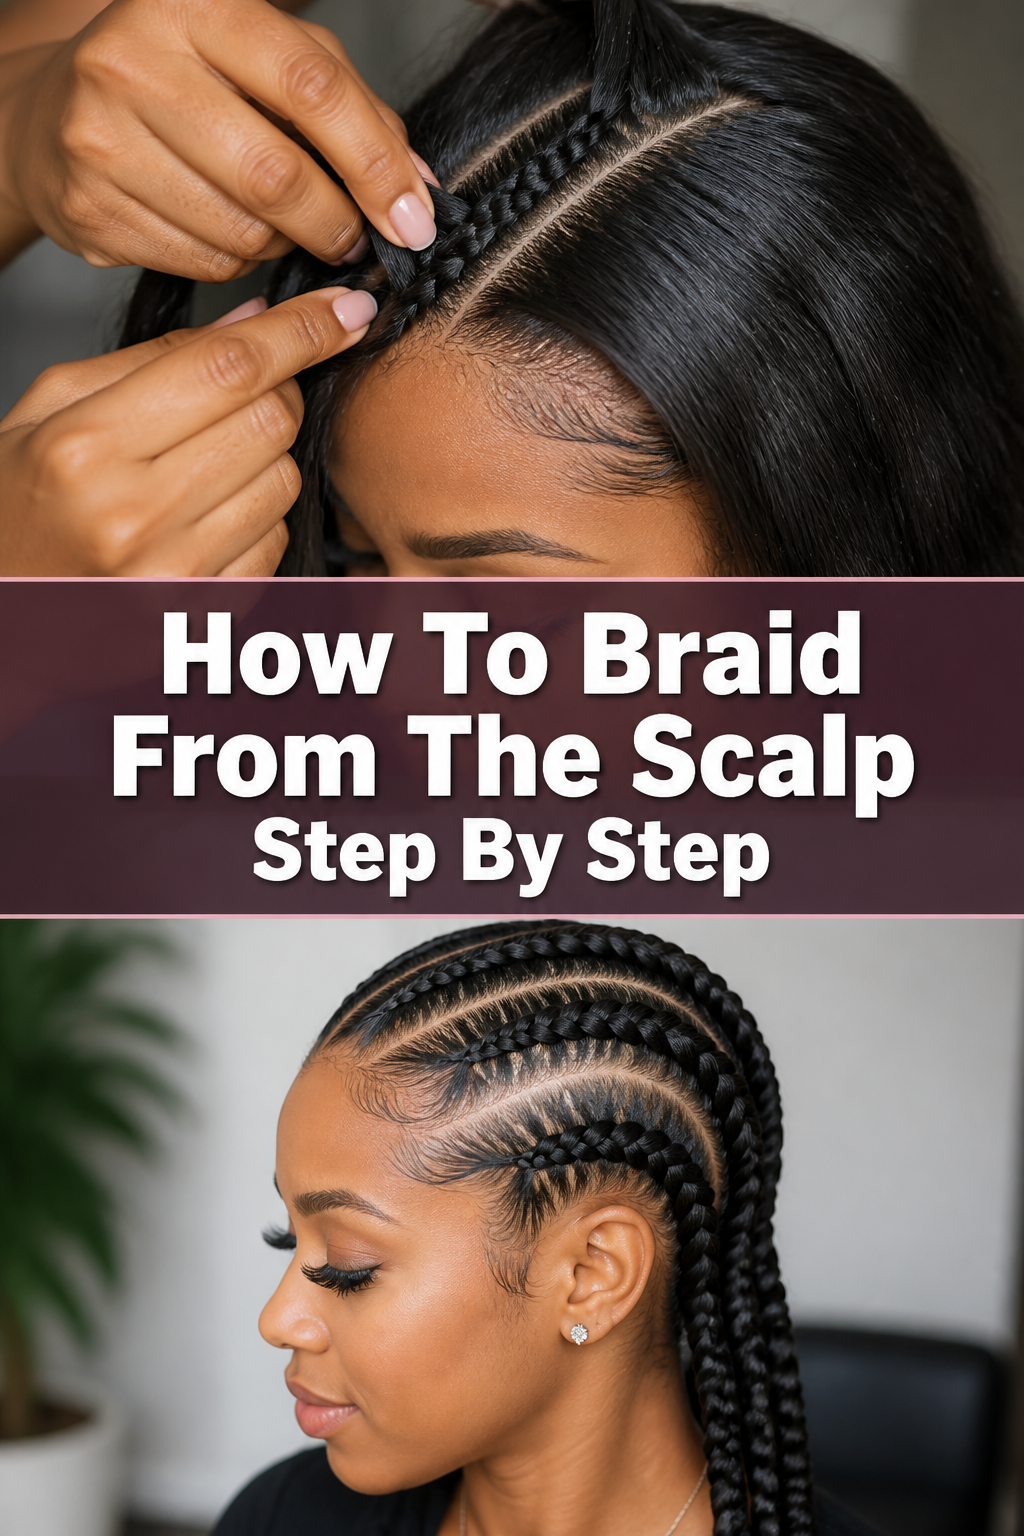
💇♀️ How To Braid From The Scalp Step By Step
Learning to braid from the scalp can feel like mastering a secret art. I remember my own early attempts, often ending in tangled frustration rather than sleek perfection.
But with practice and the right guidance, this beautiful skill becomes accessible to everyone. This guide will walk you through each movement, building your confidence along the way.
You’ll soon be creating stunning, secure braids with ease.

Quick Overview
This guide will empower you to create a classic French braid directly from the scalp, a foundational skill for many intricate styles. You’ll learn to manage sections, maintain tension, and achieve a smooth, professional finish.
- Time needed: 30-60 minutes (per braid, depending on length and complexity)
- Difficulty: Intermediate (requires practice and coordination)
- What you’ll need: Rat-tail comb, sectioning clips, hair ties, light styling product (optional), mirror
Step-by-Step Instructions
Step 1: Prepare Your Canvas
Begin with clean, dry, and thoroughly detangled hair. Any knots will make braiding difficult and uncomfortable. Use a wide-tooth comb or brush to smooth your hair completely.
Apply a small amount of leave-in conditioner or a light styling cream if your hair is prone to frizz. This helps with manageability and adds a healthy sheen. Ensure your hair is smooth but not greasy.
Pro Tip: Braiding on slightly damp hair can sometimes make it easier to grip and control, especially for textured hair. Just ensure it’s not soaking wet.
Step 2: Section Your Starting Point
Decide where you want your braid to begin. Use the pointed end of your rat-tail comb to create a clean, crisp part at the top of your head. This initial section should be a small, triangular or rectangular piece of hair.
The size of this first section will determine the overall tightness and appearance of your braid. A smaller section creates a tighter, more intricate braid. Secure the rest of your hair out of the way with clips.
Step 3: Divide Into Three Strands
Take the initial section of hair and divide it evenly into three smaller, equal strands. Hold these strands firmly between your fingers. This is the foundation of your braid.
Ensure each of these three strands has consistent thickness. Uneven strands will result in a lopsided or messy braid. Keep a firm but gentle grip on them.
Step 4: Begin the Basic Braid
Start by crossing the right strand over the middle strand. The original right strand is now in the middle position. Next, cross the left strand over the new middle strand.
This establishes your basic three-strand braid pattern. Perform one or two of these simple crosses without adding any new hair. This helps to secure the starting point of your braid against the scalp.
Step 5: Incorporate New Hair (Right Side)
Now, it’s time to add hair from the scalp. Take the rightmost strand and, before crossing it over the middle, pick up a small, even section of loose hair from the scalp directly next to it. Add this new hair to your rightmost strand.
Cross this combined, thicker right strand over the middle strand. The new middle strand is now in position. Always pick up hair from the scalp that is neatly sectioned.
Pro Tip: Use your pinky finger to help section and gather the new hair cleanly. This allows your other fingers to maintain control of the existing strands.
Step 6: Incorporate New Hair (Left Side)
Repeat the process on the left side. Take the leftmost strand and gather a small, even section of loose hair from the scalp directly adjacent to it. Add this new hair to your leftmost strand.
Cross this combined, thicker left strand over the middle strand. This completes one full cycle of adding hair and braiding. You’ll now have a new rightmost and leftmost strand.
Step 7: Maintain Tension and Consistency
The key to a beautiful scalp braid is consistent tension. Keep your fingers close to the scalp and pull each section taut as you incorporate new hair and cross strands. Avoid pulling too tightly, which can cause discomfort.
Strive to pick up roughly the same amount of new hair with each addition. This ensures the braid grows evenly and looks polished. Inconsistent sections lead to an uneven, bumpy braid.
Step 8: Continue Braiding Down the Scalp
Keep repeating Steps 5 and 6, working your way down the scalp. As you move, your hands will naturally shift position. Always gather new hair from the unbraided sections on either side of your existing braid.
Follow the natural curve of the head or your desired braid path. For a classic French braid, you’ll typically braid straight down the back of the head. For side braids, adjust your angle accordingly.
Step 9: Finish the Braid
Once you have run out of loose hair to incorporate from the scalp, you will be left with three strands of hair. Continue to braid these three strands in a simple, traditional three-strand braid.
Braid down to your desired length, leaving a small tail if you wish. Secure the end of the braid tightly with a hair tie or elastic band. Ensure the tie is snug enough to prevent unraveling.
Step 10: Refine and Secure
Gently tug on the edges of the braid to loosen it slightly if you desire a softer, fuller look. Be careful not to pull too hard, or the braid could come undone. Use a little hairspray or edge control around the hairline to smooth any flyaways.
Inspect your braid in a mirror to ensure it looks neat and even. Make any small adjustments to stray hairs. Your beautiful scalp braid is now complete!
Common Mistakes to Avoid
Inconsistent Sectioning
A common pitfall is grabbing uneven amounts of hair when incorporating new sections. This results in a lumpy, uneven braid that lacks a smooth flow. Always aim to pick up consistent, small sections of hair for a uniform look, using your comb to define them if needed.
Losing Tension
If your braid starts too loose, it will quickly become messy and fall apart. Maintain firm, consistent tension throughout the entire braiding process, from the very first cross to the last. Your fingers should always be close to the scalp, guiding the hair securely.
Messy Partings
Starting with a crooked or jagged initial part makes the entire braid look unkempt. Always use a rat-tail comb to create a clean, straight line for your first section. This sets the foundation for a polished final style. Sloppy partings detract from the overall neatness.
Pulling Too Hard
While tension is important, pulling the hair too tightly can cause discomfort, scalp irritation, and even hair breakage. Find a balance where the braid is secure but not painful. Listen to the person you’re braiding, or pay attention to your own scalp’s signals.
Troubleshooting
Braid Keeps Falling Apart
If your braid unravels quickly, you are likely not maintaining enough tension. Ensure your grip on the three strands is firm, and that you are pulling each section taut as you cross it over and incorporate new hair. Practice keeping your fingers close to the scalp to secure each weave.
Hair Slipping Out of the Braid
This usually happens because the hair is too silky, or you aren’t adding enough new hair with each pass. Try applying a small amount of styling cream or pomade to the hair before braiding to give it more grip. Also, make sure you are consistently adding hair to each outer strand before crossing it over the middle.
Uneven or Lopsided Braid
An uneven braid often stems from inconsistent sectioning or an uneven starting point. Re-evaluate your initial part and ensure you are picking up equal amounts of hair from the scalp on both sides as you braid. Practice visualizing the “path” of your braid before you start.
Key Takeaways
- Preparation is paramount: Always start with clean, detangled hair for the best results.
- Master the three-strand foundation: Understand the basic over-under weave before adding hair.
- Consistency is key: Maintain steady tension and pick up even sections of hair throughout.
- Use your tools: A rat-tail comb is invaluable for clean sectioning.
- Practice makes perfect: Scalp braiding takes time and repetition to master.
- Be patient with yourself: Don’t get discouraged by initial attempts; improvement comes with effort.
Frequently Asked Questions
How long does a scalp braid last?
The longevity of a scalp braid depends on hair type, activity level, and how well it’s maintained. A well-done French braid can last anywhere from one to three days. For longer wear, consider sleeping with a satin bonnet or pillowcase to reduce frizz and preserve the style.
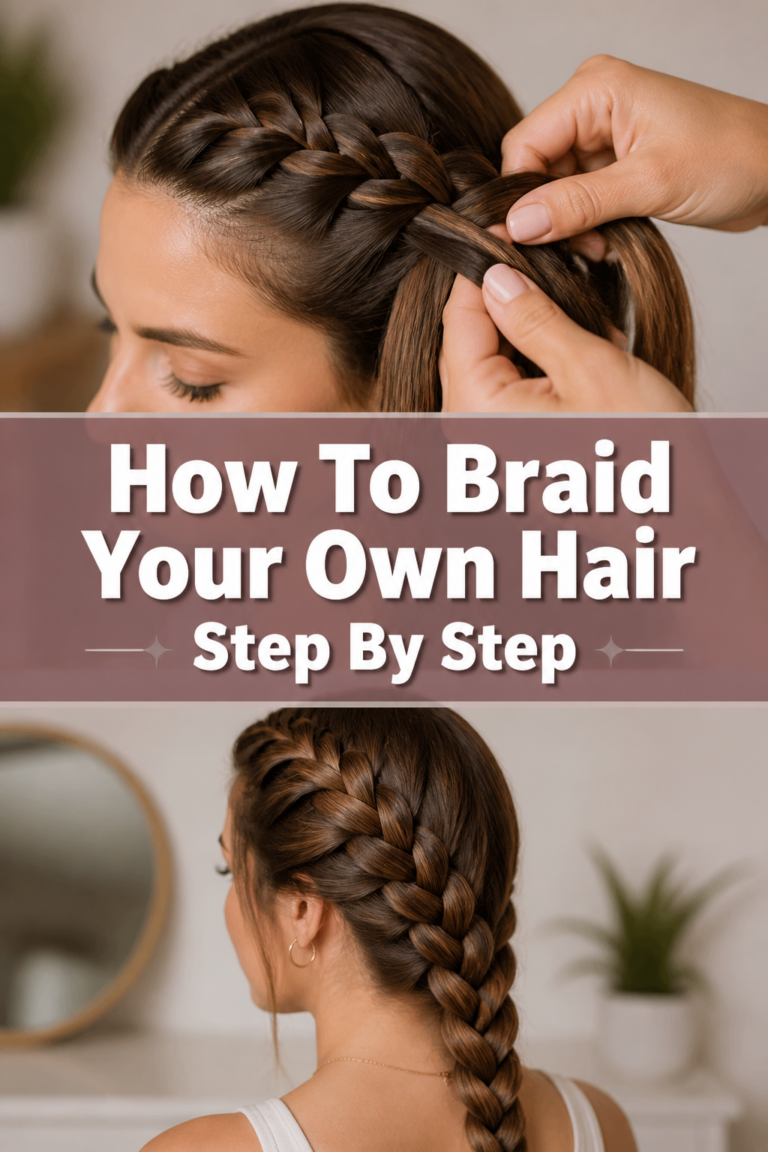
Can I braid my own hair from the scalp?
Yes, absolutely! Braiding your own hair from the scalp is challenging but entirely possible with practice. Start by braiding a single braid down the back of your head, using a mirror to guide you. Many people find it easier to start with side braids first.
Is this technique suitable for all hair types?
The fundamental technique of braiding from the scalp is universal. However, different hair textures may require slight adjustments. Finer hair might need more product for grip, while coarser or curlier hair benefits from thorough detangling and moisture before braiding.
What’s the difference between a French braid and a Dutch braid?
A French braid involves crossing the strands over the middle strand, creating a braid that appears embedded into the hair. A Dutch braid (or “reverse French braid”) involves crossing the strands under the middle strand, making the braid stand out and appear raised from the scalp. The adding-hair technique is similar, just the direction of crossing differs.
Our Top Recommended Finds
- Rat-tail comb: Essential for precise parting and sectioning hair cleanly. Its fine tip makes all the difference.
- Sectioning clips: Keeps unbraided hair securely out of the way, allowing you to focus on one section at a time.
- Light styling cream or gel: Provides grip and control, taming flyaways and adding a polished finish to your braids.
Embrace Your Braiding Journey
Learning to braid from the scalp is a truly rewarding skill, opening up a world of beautiful hairstyles. Don’t be discouraged if your first few attempts aren’t perfect. Every braid is a learning experience, building your dexterity and understanding of hair.
Keep practicing, and soon you’ll be creating intricate, stunning braids with confidence. Once you’ve mastered the French braid, consider exploring the Dutch braid or even basic cornrows to expand your repertoire. Pick up your comb today and start creating!