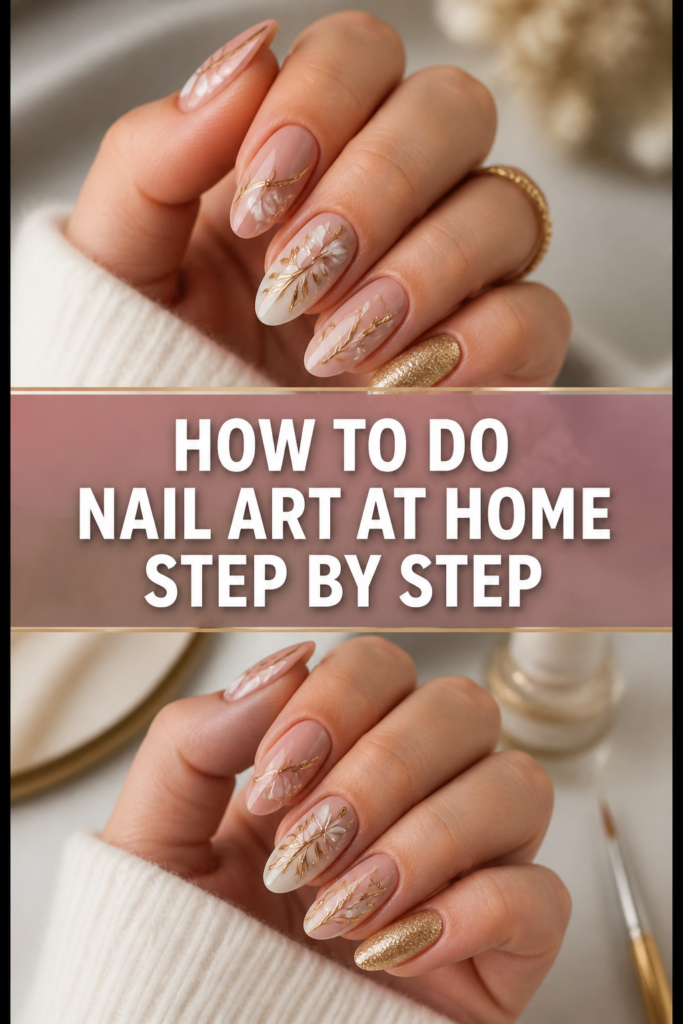
💅 How To Do Nail Art At Home Step By Step
Learning how to do your own nail art at home can feel like a secret superpower.
I remember my first attempts, messy but full of joy, and now I can confidently create salon-worthy designs right from my living room.
This guide will walk you through everything you need to know, from basic prep to intricate designs, making beautiful nails accessible to everyone.
Quick Overview
This guide will empower you to create stunning nail art designs from the comfort of your home. You’ll learn essential techniques, understand the right tools, and discover how to maintain your beautiful manicures.
- Time needed: 1-2 hours (including drying time, depending on complexity)
- Difficulty: Beginner to Intermediate
- What you’ll need: Nail polish, base coat, top coat, nail art brushes/tools, cotton pads, nail polish remover
Step-by-Step Instructions
Step 1: Gather Your Supplies
Before you begin, ensure all your tools and polishes are within easy reach. A cluttered workspace can lead to smudges and frustration.
- Select your base colors, accent colors, and any glitter or special effect polishes.
- Prepare your nail art brushes, dotting tools, and any other accessories like rhinestones or nail stickers.
- Lay out cotton pads, nail polish remover, and a small dish for cleanup.
Pro Tip: Organize your polishes by color or type to easily find what you need. A dedicated nail art kit can keep everything tidy.
Step 2: Prepare Your Nails
Proper nail preparation is the foundation for any long-lasting and beautiful manicure. Do not skip this crucial step.
- Remove any old nail polish thoroughly using a non-acetone remover to prevent drying out your nails.
- File your nails to your desired shape (square, oval, almond). Always file in one direction to prevent splitting.
- Gently push back your cuticles using a cuticle pusher. Avoid cutting them, as this can lead to infection.
- Buff the surface of your nails lightly to create a smooth canvas and help the polish adhere better.
- Cleanse your nails with rubbing alcohol or a nail dehydrator to remove any oils or residue. This step significantly improves polish adhesion.
Step 3: Apply Base Coat
A good base coat protects your natural nails from staining and helps your nail art last longer. It creates a smooth, even surface for your polish.
- Apply a thin, even layer of base coat to each nail.
- Cap the free edge of your nail by running the brush along the tip. This seals the polish and prevents chipping.
- Allow the base coat to dry completely. This usually takes just a few minutes.
Pro Tip: Choose a base coat that addresses your nail concerns, such as strengthening, ridge-filling, or hydrating formulas.
Step 4: Apply Your Base Color
The base color is the background for your nail art. Choose a shade that complements your design or makes your art pop.
- Apply the first thin coat of your chosen nail polish. Use three strokes: one down the center, then one on each side.
- Cap the free edge with each coat.
- Allow the first coat to dry almost completely before applying the second. This prevents streaking and bubbling.
- Apply a second thin coat for opaque coverage. You may need a third coat for lighter or sheerer colors.
- Ensure the base color is fully dry before moving on to the art. This is critical to prevent smudging your design.
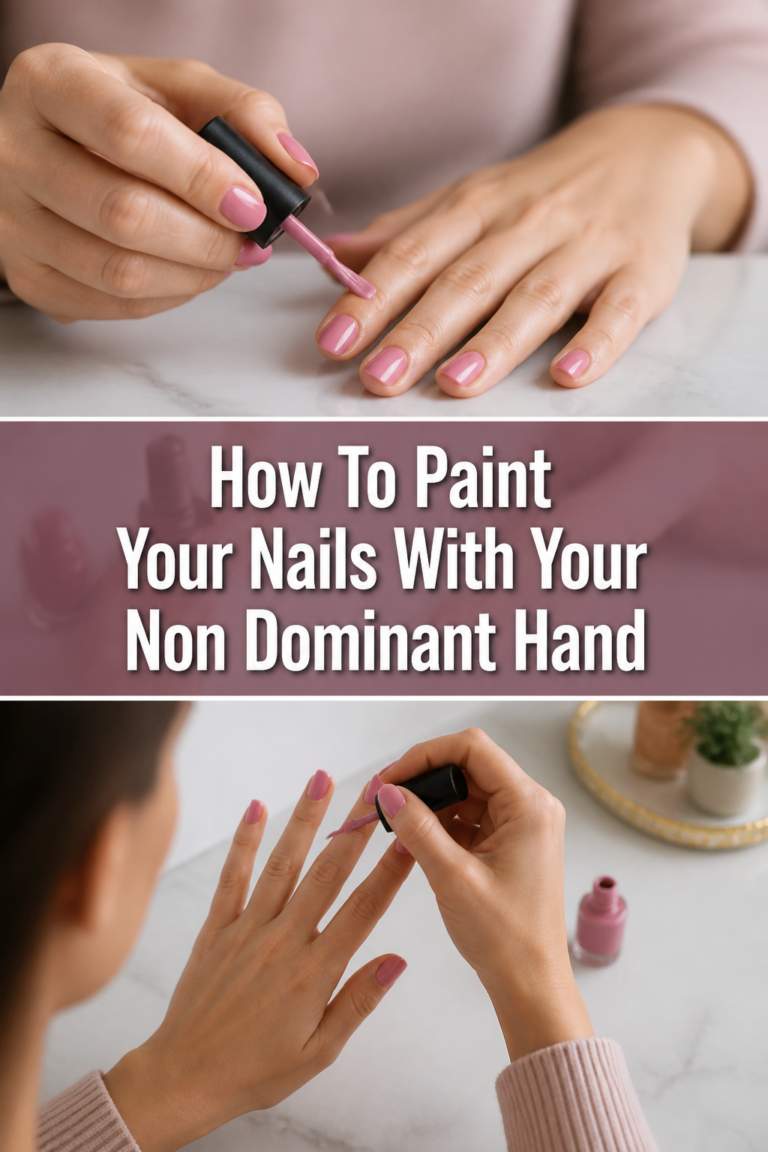
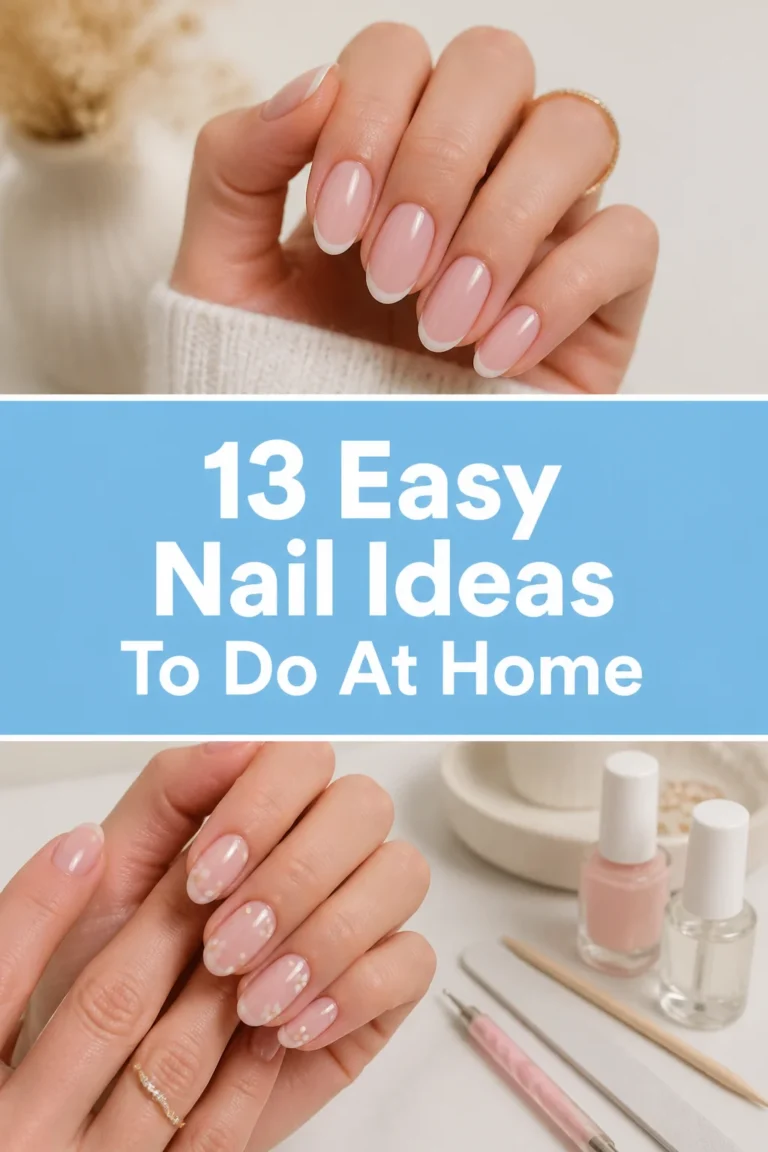
Step 5: Create Your Nail Art Design
This is where your creativity shines! Start simple and gradually try more complex designs as you gain confidence.
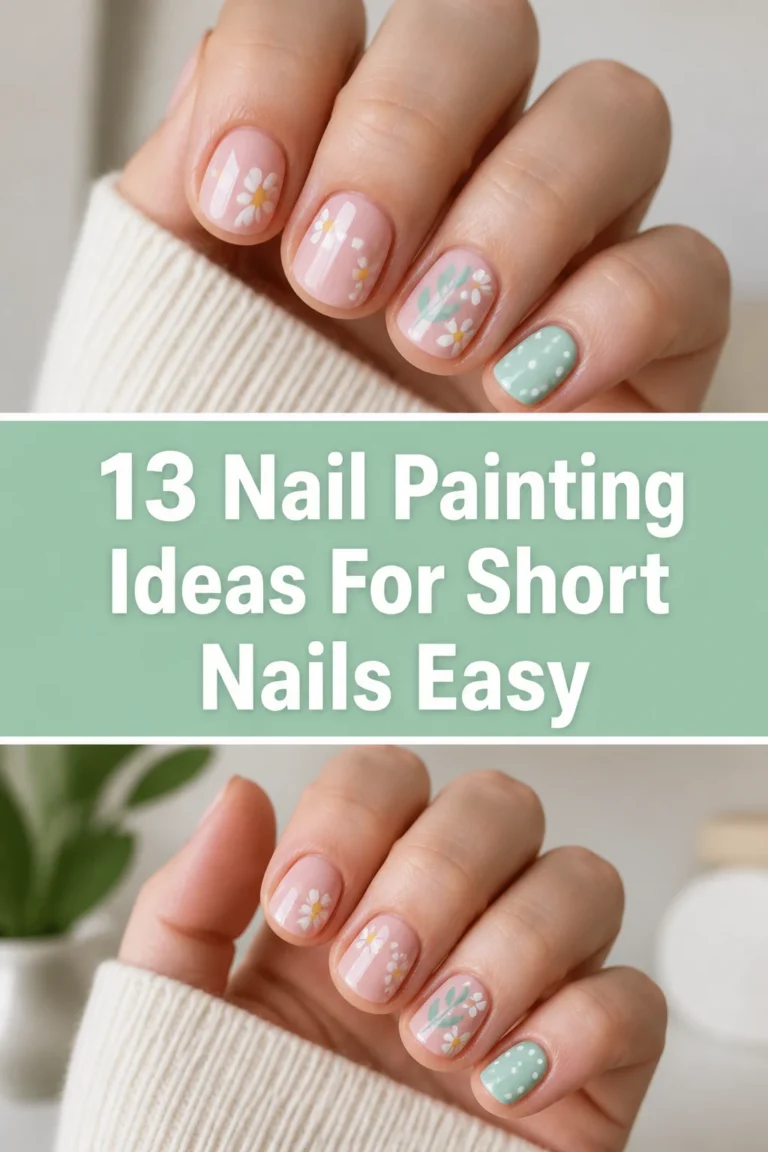
- Choose a simple design for your first attempt, like dots, stripes, or simple flowers.
- Use a dotting tool for perfect circles. Dip it in polish and gently touch it to your nail.
- Employ a thin striping brush for lines and intricate details. Load only a small amount of polish onto the brush.
- Experiment with different color combinations. Contrast often works best for visibility.
- Work on one nail at a time, allowing each element to dry slightly before adding the next.
- Consider using nail art stickers or stencils for quick and precise designs if freehand feels too challenging.
Pro Tip: Practice your designs on a piece of paper or a plastic nail wheel first. This helps you get a feel for the tools and polish consistency without messing up your manicure.
Step 6: Clean Up Excess Polish
Even the most careful application can result in a little polish on your skin. Cleaning up makes your manicure look professional.
- Dip a small, flat brush (like an eyeliner brush) into nail polish remover.
- Carefully trace around the edges of your nails to remove any polish from your cuticles and skin.
- Wipe the brush on a cotton pad after each swipe to remove collected polish.
- Repeat until all excess polish is gone.
Step 7: Apply Top Coat
The top coat seals your design, adds shine, and protects your nail art from chipping and fading. It is essential for longevity.
- Apply a generous, even layer of top coat over your entire nail, including the nail art.
- Cap the free edge of your nail again to seal in the design and enhance durability.
- Ensure your nail art is completely dry before applying the top coat to prevent smudging.
- Use a quick-dry top coat for faster setting and added convenience.
Pro Tip: Reapply a thin layer of top coat every 2-3 days to refresh the shine and extend the life of your nail art.
Step 8: Allow for Complete Drying
Patience is key during the drying phase. Rushing this step is the most common cause of smudges and ruined designs.
- Avoid touching anything with your nails for at least 30 minutes after applying the top coat.
- Refrain from activities that involve water or heavy use of your hands for at least an hour.
- Consider using quick-dry drops or a fan to speed up the process, but still exercise caution.
- Moisturize your cuticles with cuticle oil once your nails are completely dry. This nourishes the skin and makes your manicure look even better.
Common Mistakes to Avoid
Applying Thick Coats of Polish
Many beginners think a thick coat will provide better coverage or dry faster. In reality, thick layers bubble, streak, and take an incredibly long time to dry, often leading to smudges even hours later. Always apply thin, even coats and allow each to dry almost completely before adding the next.
Skipping Base and Top Coats
These two steps are not optional. A base coat protects your nails from staining and helps the polish adhere. A top coat seals your design, adds shine, and prevents chipping. Skipping them drastically reduces the lifespan and quality of your nail art.
Not Cleaning Up Around the Cuticles
Polish on your skin around the cuticles makes your manicure look messy and unprofessional. It can also lift prematurely, causing your polish to chip faster. Always use a small brush dipped in remover to clean up the edges for a crisp finish.
Rushing the Drying Process
Impatience is the enemy of a perfect manicure. Each layer of polish, especially the top coat, needs adequate time to dry and cure. Touching your nails too soon almost guarantees a smudge, forcing you to restart your hard work.
Troubleshooting
Smudged Design
If your design smudges before the top coat, gently dip a very fine brush in remover and carefully clean up the smudged area. Reapply the specific part of the design if possible. If the smudge is extensive, it’s often better to remove the design from that nail and restart the art portion on a fresh base coat.
Bubbles in Polish
Bubbles usually occur from shaking the polish bottle too vigorously, applying polish too thickly, or applying a new coat before the previous one is dry. To prevent this, roll the polish bottle between your palms instead of shaking. Apply thin coats and ensure each layer is mostly dry.
Chipping Early
Early chipping can be due to inadequate nail preparation, skipping the base or top coat, or not “capping” the free edge of your nail. Ensure you buff the nail surface, clean it thoroughly, and always apply a base and top coat. Remember to brush the top coat along the very tip of your nail to seal it.
Key Takeaways
- Always start with thoroughly prepped and clean nails for the best adhesion.
- Apply thin, even layers of base coat, color, and top coat, allowing each to dry.
- Patience is vital, especially during drying times, to prevent smudges.
- Invest in quality tools like fine brushes and dotting tools for precise designs.
- Don’t be afraid to experiment and practice; your skills will improve with every attempt.
- Finish every manicure with a good top coat to protect your art and add shine.
Frequently Asked Questions
How do I make my nail art last longer?
Longevity comes from proper nail prep, using a good base and top coat, applying thin layers, and capping the free edge. Reapplying a thin layer of top coat every few days can also significantly extend your manicure’s life.
What if I don’t have special nail art tools?
You can improvise with household items! A toothpick can create dots and drag lines. A bobby pin end works well for slightly larger dots. A thin eyeliner brush can be cleaned and used for fine lines. Get creative with what you have!
Can I use regular nail polish for nail art?
Absolutely! Most nail art designs are created using regular nail polish. For very fine details, you might find slightly thicker or more opaque polishes easier to work with, but any polish can be adapted.
How do I remove intricate nail art without damaging my nails?
Soak a cotton pad with non-acetone nail polish remover and press it onto your nail for 10-20 seconds. This allows the remover to break down the polish. Then, gently wipe away in one swipe. Avoid harsh scrubbing, especially with glitter or embellishments.
Our Top Recommended Finds
- Quality Base and Top Coat Set: Essential for protecting nails and sealing designs. Look for formulas known for their chip resistance and shine.
- Nail Art Brush and Dotting Tool Kit: A versatile kit with various brush sizes and dotting tools will open up endless design possibilities.
- Non-Acetone Nail Polish Remover: Gentler on your nails and cuticles, preventing excessive dryness, especially when cleaning up mistakes.
Unleash Your Inner Nail Artist Today
You now have a complete roadmap to creating beautiful nail art at home. It’s a journey of creativity, patience, and self-expression.
Don’t be discouraged by initial imperfections; every artist starts somewhere.
Grab your favorite polishes, pick a simple design, and start your nail art adventure. You’ll be amazed at what you can achieve.