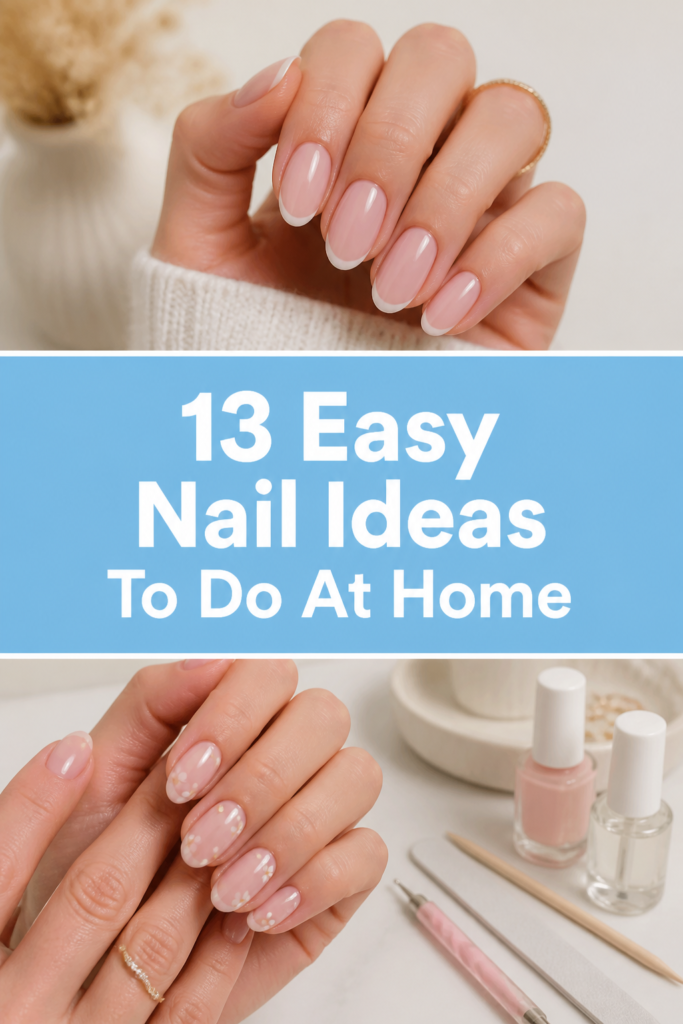
💅 13 Easy Nail Ideas To Do At Home
Ever stare at your naked nails, feeling a sudden urge for something fabulous but dreading the salon price tag
Girl, we totally get it. Your DIY mani dreams are about to come true, no fancy tools or art school degree required.
Get ready to unleash your inner nail artist with these super simple, totally chic ideas.
1. Minimalist Dots
- Best For: Everyday glam, office chic
- Vibe: Subtle, sophisticated, effortlessly cool
- Why it works: Anyone can make a dot, seriously.
Pick a nude or clear base coat, let it dry completely. Then, grab a contrasting color like black, white, or even a metallic. Use a bobby pin end or a toothpick to dab a tiny dot near your cuticle or in the center of each nail.
You can do just one dot per nail for ultimate minimalism, or a few scattered randomly. Top it with a glossy top coat to seal your tiny masterpieces. It is surprisingly chic and takes zero actual skill.
Pro Tip: Don’t overload your tool with polish; less is more for crisp, clean dots.
2. Glitter Ombre
- Best For: Parties, special occasions, feeling extra
- Vibe: Sparkly, fun, festive
- Why it works: Gradient glitter hides all imperfections.
Start with a base color that complements your chosen glitter; a light pink or nude works beautifully. Once that is dry, apply a generous amount of glitter polish to the tip of your nail. While it is still wet, use the brush to lightly drag some glitter down towards the middle of your nail.
You want more glitter at the tip, fading out as you go down. Repeat with a second coat if you crave more sparkle. Finish with a thick top coat to smooth out any glitter bumps and prevent chipping.
Pro Tip: Use a sponge to dab the glitter on for a more intense, seamless gradient effect.
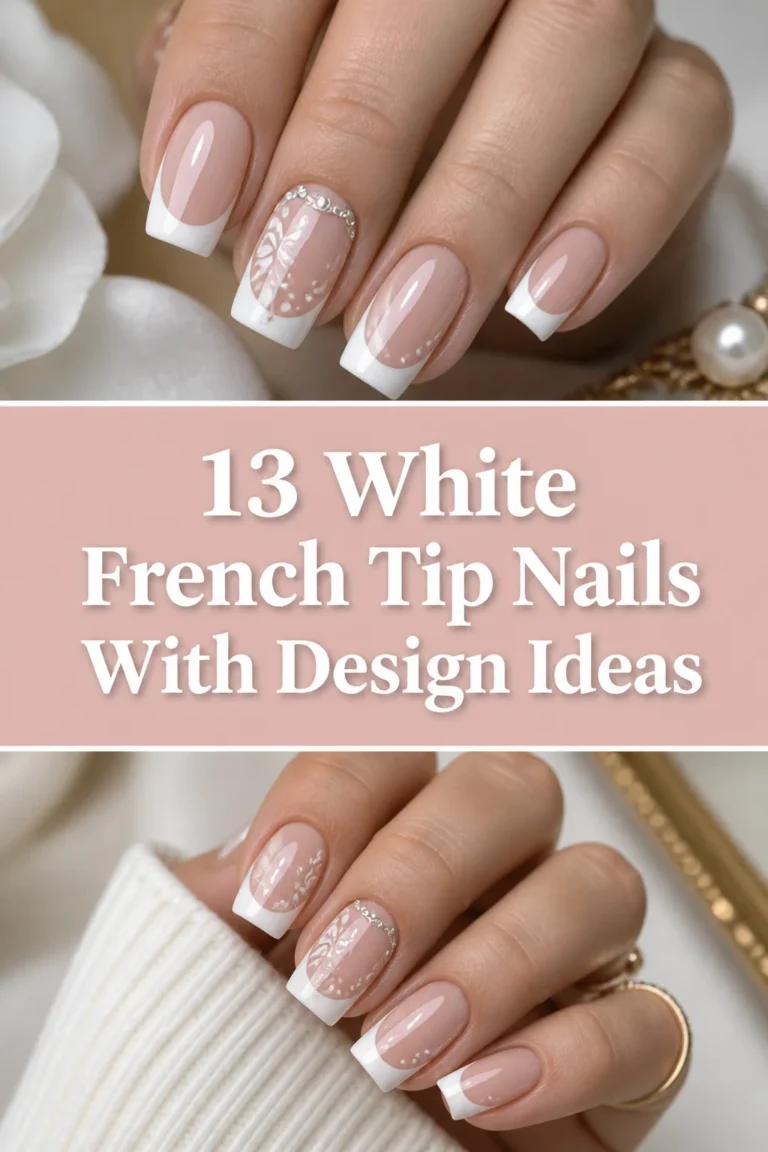
3. French Tips Reimagined
- Best For: Classic lovers, a modern twist on tradition
- Vibe: Elegant, clean, slightly playful
- Why it works: It is a timeless look, made easy.
Forget those tricky white tips. Opt for a clear or sheer pink base. Instead of white, pick a fun color like pastel blue, bright yellow, or even black for your tips.
Use a thin brush or even the edge of the polish brush to carefully paint a thin line across your nail tip. Do not worry about perfection; a little wobble adds character. Alternatively, try a diagonal French tip for a fresh angle.
Pro Tip: Use clear tape as a guide for a super straight line. Stick it on, paint above it, then peel it off while the polish is still slightly wet.
4. Half-Moon Mani
- Best For: Retro vibes, adding an unexpected detail
- Vibe: Vintage, chic, art deco inspired
- Why it works: It looks complicated but is surprisingly simple.
Apply a base color and let it dry completely. Now, grab those paper hole reinforcement stickers (yes, the ones for binders) or even a small round sticker. Place one at the base of your nail, covering your lunula (the half-moon part).
Paint over the rest of your nail with a contrasting color. Once dry, carefully peel off the sticker to reveal your perfect half-moon. This trick saves you from trying to freehand a curve, which is a blessing.
Pro Tip: Make sure your first polish layer is bone dry before applying the sticker to prevent peeling.
5. Abstract Swirls
- Best For: Creative souls, embracing imperfection
- Vibe: Artistic, free-spirited, unique
- Why it works: There is no wrong way to do it.
Paint your nails with a solid base color, something light like white or nude works best. While it is still slightly tacky, drop a few small dots of contrasting colors onto the nail. Use a toothpick or a fine brush to gently swirl the colors together.
You are not aiming for a perfect pattern, just a cool, marbled effect. Repeat on each nail, varying the colors and swirl directions for a truly abstract look. A glossy top coat will make your swirls pop.
Pro Tip: Work quickly before the base polish dries too much; you need that tackiness for the colors to blend.
6. Gradient Nails
- Best For: Color lovers, subtle transitions
- Vibe: Dreamy, soft, ethereal
- Why it works: Sponge application makes blending a breeze.
Choose two or three complementary polish shades, like light blue fading into dark blue. Paint your nails with the lightest shade as a base. On a makeup sponge, paint stripes of your chosen colors next to each other.
Gently dab the sponge onto your nail, rocking it slightly to blend the colors. Repeat the dabbing until you achieve your desired opacity and blend. Clean up any polish around your cuticles with a cotton swab dipped in remover.
Pro Tip: Apply a liquid latex barrier around your nails before sponging to make cleanup incredibly easy.
7. Accent Nail
- Best For: Busy bees, commitment-phobes
- Vibe: Effortless, chic, a touch of personality
- Why it works: Maximum impact with minimal effort.
Paint all your nails one solid color, your favorite everyday shade. Now, pick one nail (usually the ring finger) to be your accent. On that nail, do something different.
This could be a glitter polish, a different solid color, a simple stripe, or even a tiny decal. It adds interest without requiring you to do intricate designs on every single finger. Plus, it is super quick to do.
Pro Tip: Choose an accent color that either perfectly matches or boldly contrasts your main color for the best effect.
8. Tape Stripes
- Best For: Geometric fans, clean lines
- Vibe: Modern, edgy, graphic
- Why it works: Tape does the hard work for you.
Paint your nails with your base color and let it dry completely, and we mean COMPLETELY. Cut thin strips of painter’s tape or nail striping tape. Place them on your nail in any pattern you like: vertical, horizontal, diagonal, or even a chevron.
Paint a contrasting color over the tape. Before the top coat dries, carefully peel off the tape to reveal crisp, clean lines. Seal with a top coat to prevent chipping.
Pro Tip: Press the tape firmly onto your nail to prevent polish from bleeding underneath the edges.
9. Matte Top Coat Magic
- Best For: Instant upgrade, sophisticated twist
- Vibe: Velvety, modern, understated cool
- Why it works: Transforms any polish into something new.
This is less of an “idea” and more of a secret weapon. Paint your nails with any color you desire, from a vibrant red to a deep navy. Let it dry.
Instead of your usual glossy top coat, apply a matte top coat. Watch as your shiny polish transforms into a velvety, sophisticated finish. It makes even the cheapest polish look expensive and effortlessly chic.
Pro Tip: Try painting a glossy design (like a stripe or dot) over a matte base for a cool textured look.
10. Negative Space Nails
- Best For: Minimalists, showing off natural nails
- Vibe: Modern, airy, understated
- Why it works: Less polish, more impact.
This trend is all about letting parts of your natural nail show through. Start with a clear base coat. Then, paint simple shapes or lines, leaving sections of your nail bare.
You could paint a thin line down the middle of your nail, a half-moon at the tip, or just outline the edges. The key is to keep it clean and intentional. Finish with a clear top coat.
Pro Tip: Use a very fine brush or even a toothpick to create precise lines and shapes for your negative space design.
11. Jelly Nails
- Best For: Playful vibes, a Y2K throwback
- Vibe: Translucent, juicy, fun
- Why it works: It is basically colored clear polish, so easy.
Jelly nails are sheer, colored polishes that look like stained glass or candy. If you do not have a specific jelly polish, you can DIY it. Mix a few drops of a regular colored polish with a clear top coat on a palette.
Apply several thin coats until you get your desired translucent color. The beauty is in the sheerness, so do not go too opaque. These are perfect for a light, summery feel.
Pro Tip: Layer different sheer colors for a multi-dimensional jelly effect, like a watercolor painting.
12. Chrome Powder Fun
- Best For: Trendsetters, futuristic flair
- Vibe: Metallic, sleek, high-shine
- Why it works: Transforms any color with a magical sheen.
This one feels fancy but is surprisingly simple. Apply a gel polish base color (black works best for a true chrome effect) and cure it. Then, apply a no-wipe gel top coat and cure it for a short time (usually 30 seconds).
Using an eyeshadow applicator, rub a small amount of chrome powder onto the tacky surface until it shines. Dust off excess, then seal with another no-wipe gel top coat. The result is a mirror-like finish that is absolutely stunning.
Pro Tip: Make sure your gel top coat is perfectly cured but still slightly warm for the best powder adhesion.
13. Beginner Stamping Art
- Best For: Intricate looks without the effort
- Vibe: Detailed, patterned, professional-looking
- Why it works: Transfers designs like magic.
Nail stamping kits are your best friend for quick, detailed designs. Paint your nails with a base color. Choose a design from your stamping plate, apply a special stamping polish over it, then scrape off the excess.
Roll your stamper over the design, then immediately roll it onto your nail. Voila! Instant intricate art. Practice makes perfect, but even your first attempt will impress.
Pro Tip: Work quickly when transferring the design from the plate to the stamper and then to your nail, as stamping polish dries fast.
Our Top Recommended Finds
- A quality base and top coat: These are non-negotiables for any mani. They protect your nails and extend wear time.
- Nail dotting tools set: A pack with various sizes makes dots, swirls, and even tiny flowers a breeze. They are super affordable and versatile.
- Quick-dry spray or drops: Because nobody has time to sit around waiting for polish to dry when there is Netflix calling.
Which of these will you try first
See, we told you it was easy. No more sad, naked nails or crying over spilled polish. You totally got this.
So, which of these genius, budget-friendly ideas are you slapping on your digits first