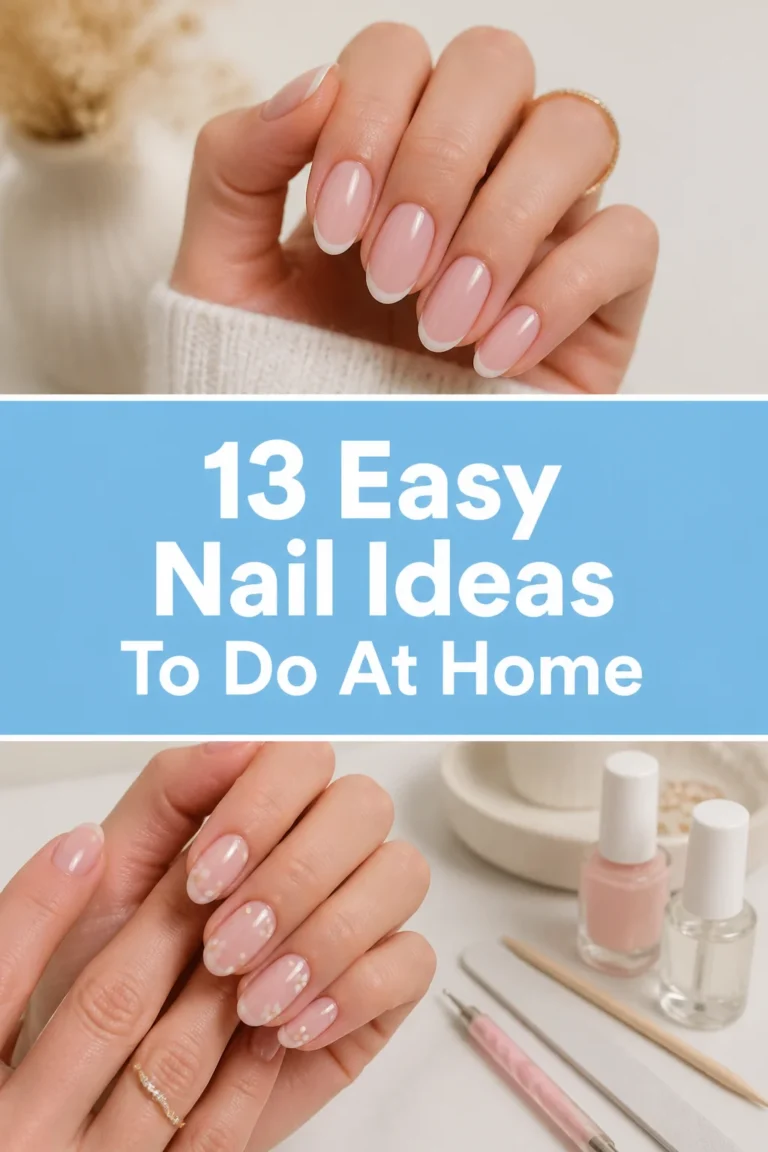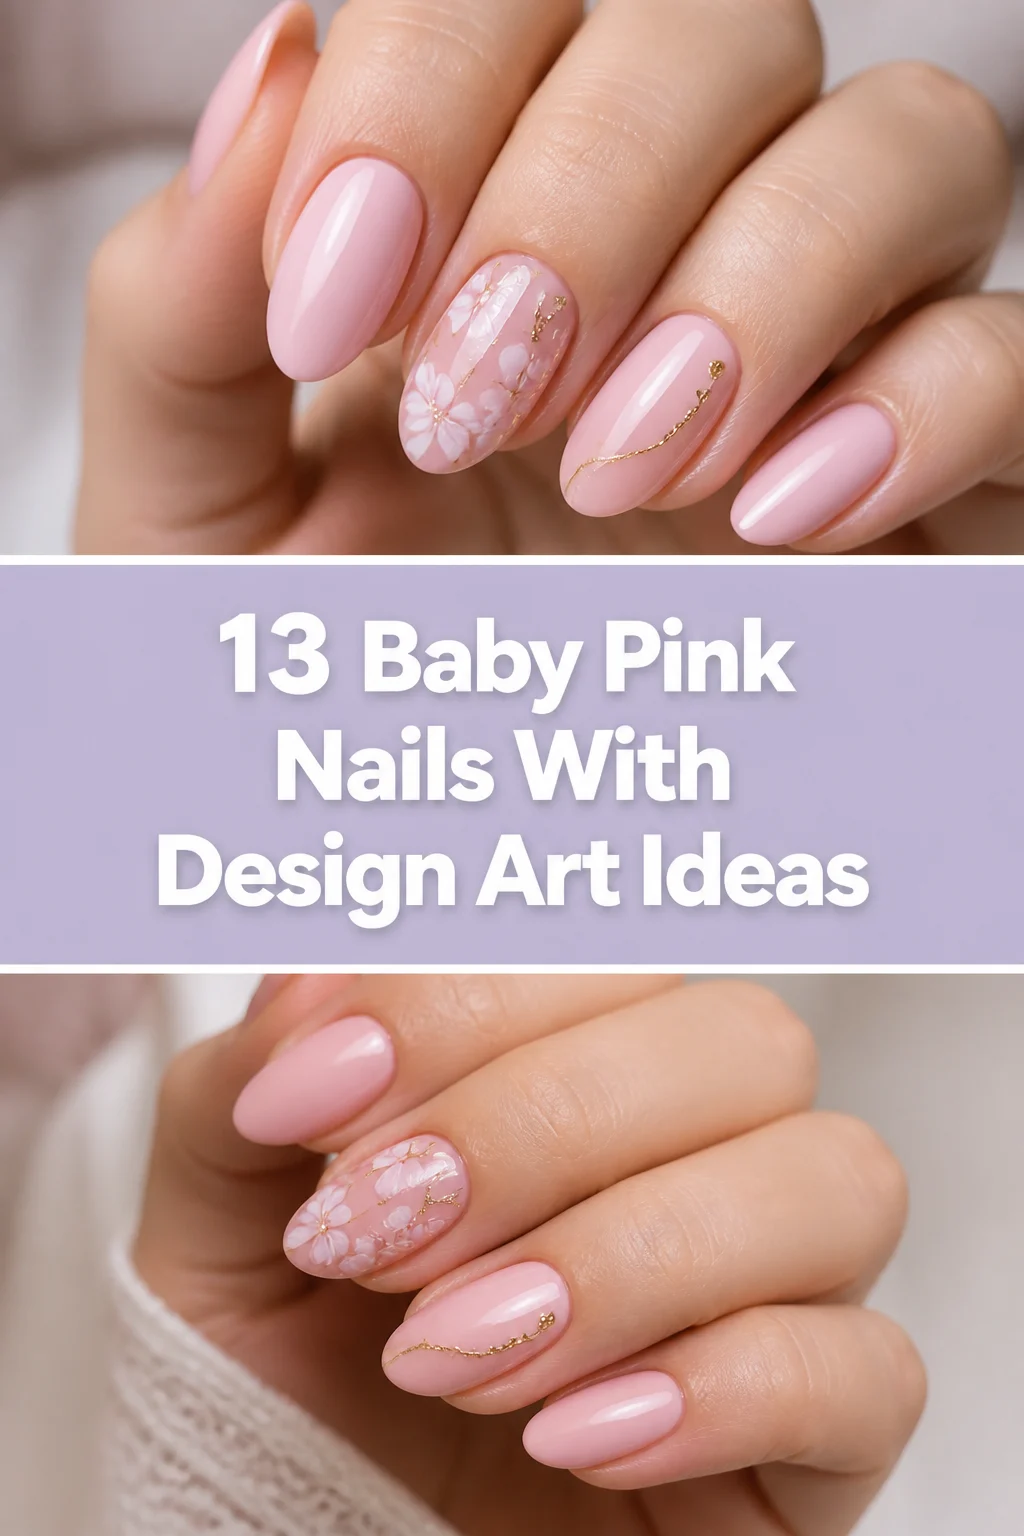
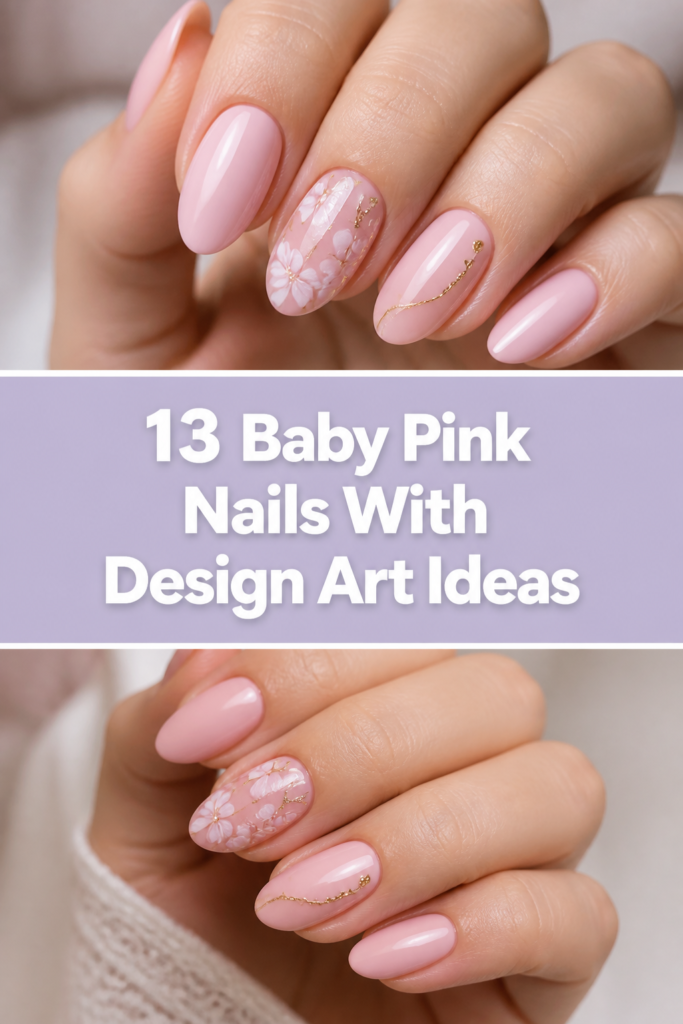
💅 13 Baby Pink Nails With Design Art Ideas
Ever find yourself staring at your nails, dreaming of something fresh and cute, but not too wild?
Baby pink is that perfect, sweet spot, but sometimes it needs a little oomph. Don’t fret, your nail guru is here to dish out some seriously chic ideas that will make your digits pop!
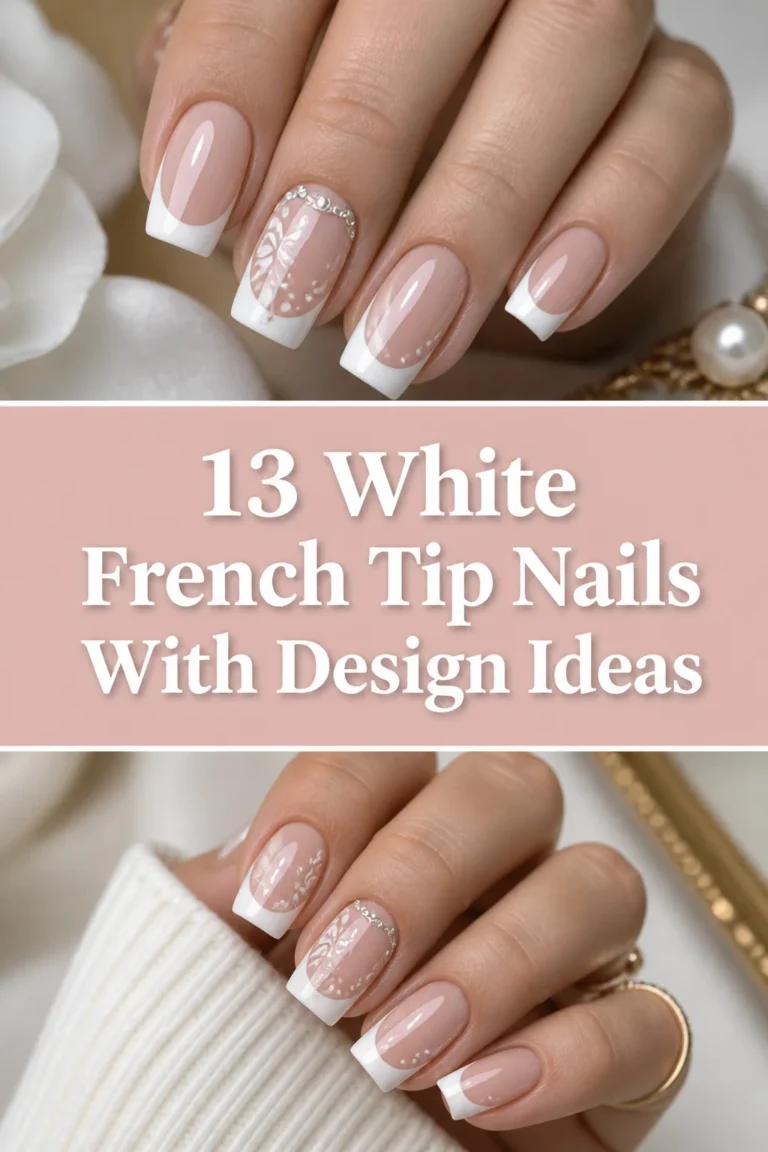
1. Classic French Tip with a Subtle Silver Line
- Best For: Everyday chic, office glam, brunch dates.
- Vibe: Understated elegance, polished perfection.
- Why it works: A timeless look gets a modern, delicate upgrade.
You know the drill, baby pink base, crisp white tips. But here’s the kicker: add a super thin, barely-there silver line right under the white tip.
It’s like your nails just whispered, “I’m fancy,” without yelling it. This look is universally flattering and surprisingly easy to maintain.
Pro Tip: Use a fine-tip nail art brush for that perfect silver line; precision is key here, darling.
2. Ombre Fade to Nude
- Best For: Soft glam, romantic evenings, anyone who loves a gradient.
- Vibe: Dreamy, ethereal, effortlessly chic.
- Why it works: Seamless color transition adds depth without being loud.
Imagine your baby pink gracefully melting into a soft, creamy nude or even a lighter, almost white pink. It’s like a sunset on your fingertips, but, you know, pink.
This technique creates a beautiful, subtle flow that looks incredibly sophisticated. It’s truly a vibe, especially with an almond nail shape.
Pro Tip: Achieve a smooth transition using a makeup sponge to dab on the colors. Light layers are your friend.
3. Delicate Floral Accents
- Best For: Spring events, garden parties, adding a touch of whimsy.
- Vibe: Feminine, whimsical, fresh.
- Why it works: Adds a touch of nature’s beauty to a sweet base.
Think tiny white or gold flowers, maybe on just one or two accent nails. We’re talking dainty, not your grandma’s wallpaper.
A simple daisy or a minimalist rosebud can transform your nails into a tiny, wearable garden. It’s cute, it’s fresh, and it screams “I have my life together.”
Pro Tip: Use a dotting tool for perfect flower centers and petals; it makes intricate designs a breeze.
4. Minimalist Gold Stripes
- Best For: Modern minimalists, fashion-forward thinkers, everyday wear.
- Vibe: Sleek, sophisticated, geometric.
- Why it works: Metallic accents elevate the softness of baby pink.
Sometimes less really is more, especially when gold is involved. Picture thin, razor-sharp gold lines, either vertical down the middle or horizontally near the cuticle.
This design adds a touch of luxury and structure to the softness of baby pink. It’s chic, it’s understated, and it looks expensive without the price tag.
Pro Tip: Nail striping tape is your best friend for achieving perfectly straight lines. Peel it off before the polish fully dries.
5. Glitter Gradient from the Cuticle
- Best For: Parties, holidays, when you want to feel a little extra.
- Vibe: Playful, glamorous, sparkly.
- Why it works: Adds a fun, festive shimmer without overpowering the pink.
Let’s get sparkly, shall we? Apply a concentration of fine glitter at the cuticle area, letting it gradually fade out towards the tip.
This creates a subtle, shimmering effect that catches the light beautifully. It’s like a party on your nails, but a very tasteful one.
Pro Tip: Use a loose glitter and pat it on with a brush, then seal with a good top coat to prevent fallout.
6. Playful Polka Dot Pop
- Best For: Retro lovers, casual fun, adding a cute touch.
- Vibe: Cute, playful, vintage-inspired.
- Why it works: A classic pattern brings a dose of adorable to your digits.
Who doesn’t love a good polka dot? On a baby pink base, tiny white or black polka dots on an accent nail are just adorable.
It’s a nod to vintage charm with a modern twist. This design is fun, youthful, and guaranteed to make you smile.
Pro Tip: A dotting tool is essential for perfectly round, evenly spaced dots. No shaky hands allowed!
7. Subtle Marble Effect
- Best For: High fashion moments, art gallery visits, special occasions.
- Vibe: Luxurious, artistic, unique.
- Why it works: Creates an expensive, sophisticated look.
Imagine soft swirls of white and light grey mimicking marble on one or two nails. It’s surprisingly chic and instantly elevates your look.
This design adds an artistic flair that feels totally bespoke. You’ll look like you just stepped out of a high-end salon, without the high-end cost.
Pro Tip: Use a thin brush and a couple of drops of white and grey polish on a palette, then swirl lightly before applying.
8. Negative Space Hearts
- Best For: Valentine’s Day, anniversaries, self-love moments.
- Vibe: Sweet, romantic, modern.
- Why it works: A subtle nod to love, keeping it chic and not cheesy.
Show some love with tiny heart outlines or solid hearts, letting your natural nail or a clear base peek through. It’s understated, yet totally endearing.
This design is super cute without being overly saccharine. It’s perfect for those who want to express affection subtly.
Pro Tip: Use nail stencils for perfectly shaped hearts, or freehand with a very fine brush for a more organic feel.
9. Dainty Rhinestone Bling
- Best For: Weddings, proms, feeling like absolute royalty.
- Vibe: Glamorous, sparkly, fancy.
- Why it works: Just a touch of sparkle adds instant elegance.
Sometimes, a little sparkle is all you need. Place a few tiny rhinestones strategically near the cuticle or along the side of one or two nails.
It’s just enough bling to catch the light and add a touch of glamour without going overboard. You’ll be sparkling like a diamond, darling.
Pro Tip: Use nail glue and a wax pencil or tweezers to pick up and place rhinestones accurately. Finish with a top coat.
10. Abstract Swirls in Complementary Hues
- Best For: Creative types, art lovers, making a statement.
- Vibe: Artsy, modern, unique.
- Why it works: Expresses individuality with a soft, artistic flair.
Let your inner artist out with free-form lines or blobs in contrasting pastels like lavender, mint, or soft yellow. No rules here, just pure creativity.
This design is perfect for those who love a unique, artistic look. Each nail can be a mini masterpiece, truly.
Pro Tip: Don’t overthink it. Use a thin brush and let the colors flow naturally for an organic, abstract look.
11. Matte Finish Magic
- Best For: Edgy fashionistas, evening events, a sophisticated twist.
- Vibe: Chic, sophisticated, velvety.
- Why it works: Transforms a sweet color into something unexpectedly cool.
Take your baby pink to a whole new level by finishing it with a matte top coat. The velvety texture is unexpectedly chic and super modern.
For an extra pop, keep one accent nail glossy; the contrast is divine. It’s a sophisticated twist on a classic shade.
Pro Tip: Ensure your matte top coat is evenly applied to avoid streaks. It dries fast, so work quickly.
12. Retro Half-Moon Mani
- Best For: Vintage enthusiasts, cocktail parties, adding a classic touch.
- Vibe: Retro glam, sophisticated, timeless.
- Why it works: A classic technique given a fresh, modern update.
Bring back a classic with a contrasting color like white or silver painted at the base of the nail, creating a crescent shape.
This vintage-inspired look is effortlessly elegant and unique. It’s a subtle nod to the past, brought into the present with a baby pink base.
Pro Tip: Use reinforcement stickers or a steady hand to create that perfect half-moon shape at the cuticle.
13. Subtle Animal Print Accent
- Best For: Bold fashion statements, girls’ night out, adding an edge.
- Vibe: Sassy, playful, wild-but-chic.
- Why it works: Adds an unexpected pop of personality to an otherwise sweet shade.
Feeling a little wild? Add a subtle leopard or zebra print in light grey, white, or even a darker pink on just one accent nail.
It’s just enough sass to make a statement without overpowering the sweetness of the baby pink. Go on, unleash your inner fashion beast.
Pro Tip: Keep the print small and delicate. A fine-tip brush is crucial for creating those intricate animal print details.
Our Top Recommended Finds
- High-Quality Base and Top Coat: Essential for longevity and shine (or matte finish!). A good top coat protects your art and prevents chipping.
- Fine-Tip Nail Art Brush Set: You can’t achieve those intricate details without the right tools, darling. Precision is everything for stripes, florals, and swirls.
- Dotting Tools: Perfect for polka dots, rhinestone placement, and even creating flower centers. These make detailed work so much easier.
Which of these will you try first?
There you have it, 13 ways to make your baby pink nails anything but basic. From subtle shimmer to playful patterns, there’s an idea here for every mood and occasion.
So, which design is calling your name? Let us know in the comments, because we’re dying to see your fabulous new mani!