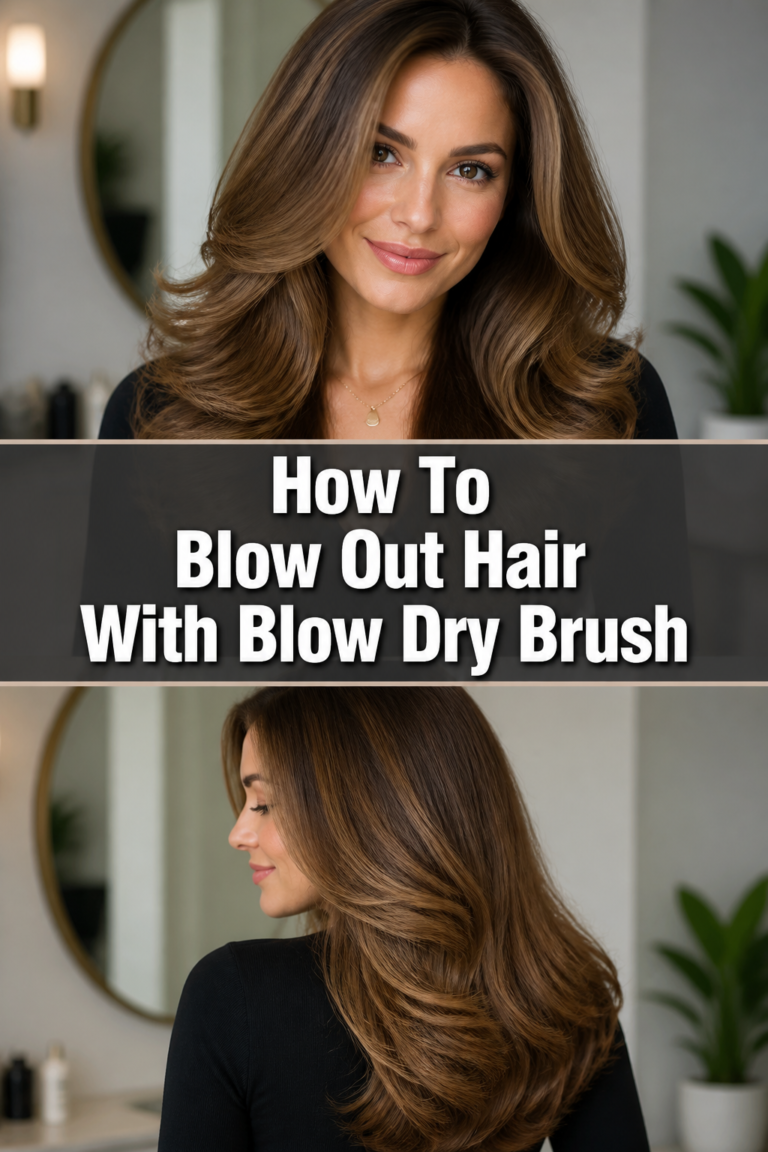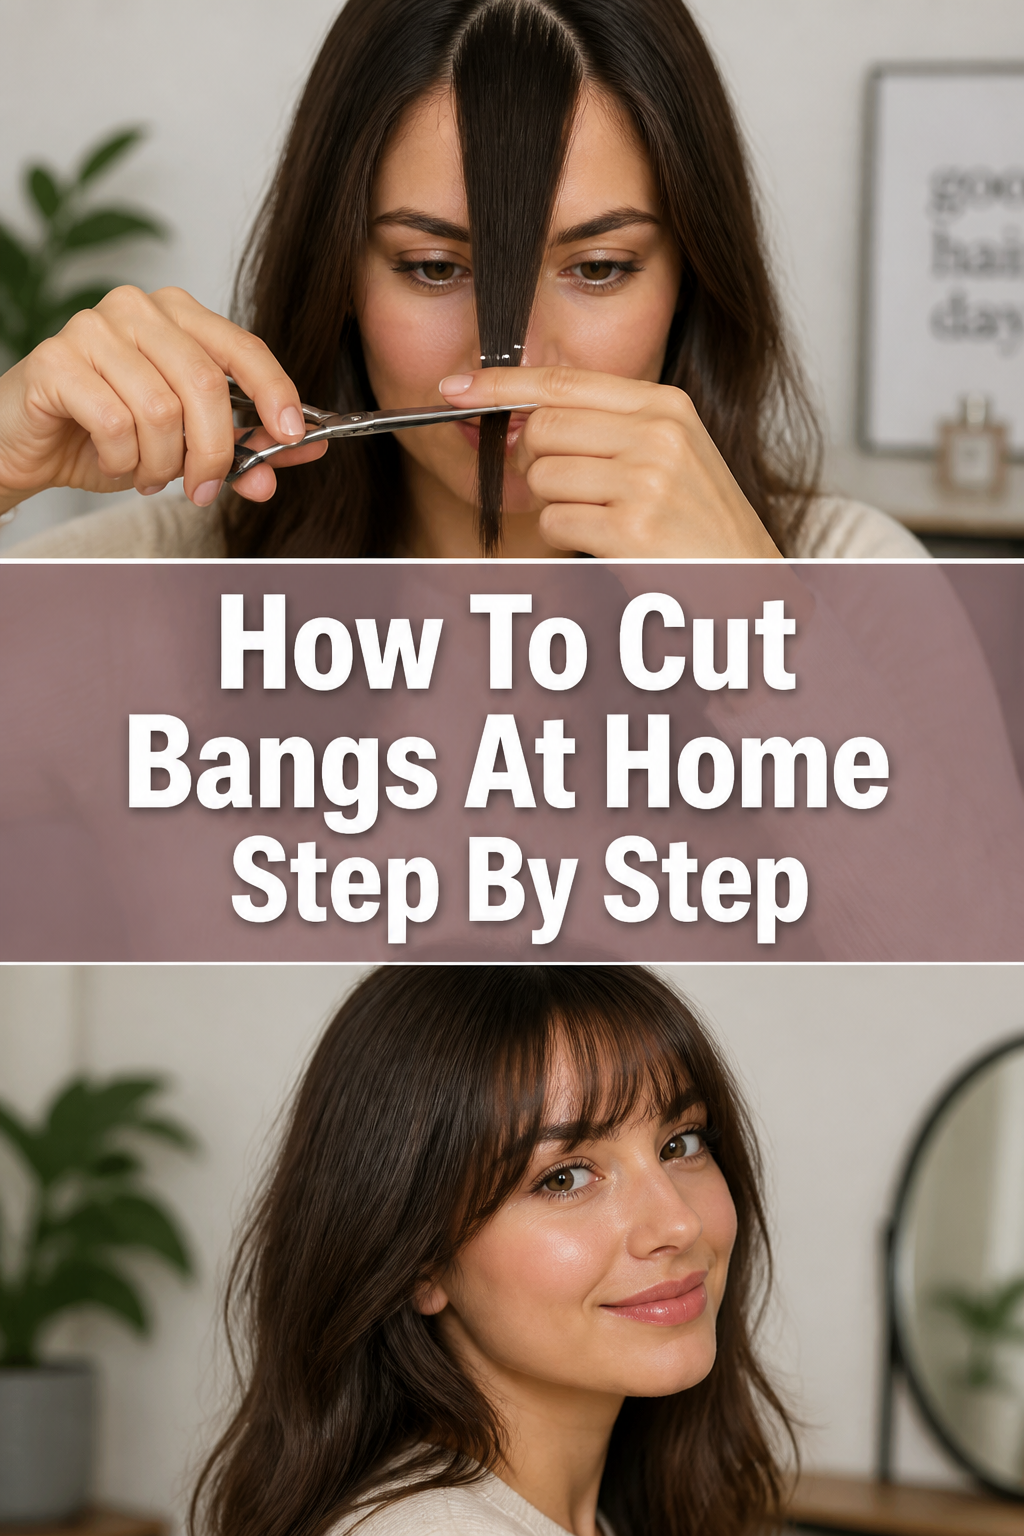
💇♀️ How To Cut Bangs At Home Step By Step
Thinking about a fresh fringe? Cutting your own bangs can feel intimidating. I remember my first attempt resulted in a rather crooked, much-too-short situation.
But with the right tools and a clear guide, you can absolutely achieve salon-worthy results right from your bathroom mirror. This guide shares the practical, step-by-step process I’ve refined over years of successful at-home trims.

Quick Overview
You’re about to transform your look with a stylish new set of bangs. This guide will walk you through preparing your hair, sectioning it precisely, and making controlled cuts for a flattering fringe.
Here’s what you’ll need to know:
- Time needed: 30-45 minutes (including prep and styling)
- Difficulty: Beginner to Intermediate
- What you’ll need: Sharp hair shears, fine-tooth comb, hair clips, spray bottle with water, mirror, optional flat iron or round brush.
Step-by-Step Instructions
Step 1: Gather Your Tools
Having everything ready before you start is crucial. This prevents mid-cut scrambling.
Find a well-lit area, preferably with a large mirror. Make sure you can see your face clearly and from multiple angles if possible.
Collect your sharp hair shears, a fine-tooth comb, and several hair clips. A spray bottle filled with water will also be very useful.
Pro Tip: Never use kitchen scissors or craft scissors. They aren’t sharp enough for hair and will leave you with split ends and a jagged cut. Invest in a good pair of hair-cutting shears.
Step 2: Start With Dry, Styled Hair
This might sound counter-intuitive, but it’s essential. Hair shrinks as it dries, and cutting wet hair often leads to bangs that are too short once dry.
Wash and fully dry your hair as you normally would. Style it how you typically wear it, whether straight, wavy, or curly.
Ensure your hair is completely dry and settled. This gives you an accurate length to work with.
Step 3: Section Your Bang Area
This is the most critical step for getting the right amount of hair for your fringe. Too much hair, and your bangs will be too thick; too little, and they’ll look sparse.
Part your hair down the middle, as you usually would. Use the fine-tooth comb to create a triangular section at the front of your head.
Identify your “bang area.” This typically starts at the highest point of your eyebrow arches and extends back into your hair, forming a triangle shape.
Draw imaginary lines from the outer corner of each eyebrow up towards the crown of your head. The point where these two lines meet at the top forms the apex of your triangle.
Comb all the hair within this triangular section forward, directly over your face.
Pro Tip: For a softer, more wispy bang, make your triangle narrower. For fuller, thicker bangs, extend the base of your triangle slightly wider, but never beyond the outer corner of your eyes.
Step 4: Clip Away Excess Hair
Once your bang section is defined, you need to isolate it. This prevents accidental cutting of hair you want to keep long.
Gather all the hair outside your chosen bang triangle. Secure it tightly with hair clips or elastic bands.
Make sure no stray hairs from the longer sections are mixing with your bang hair. You want a clean, isolated section to work with.
Step 5: Determine Your Desired Length
Visualize where you want your bangs to fall. This will guide your first cut.
Imagine the finished length. Do you want them to hit above your eyebrows, at your eyebrows, or just below?
Consider your face shape and personal style. Shorter bangs can be playful, while longer bangs can be more dramatic.
Step 6: Dampen and Comb Your Bang Section
Lightly dampening the hair can make it easier to cut precisely, but remember the shrinkage rule.
Lightly mist your bang section with water from your spray bottle. Do not soak it; just enough to make it pliable.
Comb the damp hair straight down, smoothing out any tangles.
Step 7: Make Your First Guide Cut (The Center)
This is where you establish the shortest point of your bangs. It’s best to start longer and trim more if needed.
Pinch the very center of your bang section between your index and middle fingers. Pull the hair straight down, taut against your forehead.
Position your fingers horizontally, just below where you want your bangs to end. Remember, you can always go shorter.
Cut straight across, just below your fingers. Use the tips of your shears for a clean line. This is your guide length.
Pro Tip: Always cut less than you think you need. Hair can always be cut shorter, but it can’t be instantly grown longer. Aim for slightly below your desired length for the first pass.
Step 8: Blend the Sides
Now that you have a guide in the middle, you’ll blend this length outwards.
Take a small section of hair from the center, along with a new section from the left side. Comb them together.
Use the existing center length as your guide. Angle your fingers slightly downwards as you move towards the outer edge of your bang section.
Cut along this angled line, blending the new section into the center guide. Repeat this process on the right side, always using a piece of the previously cut section as your guide.
Check your work frequently. Step back and look at your face straight on.
Step 9: Soften the Edges (Point Cutting)
A blunt cut can look heavy. Point cutting adds softness and texture.
Hold your shears vertically or at a slight angle. Take small sections of your bangs.
Snip into the ends of the hair, rather than cutting straight across. This creates a softer, more natural finish.
Focus on the very ends, removing only a tiny amount of hair at a time. This technique is especially good for creating a wispy or feathered look.
Step 10: Check and Refine
The final stage involves styling and making any necessary adjustments.
Dry and style your bangs as you normally would. Use a round brush and a hairdryer, or a flat iron, to see how they truly lay.
Assess the length and shape. If they are still too long, repeat the cutting process, taking off very small amounts at a time.
Look for any uneven spots or areas that need further blending. Make tiny, precise snips to perfect the shape.
Common Mistakes to Avoid
Cutting Wet Hair Too Short
Many people make the mistake of cutting their bangs when they are soaking wet. As hair dries, it shrinks, often pulling up by half an inch or more. This leads to bangs that appear perfectly long when wet but spring up to an unfortunate micro-fringe once dry. Always aim to cut your bangs when they are dry and styled as you usually wear them, or at least only slightly damp.
Using Dull Scissors
Kitchen scissors, paper scissors, or even old, dull hair shears are a recipe for disaster. They don’t cut cleanly; instead, they bend and chew through the hair, causing split ends and a frayed, messy look almost immediately. Invest in a sharp pair of hair-cutting shears. They don’t have to be expensive, but they must be specifically designed for hair.
Cutting Too Much at Once
Impatience can lead to major regrets. When cutting bangs, always remember the golden rule: you can always cut more off, but you can’t put it back on. Take tiny snips, work slowly, and constantly check your length and shape. Start longer than you think you want, and gradually trim down until you reach your ideal length.
Not Sectioning Properly
If you don’t properly isolate the hair you intend to cut into bangs, you risk snipping off longer sections of your hair that you wanted to keep. This can result in a lopsided look or an unintentionally much wider fringe than desired. Take the time to create a clean, precise triangular section at the front and clip away all other hair securely.
Troubleshooting
Bangs Are Too Short
If you’ve accidentally cut your bangs shorter than intended, don’t panic. The best immediate solution is to embrace it or try to style them differently. You can try pushing them to the side, pinning them back with a cute clip, or using hairspray to push them upwards for a spiky look. Time is the ultimate healer here; bangs grow relatively quickly.
Bangs Are Uneven
Uneven bangs often happen from not combing the hair straight down or cutting at an inconsistent angle. If the unevenness is minor, try to carefully trim the longer sections by taking very tiny snips. If it’s significantly uneven, it might be best to visit a professional stylist who can correct the shape without sacrificing too much length.
Bangs Look Too Blunt/Heavy
A blunt cut can sometimes look severe. To soften heavy bangs, use the point-cutting technique. Hold your shears vertically and snip into the very ends of your bangs, removing small amounts of hair. This creates texture and makes the ends look lighter and more natural. You can also try texturizing shears if you have them, but use them sparingly.
Key Takeaways
- Always cut bangs on dry, styled hair to avoid shrinkage surprises.
- Invest in sharp hair shears for a clean, damage-free cut.
- Section your hair meticulously using a triangular guide for the perfect bang width.
- Start with a longer cut and trim in small increments to prevent over-cutting.
- Use point-cutting to soften the edges and add natural texture to your fringe.
- Be patient and take your time; rushing often leads to mistakes.
Frequently Asked Questions
Should I cut my bangs wet or dry?
Always cut your bangs when they are completely dry and styled as you normally wear them. Hair shrinks as it dries, so cutting wet hair almost always results in bangs that are too short once dry.
What kind of scissors should I use?
You should use sharp hair-cutting shears. Avoid using kitchen or craft scissors, as they are not designed for hair and can cause split ends and a jagged, unhealthy-looking cut.
How do I know how much hair to cut for bangs?
Start by sectioning a triangular piece of hair from the crown of your head down to your temples. The base of the triangle should align with the outer corners of your eyebrows. This ensures you have enough hair for a flattering fringe without making it too thick or too sparse.
What if I mess up my bangs?
Don’t worry! Most bang mistakes are fixable. If they are too short, try styling them to the side or pinning them back while they grow out. If they are uneven, try to carefully trim the longer sections or consider visiting a professional stylist for a quick fix.
Our Top Recommended Finds
- Professional Hair Shears: A sharp, ergonomic pair makes all the difference for clean cuts and comfortable handling.
- Fine-Tooth Comb: Essential for precise sectioning and smoothing hair before cutting.
- Hair Clips/Sectioning Clips: Crucial for holding back the rest of your hair and isolating your bang section.
Embrace Your New Look!
Cutting your own bangs is a fantastic way to refresh your style without a full salon visit. It empowers you to take control of your look and experiment with new trends. You’ve now got the knowledge and steps to achieve a great result.
Don’t hesitate to give it a try. With a little patience and these clear instructions, you’ll be rocking a fabulous new fringe in no time. Why not gather your tools and get started on your hair transformation today?