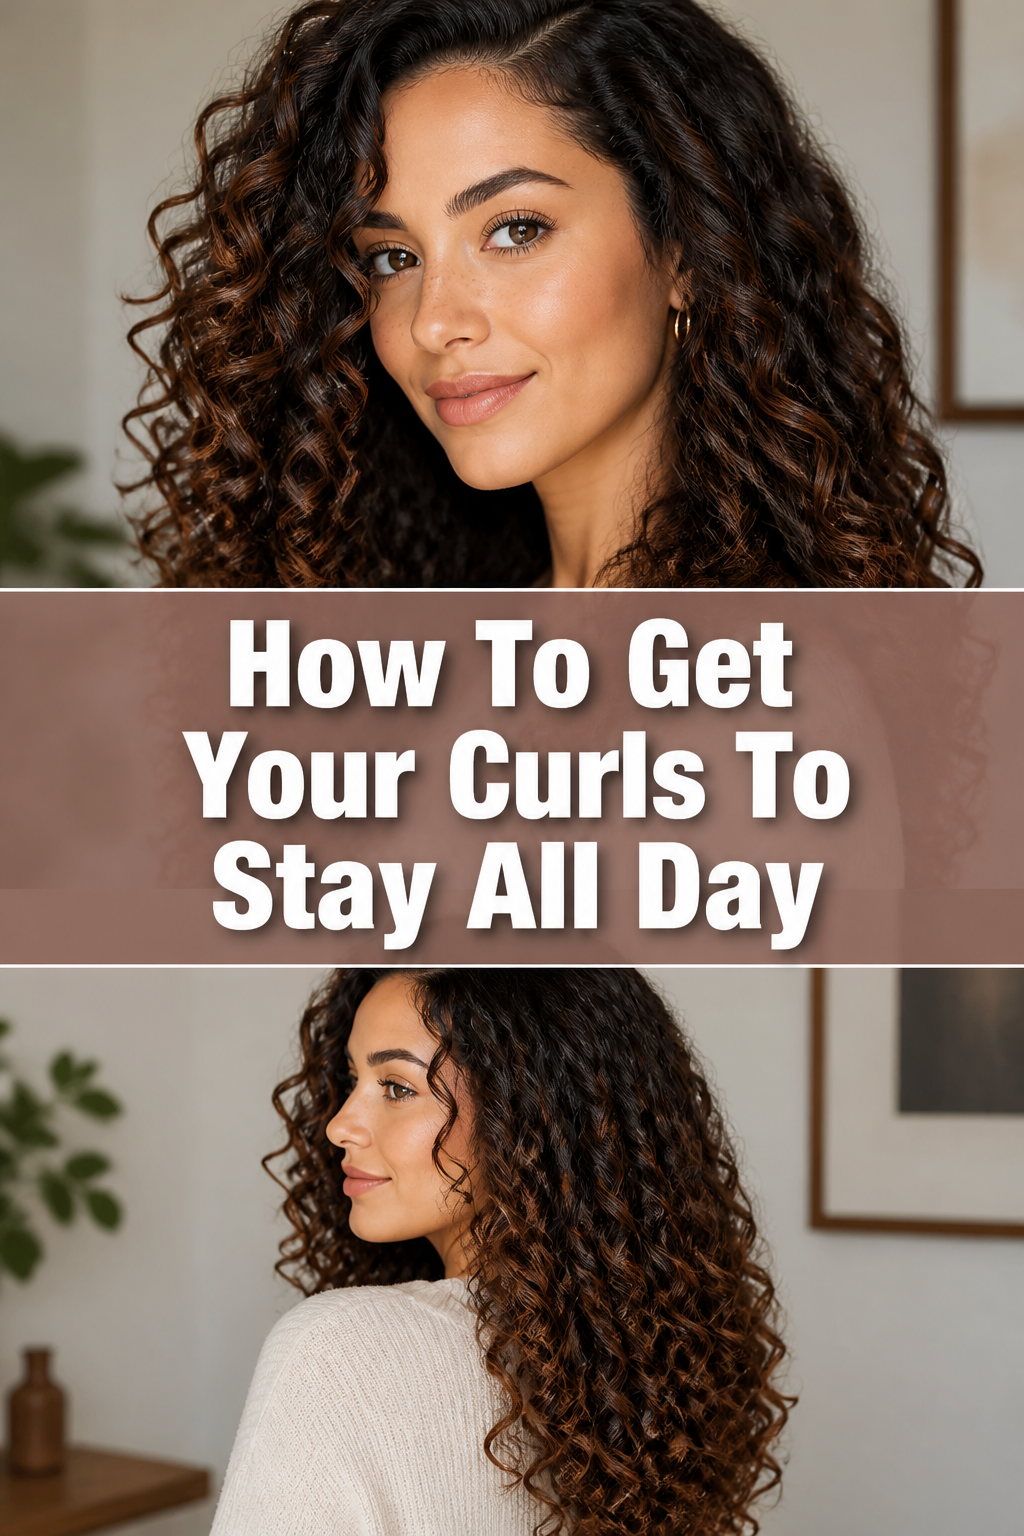
➰ How To Get Your Curls To Stay All Day
There’s nothing quite like the feeling of perfectly styled curls, full of bounce and life.
But the frustration of watching them fall flat an hour later is all too familiar for many of us.
I’ve spent years experimenting with different techniques and products, finally cracking the code on how to keep those beautiful curls intact from morning coffee to evening wind-down.

Quick Overview
This guide will show you how to transform your curling routine, ensuring your style lasts all day long.
You’ll learn the essential steps, product choices, and techniques to achieve lasting, vibrant curls.
- Time needed: 30-60 minutes (depending on hair length and density)
- Difficulty: Intermediate
- What you’ll need: Heat protectant, styling mousse or cream, strong hold hairspray, curling iron/wand, hair clips, optional: silk scarf or pillowcase.
Step-by-Step Instructions
Step 1: Prep Your Hair Properly
The foundation of long-lasting curls begins even before you pick up your curling tool. Start with clean, dry hair, preferably washed the day before.
Freshly washed hair can sometimes be too soft, making it harder for curls to hold their shape.
Pro Tip: If you must wash your hair on the same day, ensure it’s completely dry. Any residual moisture can cause frizz and prevent curls from setting properly.
Step 2: Apply a Heat Protectant
Never skip this crucial step, especially when using heat tools. A good heat protectant shields your strands from damage, keeping them healthy and strong.
Distribute it evenly throughout your hair, focusing on the mid-lengths and ends.
This creates a barrier that minimizes heat stress, which can otherwise make your hair more prone to losing its curl.
Step 3: Build a Foundation with Styling Product
A lightweight mousse or curl-enhancing cream provides the necessary grip and memory for your curls to last. Apply a golf ball-sized amount (adjust for hair length) from roots to ends.
Work it through thoroughly, ensuring every strand gets a bit of product without being overloaded.
This primer helps your hair “remember” the curl shape, giving it enduring hold.
Step 4: Section Your Hair Meticulously
Proper sectioning is key for even, long-lasting curls. Divide your hair into manageable sections, typically starting with a horizontal part from ear to ear, then dividing the bottom section.
Smaller sections mean more direct heat exposure and a stronger curl formation, which translates to better hold.
Use clips to keep the uncurled sections out of the way, working systematically around your head.
Step 5: Master the Curling Technique
For curls that last, wrap small sections of hair around your curling iron or wand. Hold the hair on the barrel for about 10-15 seconds, depending on your hair type and the heat setting.
Ensure the heat is consistent but not excessively high to avoid damage.
Alternate the direction of the curls (away from your face, then towards your face) for a more natural, voluminous look.
Step 6: Pin and Cool Each Curl
This is arguably the most critical step for curl longevity. As soon as you release a curl from the iron, gently cup it in your hand and pin it against your scalp using a duckbill clip or bobby pin.
Allowing the curl to cool in its coiled shape “sets” the pattern, making it much more resilient.
Leave all curls pinned until they are completely cool, which might take 15-20 minutes or longer, depending on your hair’s thickness.
Step 7: Apply a Flexible Hold Hairspray
Once all curls are pinned and fully cooled, lightly mist your entire head with a flexible hold hairspray. This layer of spray provides an initial setting without making your hair stiff.
Allow the spray to dry completely before you unpin your curls.
This pre-setting ensures that when you release the pins, the curls are already beginning to lock into place.
Step 8: Gently Release and Finish
Carefully unpin each curl, starting from the bottom sections. Resist the urge to immediately brush or run your fingers through them.
Instead, gently shake your head to let the curls fall naturally.
If you desire a softer look, use your fingers to very lightly separate the curls, avoiding pulling them straight.
Step 9: Lock It In with Strong Hold Hairspray
Once your curls are arranged to your liking, finish with a final, generous spray of strong hold hairspray.
Hold the can about 10-12 inches away from your head and mist evenly, ensuring good coverage.
This final layer creates a protective barrier, sealing your style against humidity and movement throughout the day.
Step 10: Protect Your Curls Overnight
To extend the life of your curls, protect them while you sleep. Gather your hair into a loose “pineapple” on top of your head using a soft scrunchie.
Sleeping on a silk pillowcase or wrapping your hair in a silk scarf significantly reduces friction and prevents frizz.
This simple step can make a huge difference in how your curls look the next morning.
Common Mistakes to Avoid
Overloading with Product
While products are essential, using too much can weigh your hair down, making curls fall flat or appear greasy. It can also lead to a crunchy, unnatural texture.
Instead, start with a small amount and add more only if needed, focusing on even distribution.
Less is often more when it comes to styling products for lasting curls.
Brushing Curls Too Soon
This is a common mistake that instantly undoes all your hard work. Brushing or aggressively separating warm curls breaks their delicate pattern before it has a chance to set.
Always allow curls to cool completely while pinned before gently separating them with your fingers.
Patience here truly pays off for defined, lasting curls.
Using the Wrong Heat Setting
Too much heat can damage your hair, making it brittle and less likely to hold a curl. Too little heat won’t create a strong enough curl pattern.
Experiment to find the optimal temperature for your hair type – generally lower for fine hair, higher for thick or coarse hair.
Always prioritize hair health by using the lowest effective heat setting.
Curling Hair While Damp
Curling hair that isn’t completely dry can cause significant damage, leading to frizz and a weak curl. The “sizzling” sound is a clear indicator of moisture still present.
Ensure your hair is 100% dry before applying any heat from a curling iron or wand.
This prevents steam damage and allows the curl to form properly.
Troubleshooting
Curls Fall Flat Quickly
If your curls lose their shape too fast, you might not be allowing them to cool completely in their coiled form. Pinning each curl until it’s cold is crucial for setting the style.
Also, ensure you’re using adequate styling product and a strong hold hairspray.
Your hair type might also benefit from smaller sections and a slightly higher heat setting if damage isn’t a concern.
Hair Feels Crunchy or Stiff
This usually indicates an overuse of strong hold products, particularly hairspray or mousse. While hold is important, too much can create an undesirable texture.
Try using less product, opting for a flexible hold hairspray for the initial set, and only using strong hold as a finishing touch.
Ensure products are distributed evenly, not concentrated in one spot.
Frizz Despite Products
Frizz can be a sign of humidity, but also of hair that isn’t properly moisturized or protected. Make sure you’re using a good heat protectant with anti-frizz properties.
Consider a humidity-blocking hairspray as your final step, especially on damp days.
Also, avoid touching your curls too much after styling, as this can disrupt the cuticle and cause frizz.
Key Takeaways
- Proper hair preparation, including clean and dry hair, forms the essential base for lasting curls.
- Always use a heat protectant to shield your hair from damage and maintain its integrity.
- Strategic product application, like mousse or cream for grip and strong hairspray for hold, is vital.
- Pinning each curl while it cools is the most impactful step for setting a long-lasting curl pattern.
- Gentle handling and minimal manipulation after styling help preserve the curl’s shape and definition.
- Protecting your curls overnight with a “pineapple” style and silk pillowcase extends their life significantly.
Frequently Asked Questions
Can these steps work for all hair types?
Yes, these principles apply to most hair types, from fine to thick. You might need to adjust product amounts, heat settings, and curling time based on your specific hair texture and how well it holds a curl. Finer hair often benefits from lighter products and lower heat, while thicker hair may require more product and slightly higher heat.
How often should I wash my hair when I want to curl it?
For optimal curl hold, aim to wash your hair every 2-3 days. Day-old hair often has more grip and texture, which helps curls stay better than freshly washed, super-slippery strands. If your hair gets oily quickly, use a dry shampoo on day two to absorb excess oil at the roots without disrupting your curls.
What’s the best product for combating humidity?
Look for hairsprays or finishing sprays specifically labeled as “anti-humidity” or “weather-proof.” These products create a barrier around your hair shaft, preventing moisture from the air from causing frizz and making your curls fall. Apply them as your final step, ensuring even coverage.
Should I use a curling iron or a curling wand?
Both tools can create beautiful, lasting curls. A curling iron with a clamp offers more control, which can be helpful for beginners or for creating very uniform curls. A curling wand, used without a clamp, often creates more natural-looking, relaxed waves. The choice depends on your desired style and comfort level with each tool.
Our Top Recommended Finds
- Heat Protectant Spray: Essential for shielding your hair from thermal damage, ensuring health and better curl retention.
- Strong Hold Hairspray: A non-negotiable for locking in your style and providing all-day resilience against humidity and movement.
- Silk Pillowcase or Scarf: Minimizes friction and frizz while you sleep, preserving your curl pattern for the next day.
Embrace Your Lasting Curls
Now you have the knowledge and steps to make those beautiful curls a reality, not just a fleeting moment.
Gone are the days of watching your hard work disappear before lunch.
Take these techniques, practice them, and enjoy the confidence that comes with a flawless, long-lasting curly style.