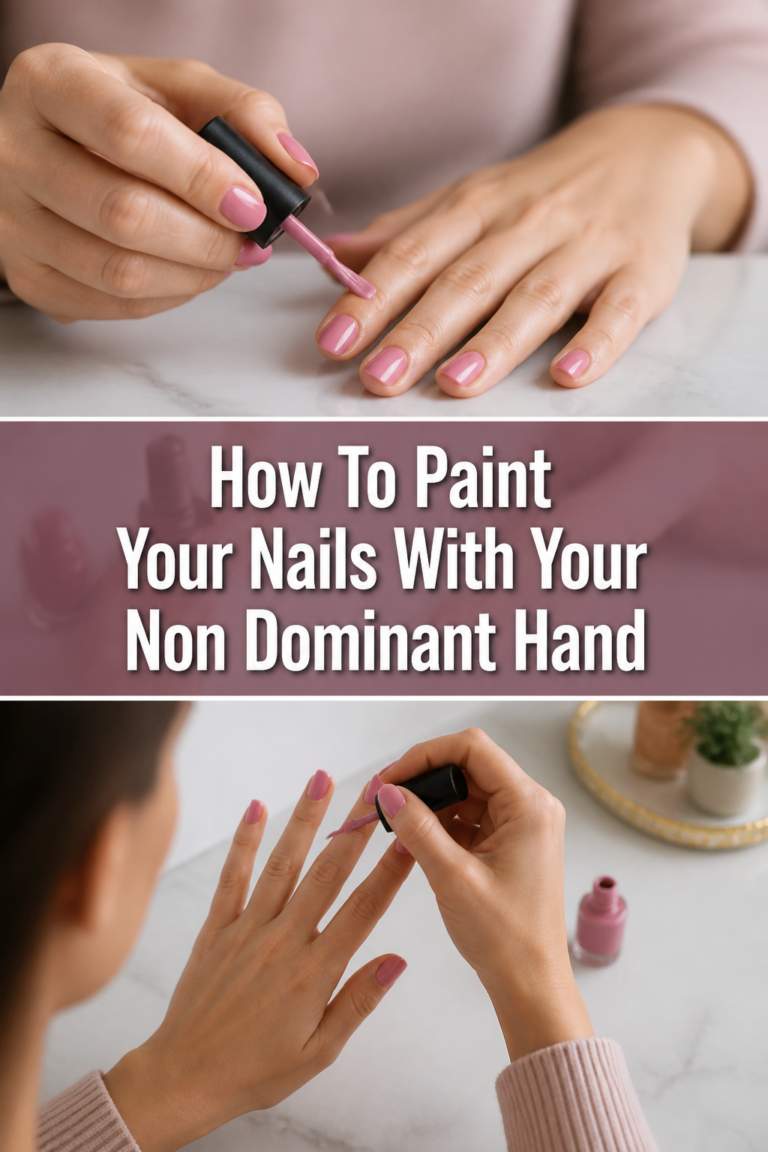
How To Do Manicure At Home Step By Step
I remember my first attempts at an at-home manicure. It felt a bit daunting to get salon-quality results without professional help. Over time, through practice and refining my technique, I discovered the secrets to beautiful, lasting manicures right from my own living room. Now, I’m thrilled to share my perfected routine with you, making it easy to achieve stunning nails whenever you wish.

Quick Overview
This guide will walk you through transforming your nails into a polished, professional-looking set. You’ll learn the techniques to properly prepare, shape, polish, and protect your nails, all from the comfort of your home. Get ready to embrace healthier, more beautiful hands.
- Time needed: 60-90 minutes
- Difficulty: Beginner
- What you’ll need: Nail polish remover, cotton pads, nail clippers, nail file, nail buffer, cuticle pusher, cuticle nippers (optional), cuticle oil, hand cream, base coat, desired nail polish color, top coat.
Step-by-Step Instructions
Step 1: Gather Your Tools and Prepare Your Space
Before you begin, lay out all your necessary tools on a clean, flat surface. A towel or a dedicated mat can help protect your table from spills. Good lighting is also very important.
Ensure you have everything within reach to avoid interruptions once you start. This preparation makes the entire process smoother and more enjoyable. It helps create a calm, spa-like atmosphere for your home manicure.
Step 2: Remove Old Polish and Cleanse Nails
Begin by removing any existing nail polish from your nails. Soak a cotton pad with a good quality nail polish remover. Gently press the pad onto each nail for a few seconds.
Then, wipe the polish away in one swift motion from cuticle to tip. Avoid scrubbing back and forth, as this can stain your skin and dry out your nails. Repeat for all nails until they are completely clean.
After removing polish, wash your hands thoroughly with soap and water. This step ensures your nails are free of any residue or oils. A clean canvas is essential for a long-lasting manicure.
Pro Tip: Opt for an acetone-free nail polish remover if you have dry or brittle nails. It’s gentler and less dehydrating.
Step 3: Trim and Shape Your Nails
If your nails are long, start by trimming them to your desired length using nail clippers. Cut straight across to prevent ingrown nails. You can always refine the shape with a file.
Next, use a nail file to shape the edges. File in one direction, from the outer edge towards the center, to prevent splitting and weakening the nail. Avoid sawing back and forth.
Choose a shape that complements your fingers, whether it’s square, oval, almond, or squoval. Consistency in shape across all nails creates a polished look. Take your time to achieve an even edge.
Pro Tip: A glass nail file is excellent for shaping as it’s gentle on the nail edge and prevents snagging. It also lasts a long time.
Step 4: Soak and Soften Your Cuticles
Fill a small bowl with warm (not hot) water and a few drops of mild soap or a specialized cuticle softener. Soak your fingertips for about 5-10 minutes. This helps to soften the cuticles and make them easier to work with.
The warm water also helps to relax your hands and hydrate your nails. You can add a few drops of essential oil for an extra luxurious feel. This step is crucial for gentle cuticle care.
Step 5: Gently Care for Your Cuticles
After soaking, gently push back your cuticles using a cuticle pusher. Use the rounded end of a wooden or metal pusher. Work slowly and carefully around the base of each nail.
Pushing back cuticles creates a clean, elongated nail bed. It also helps your polish adhere better and last longer. Be very gentle to avoid damaging the delicate skin.
If you have any hangnails or excessively loose skin around the nail plate, you can carefully trim them with cuticle nippers. Only snip dead skin that is clearly detached. Never cut your actual cuticles, as this can lead to infection and damage.
Pro Tip: Apply a small amount of cuticle oil before pushing back. This further softens the skin and makes the process smoother.
Step 6: Buff and Cleanse the Nail Surface
Using a nail buffer, gently buff the surface of your nails. This helps to smooth out any ridges and create an even canvas for your polish. Buffing also improves polish adhesion.
Use the fine-grit side of the buffer. Work in gentle, circular motions for a few seconds on each nail. Do not over-buff, as this can thin and weaken your nails.
After buffing, thoroughly clean your nails again. Wipe each nail with a cotton pad soaked in nail polish remover or rubbing alcohol. This removes any dust, oils, or residue that could prevent polish from sticking.
Step 7: Apply a Base Coat
A base coat is a non-negotiable step for a long-lasting manicure. It creates a protective barrier between your nail and the polish. This prevents staining and provides a smooth surface for color application.
Apply one thin, even layer of base coat to each nail. Start with a stroke down the center, then one on each side. Cap the free edge of the nail by running the brush along the tip.
Allow the base coat to dry completely before moving on. This usually takes only a minute or two. A properly dried base coat prevents your color from dragging.
Step 8: Apply Your Chosen Nail Polish Color
Now for the fun part! Choose your favorite nail polish shade. Before applying, roll the bottle between your palms to mix the polish, rather than shaking it. Shaking can create air bubbles.
Apply the first thin coat of your chosen color. Use the same technique as the base coat: one stroke down the center, then one on each side. Cap the free edge to help prevent chipping.
Don’t worry if the first coat looks sheer or streaky; this is normal. Allow the first coat to dry for at least 2-3 minutes. Applying a second coat too soon can cause dragging and bubbling.
Once the first coat is dry, apply a second thin coat of polish. This will build up the color intensity and evenness. Again, cap the free edge of the nail. Let this second coat dry completely.
Pro Tip: If you get polish on your skin, use a small brush dipped in nail polish remover to clean up the edges. Do this before the polish dries for a cleaner finish.
Step 9: Seal with a Top Coat
A top coat is essential for protecting your manicure, adding shine, and extending its wear time. It acts as a shield against chips and scratches. A good top coat also helps the polish dry faster.
Apply one generous, even layer of top coat over your colored polish. Ensure you cover the entire nail surface, including capping the free edge. This creates a strong seal.
Allow your top coat to dry completely. This is the most crucial drying stage, as smudging here can ruin your entire manicure. Many quick-dry top coats are available to speed up this process.
Step 10: Hydrate and Protect Your Hands
Once your top coat is completely dry to the touch, apply a nourishing hand cream or lotion. Massage it into your hands, paying special attention to your cuticles and the skin around your nails. This helps to rehydrate and soften your skin.
Finish with a drop of cuticle oil on each nail. Gently rub it into your cuticles and the skin surrounding the nail. Cuticle oil keeps your cuticles soft, prevents dryness, and promotes healthy nail growth.
This final step adds a touch of luxury and ensures your hands look as well-cared for as your nails. Regular hydration will keep your manicure looking fresh and your hands feeling smooth.
Common Mistakes to Avoid
Cutting Cuticles Too Deeply
Many people think they need to trim their cuticles aggressively for a clean look. However, cuticles protect your nail bed from bacteria and infection. Cutting them too deeply can lead to painful nicks, inflammation, and potential infections. Always push them back gently and only trim hangnails or truly dead, detached skin.
Applying Thick Coats of Polish
It might seem faster to apply one thick coat of polish, but this is a common reason for bubbling and slow drying. Thick coats trap air and moisture, leading to an uneven finish and a higher chance of smudging. Always apply two to three thin coats, allowing each to dry for a few minutes in between. This builds color effectively and dries much faster.
Skipping Base or Top Coat
Some people skip base or top coat to save time, but these are crucial steps for a long-lasting manicure. A base coat prevents nail staining and helps the polish adhere. A top coat seals the color, adds shine, and protects against chips. Omitting either significantly shortens the life of your manicure and compromises the finish.
Filing Nails Incorrectly
Filing your nails with a back-and-forth “sawing” motion can weaken the nail plate and lead to splits and peeling. This friction creates tiny tears in the nail layers. Always file in one direction, from the side towards the center of the nail. This gentle technique maintains the integrity of your nail structure and creates a smoother edge.
Troubleshooting
Polish Bubbles
If your nail polish frequently develops tiny bubbles, several factors might be at play. One common cause is shaking the polish bottle vigorously instead of rolling it between your palms. Shaking introduces air into the formula. Another reason can be applying coats that are too thick, which traps air as the polish dries.
To fix this, try rolling your polish bottle gently before use. Ensure you apply very thin coats of polish, allowing each layer to dry thoroughly before applying the next. Also, avoid painting your nails in a humid environment or directly under a fan, as this can affect drying time and consistency.
Smudged Polish
Smudging often occurs when polish hasn’t had enough time to dry completely. Even if the surface feels dry, the layers underneath might still be soft. Rushing the drying process or immediately engaging in activities that put pressure on your nails can cause smudges.
To prevent smudges, be patient and allow ample drying time between each coat, especially the top coat. Consider using a quick-dry top coat or a few drops of quick-dry oil. After your manicure, avoid hot water, heavy lifting, or anything that could press against your nails for at least an hour.
Quick Chipping
If your manicure chips quickly, several elements could be contributing. Inadequate nail preparation, such as not removing natural oils or buffing the surface, can prevent polish from adhering properly. Skipping the base or top coat also significantly reduces durability. Additionally, not “capping the free edge” of your nail with polish leaves it vulnerable.
To extend wear, always thoroughly clean and buff your nails before applying polish. Use a good quality base coat and top coat, ensuring you apply polish to the tip of your nail (the free edge) with each layer. Avoid using your nails as tools, and consider wearing gloves for household chores to protect your manicure.
Key Takeaways
- Proper preparation, including cleaning and shaping, is the foundation of a lasting manicure.
- Gentle cuticle care involves pushing back, not aggressive cutting, to protect your nail health.
- Always apply thin layers of polish, allowing each to dry, to prevent bubbles and ensure an even finish.
- Base and top coats are essential for protecting your nails, preventing stains, and extending wear time.
- Hydration with hand cream and cuticle oil is crucial for maintaining healthy nails and skin post-manicure.
- Patience is key at every step, especially during drying, to achieve a professional-looking, smudge-free result.
Frequently Asked Questions
How often should I do a home manicure?
The frequency of home manicures depends on your nail growth and how long your polish lasts. Generally, most people find that a manicure lasts about 5-7 days before showing signs of wear. You can refresh your manicure weekly or every ten days to keep your nails looking their best. Regular maintenance also promotes overall nail health.
Can I use regular scissors instead of nail clippers?
It is not recommended to use regular scissors for trimming your nails. Household scissors are typically not designed for the curve and thickness of nails. They can cause uneven cuts, split your nails, or even damage the nail plate. Always use dedicated nail clippers or nail scissors, which are designed for precision and safety.
What’s the difference between a base coat and a top coat?
A base coat is applied directly to the bare nail before color. Its primary functions are to create a smooth surface, prevent nail staining from colored polish, and help the color adhere better. A top coat is applied over the color polish. It seals the manicure, adds shine, protects against chips and scratches, and helps the polish dry faster.
How do I make my polish last longer?
To make your polish last longer, ensure your nails are clean and free of oils before polishing. Use a good quality base coat and top coat, remembering to cap the free edge of your nail with each layer. Apply thin coats of color, allowing each to dry. Avoid using your nails as tools and consider reapplying a thin layer of top coat every 2-3 days to refresh and protect your manicure.
Our Top Recommended Finds
- Glass Nail File: Provides a smooth finish, prevents splitting, and is incredibly durable and easy to clean.
- Cuticle Oil Pen: Convenient for on-the-go hydration, keeping cuticles soft and healthy without mess.
- Quick-Dry Top Coat: Significantly reduces drying time, allowing you to get back to your day faster while protecting your manicure.
Your Journey to Perfect Nails Begins Now
You now have all the knowledge and steps needed to create stunning, salon-quality manicures right at home. This isn’t just about beautiful nails; it’s about a moment of self-care and creativity. Embrace the process, experiment with colors, and enjoy the satisfaction of perfectly polished hands.
Don’t hesitate to start your first home manicure today. With practice, you’ll become a pro, customizing your look and saving money along the way. Your nails are a canvas, and you are the artist.