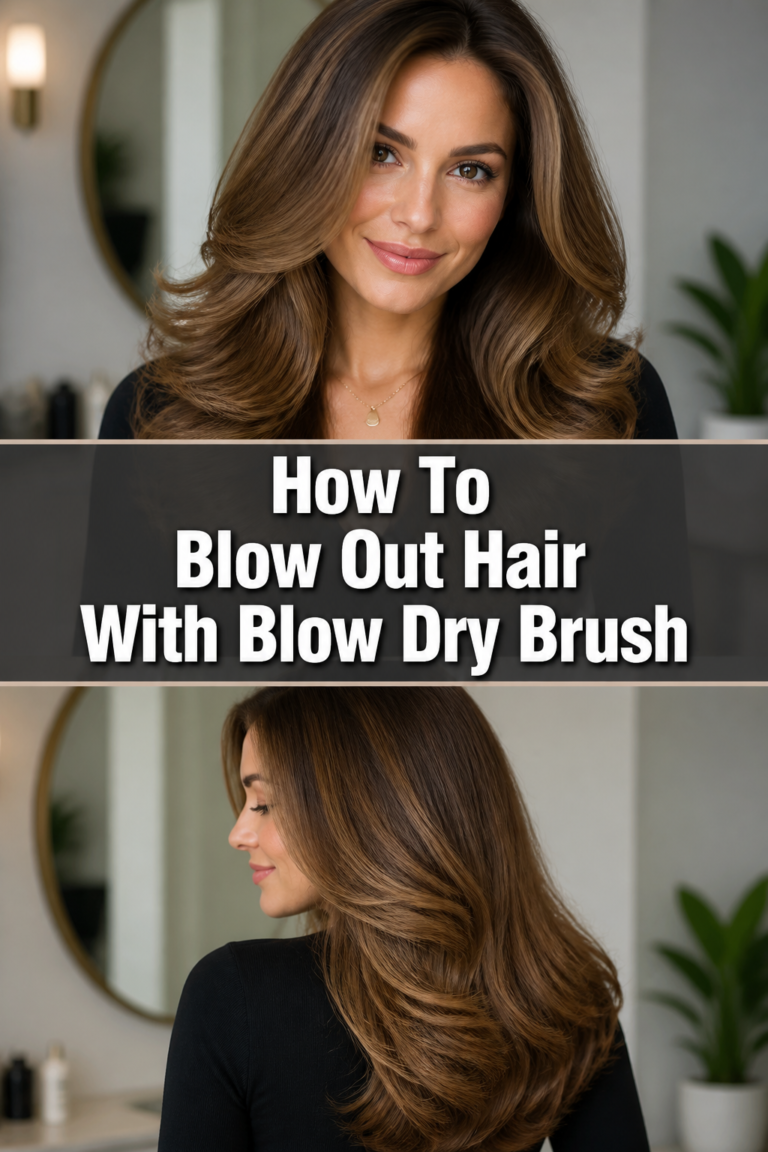
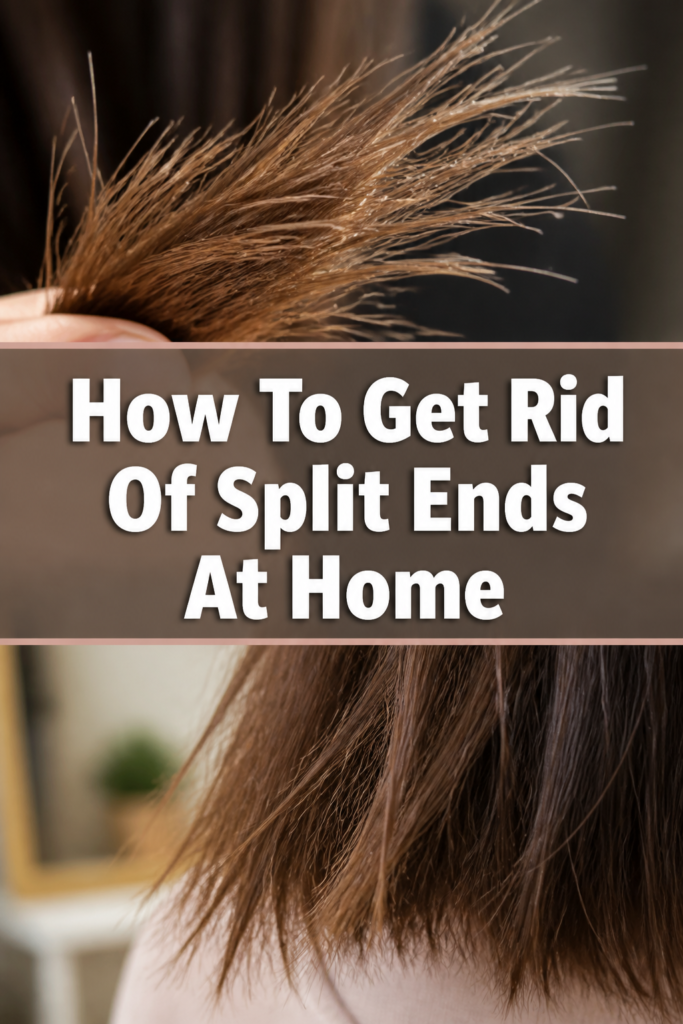
✂️ How To Get Rid Of Split Ends At Home
Dealing with split ends can feel like a constant battle, making your hair look dull and unhealthy. I’ve been there, staring at frayed ends and wishing for a magic solution without a salon visit.
The good news is, you absolutely can tackle these pesky splits from the comfort of your home. This guide will walk you through practical steps to refresh your hair and restore its vibrant look. Let’s get your strands back to their beautiful best.
Quick Overview
This guide will equip you with the knowledge and techniques to effectively trim split ends at home, improving your hair’s overall health and appearance. You’ll learn how to identify, prepare, and carefully snip away damage.
- Time needed: 30-60 minutes (depending on hair length and density)
- Difficulty: Beginner
- What you’ll need: Sharp hair shears, fine-tooth comb, hair clips, good lighting, mirror
Step-by-Step Instructions
Step 1: Gather Your Essential Tools
Before you begin, ensure you have everything within reach. Using the right tools is crucial for a clean cut and to prevent further damage. Dull scissors are your hair’s enemy.
Collect only professional hair-cutting shears. Kitchen scissors or craft scissors will only fray your hair more, creating new split ends. These shears are specifically designed for hair.
Find a fine-tooth comb to help isolate individual strands and sections. This ensures precision in your trimming.
Prepare several hair clips to section your hair neatly. This keeps untrimmed hair out of the way.
Set up in a well-lit area, preferably with natural light. A good mirror, or even a handheld one, will help you see every angle.
Step 2: Start with Clean, Dry, and Detangled Hair
Proper hair preparation is key to accurately identifying split ends. Wet hair stretches, making it difficult to see the true extent of the damage.
Wash and condition your hair as you normally would. Use products that hydrate and smooth your strands.
Dry your hair completely. Air-drying is often best to minimize heat damage, but a low-heat blow-dryer is acceptable.
Comb through your dry hair thoroughly. Ensure there are absolutely no tangles or knots, as these can interfere with precise trimming.
Pro Tip: Avoid using heavy styling products like oils or serums just before trimming. They can clump hair together, making split ends harder to spot.
Step 3: Section Your Hair for Precision
Working in small, manageable sections ensures you don’t miss any damaged areas. This systematic approach is vital for thoroughness.
Divide your hair into four main sections: two at the front (left and right) and two at the back (left and right). Use your clips to secure these sections.
Create smaller, thinner subsections from each main section as you work. This allows for closer inspection of the ends.
Start with a back section first, as it’s often the hardest to see and manage. This helps you get comfortable with the process.
Step 4: Identify the Split Ends
Learning to spot split ends correctly is the most important part of this entire process. They aren’t always obvious at first glance.
Take a small, thin subsection of hair. Hold it taut between your fingers, away from your head.
Examine the very tips of the hair strands against a contrasting background, such as a white towel or a dark piece of fabric. Look for frayed, Y-shaped, or branched ends.
Run your fingers down the length of the hair, paying close attention to the last inch or two. Split ends often feel rougher than healthy hair.
Step 5: Master the “Search and Destroy” Method
This technique is popular for good reason; it allows you to target only the damaged bits without sacrificing length. It’s a meticulous but effective approach.
Isolate a very small, thin strand of hair. Twist it gently but firmly. This makes the split ends pop out from the main strand.
Snip only the visible split ends that are sticking out from the twisted section. Cut just above the split, removing the damaged part.
Repeat this twisting and snipping process throughout the entire section. Be patient and take your time.
Pro Tip: Hold your shears parallel to the hair strand when snipping. This ensures a clean, straight cut and avoids creating new angles that could lead to further splitting.
Step 6: Try the “Dusting” Method for Overall Trim
If you have more widespread minor damage or simply want to refresh your ends, dusting is a gentle way to remove a minimal amount of length.
Hold a small section of hair taut and straight down. Comb it smoothly.
Trim a tiny fraction of an inch (think millimeters) straight across the very bottom. This removes the most recent split ends without noticeable length loss.
Work your way around your head, taking small sections and dusting the very tips. This method is great for maintaining healthy ends between more significant trims.
Step 7: The “Hair Follicle Twist” (Optional, for Frizz)
This method is excellent for catching hidden splits along the hair shaft, especially if you experience a lot of frizz and flyaways.
Take a small section of hair and twist it tightly from root to tip. The split ends will often stick out like tiny hairs.
Carefully snip these protruding hairs. Be extremely gentle and precise to avoid cutting healthy strands.
Untwist the section and observe the difference. This technique targets splits that aren’t just at the very end.
Step 8: Perform a Final Check and Refine
Once you’ve worked through all sections, it’s essential to do a thorough review. You want to ensure an even, clean finish.
Shake your hair out and let it fall naturally. Stand in front of your mirror and look at your ends from all angles.
Scan for any missed split ends or uneven areas. Use your fine-tooth comb to re-section and re-examine.
Make any necessary minor adjustments. Remember, less is more; you can always take a tiny bit more off, but you can’t put it back.
Step 9: Condition and Protect Your Freshly Trimmed Hair
After trimming, give your hair some extra love to keep it healthy and prevent future splits. This is your chance to nourish your strands.
Apply a deep conditioning treatment or a hair mask. Focus on the mid-lengths and ends to replenish moisture.
Rinse thoroughly with cool water to seal the cuticles. This adds shine and helps protect the hair.
Use a leave-in conditioner or heat protectant before styling. These products create a barrier against environmental damage and heat.
Common Mistakes to Avoid
Using Dull Scissors
Many people grab whatever scissors are handy, like kitchen shears or paper scissors. These tools are not sharp enough for hair and will crush or fray your hair strands instead of cutting them cleanly. This action can actually create more split ends, making your problem worse. Always invest in proper, sharp hair-cutting shears designed specifically for hair.
Cutting Wet Hair
Cutting hair when it’s wet can lead to an uneven trim. Wet hair is more elastic and stretches, appearing longer than it actually is. When it dries, it shrinks back, revealing an uneven cut. Always trim your hair when it is completely dry to accurately see its natural length and texture, ensuring a more precise result.
Over-Trimming
It’s tempting to cut off more than just the split end, especially if you’re worried about missing some. However, cutting too much can significantly impact your hair length and style. Focus on removing only the damaged part, usually just a few millimeters above the split. Be patient and precise to maintain your desired length.
Skipping Proper Sectioning
Rushing through the process by not sectioning your hair properly makes it incredibly difficult to see all the split ends. You’ll inevitably miss damaged areas, leaving your hair looking uneven and still prone to splitting. Take the time to divide your hair into small, manageable sections, securing them with clips, to ensure a thorough and even trim.
Troubleshooting
My Hair Still Feels Rough After Trimming
If your hair still feels rough, you might not have cut high enough above the split. Sometimes the damage extends a little further up the hair shaft than initially visible. Re-examine the areas that feel rough. Take another small section and carefully snip a tiny bit more, ensuring you’re cutting into truly healthy hair.
I Can’t See the Split Ends Clearly
Poor lighting is often the culprit when you struggle to see split ends. Try moving to a location with brighter, natural light, perhaps near a window. Using a contrasting background, like a dark towel for light hair or a white sheet for dark hair, can also make the frayed ends stand out more clearly. A magnifying mirror can also be helpful for close inspection.
My Hair Looks Uneven
Unevenness usually stems from inconsistent sectioning or cutting too much from certain areas. If you notice an uneven line, take a deep breath. Gently comb through your hair again, allowing it to fall naturally. Identify the longer sections and carefully “dust” them, removing only the bare minimum to match the shorter areas. Remember to cut dry hair for accuracy.
Key Takeaways
- Always use sharp, professional hair-cutting shears to prevent further damage.
- Trim your hair when it is completely dry for accurate length assessment and a clean cut.
- Section your hair meticulously to ensure no split ends are missed.
- Focus on removing only the damaged portion, typically just a few millimeters above the split.
- Regular deep conditioning and protective styling help prevent new split ends from forming.
- Patience and good lighting are your best friends for effective at-home split end removal.
Frequently Asked Questions
How often should I trim my split ends at home?
Most people benefit from trimming split ends every 6-8 weeks. However, this depends on your hair type, styling habits, and how quickly your hair grows. If you use a lot of heat or chemical treatments, you might need to trim more frequently. Listen to your hair and observe its condition.
Can split ends be repaired without cutting?
Unfortunately, once a hair strand splits, it cannot be truly repaired. Products marketed as “split end menders” can temporarily glue the ends together, making them look smoother. This is a cosmetic fix, not a permanent solution. The only way to truly get rid of split ends is to cut them off.
Does cutting split ends make hair grow faster?
Cutting split ends does not directly make your hair grow faster from the root. Hair growth originates from the scalp. However, removing split ends prevents the damage from traveling further up the hair shaft. This helps maintain the overall health and strength of your hair, allowing it to retain length more effectively and appear thicker and healthier.
Is it better to cut split ends wet or dry?
It is always better to cut split ends when your hair is completely dry. Wet hair stretches, making it difficult to judge the true length and the extent of the damage. Cutting dry ensures a more accurate and even trim. It allows you to see how your hair naturally falls and where the splits truly lie.
Our Top Recommended Finds
- Professional Hair Shears: A good pair of sharp, stainless steel hair shears will make all the difference. Look for a pair specifically designed for hair cutting.
- Fine-Tooth Comb: Essential for precise sectioning and isolating individual strands. A carbon-fiber comb is durable and anti-static.
- Sectioning Hair Clips: Duckbill or alligator clips are perfect for holding sections of hair securely out of your way while you work.
Embrace Healthier Hair Today
Taking the time to care for your hair at home is a rewarding act of self-care. You now have a clear, practical guide to effectively remove those unwelcome split ends. This isn’t just about aesthetics; it’s about nurturing your hair’s health and vitality.
Don’t let frayed ends hold back your hair’s potential. Grab your shears, set up your space, and give your strands the attention they deserve. You’ll be amazed at how much healthier and vibrant your hair looks and feels. Start your journey to smoother, stronger hair now.