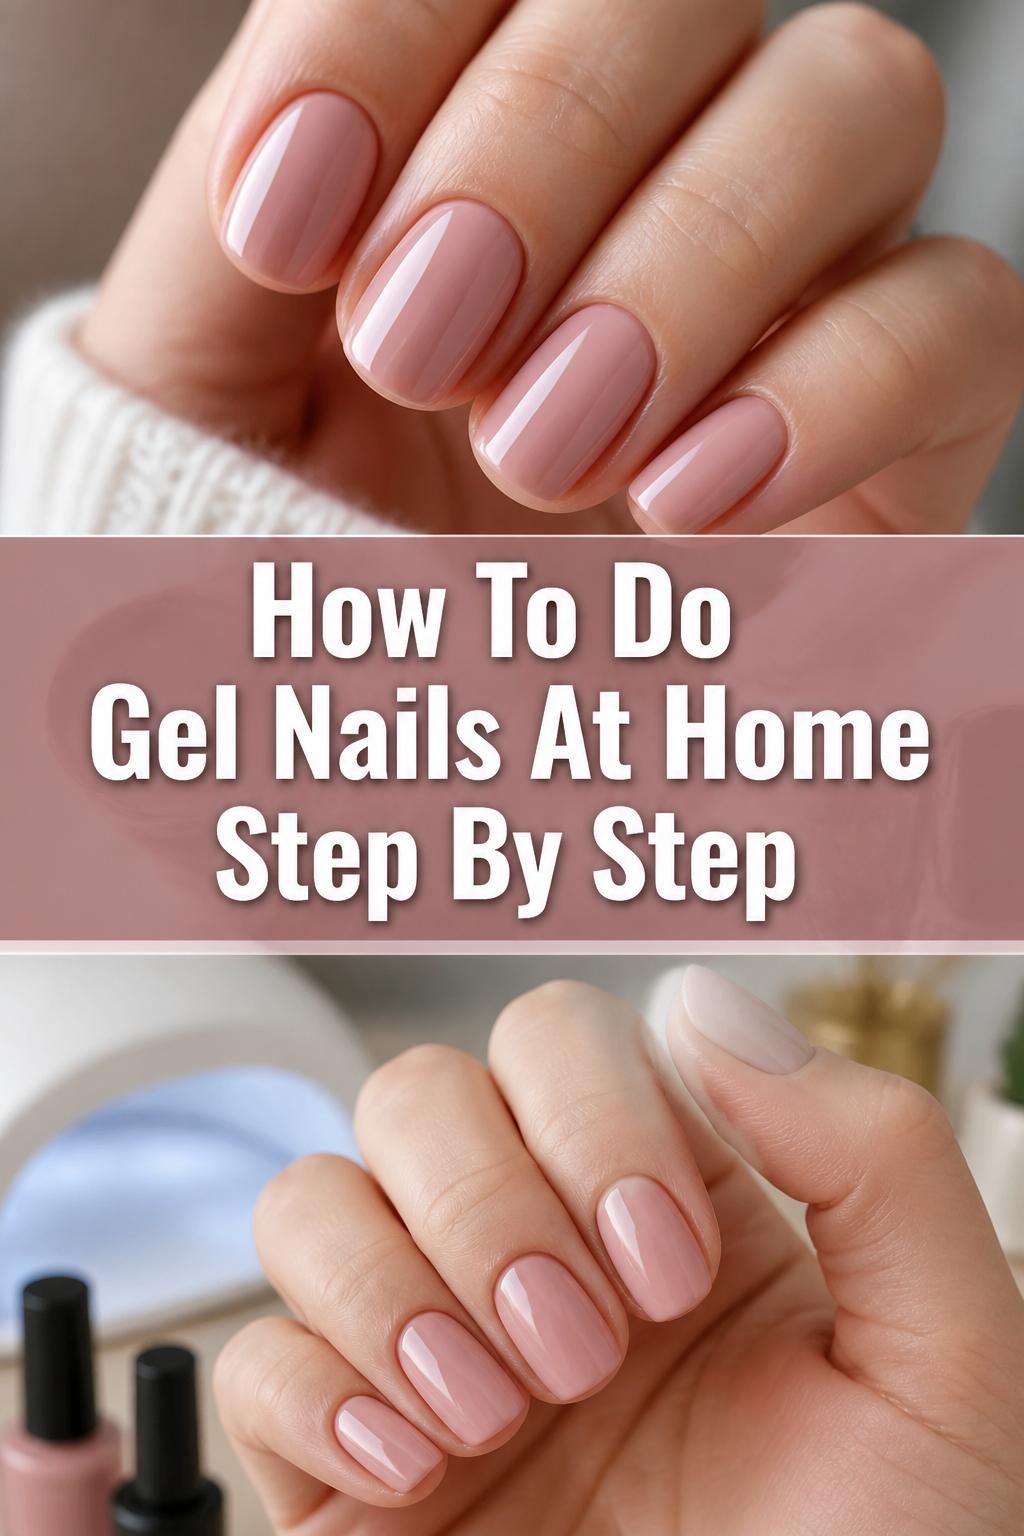
How To Do Gel Nails At Home Step By Step
The allure of perfectly manicured nails, chip-free for weeks, is undeniable. For a long time, I thought this luxury was exclusively reserved for salon visits. However, after countless hours and a fair bit of trial and error, I discovered the joy and savings of doing my own gel nails right at home. This guide shares everything I learned, making the process simple and achievable for you.

Quick Overview
Achieving salon-quality gel nails at home is entirely possible with the right tools and technique. You’ll learn how to prepare your nails, apply each layer of gel polish, and cure them for a long-lasting, shiny finish.
- Time needed: 60-90 minutes (including prep and curing)
- Difficulty: Beginner (with patience and practice)
- What you’ll need: UV/LED nail lamp, gel base coat, gel color polish, gel top coat, nail file, buffer, cuticle pusher, rubbing alcohol, lint-free wipes, cuticle oil.
Step-by-Step Instructions
Step 1: Gather Your Tools and Prepare Your Workspace
Before you begin, ensure all your products and tools are within easy reach. A clean, well-lit surface is crucial for precision. Lay down a protective mat or towel to catch any spills.
This initial setup helps streamline the entire process. Having everything organized prevents interruptions and ensures a smooth application.
Step 2: Cleanse and Shape Your Nails
Begin by removing any old nail polish with a non-acetone remover. Gently push back your cuticles using a cuticle pusher. Be very gentle to avoid damaging the nail plate.
Next, file your nails to your desired shape and length. Use a fine-grit file for a smooth edge. Then, lightly buff the entire nail surface to remove shine and create a rough texture for the gel to adhere to. This step is vital for preventing lifting.
Pro Tip: Always file in one direction to prevent splitting. When buffing, use light pressure and cover the entire nail bed, including the sides.
Step 3: Dehydrate and Prime the Nail Plate
After shaping and buffing, wipe down each nail with a lint-free wipe soaked in rubbing alcohol or a specialized nail dehydrator. This crucial step removes any dust, oils, and moisture from the nail surface. A clean, dry nail plate is essential for gel adhesion.
Allow your nails to air dry completely for a few seconds. Some gel systems also recommend a primer, which creates an even stronger bond. If you have one, apply a very thin layer of primer, following the product instructions.
Step 4: Apply a Thin Layer of Gel Base Coat
Now it’s time for your first layer of gel. Apply a very thin, even layer of gel base coat to each nail. Ensure you cover the entire nail plate, from the cuticle to the free edge.
It’s important to “cap” the free edge of your nail with the base coat. This means running the brush horizontally along the very tip of your nail. Capping helps seal the polish and prevents chipping and lifting.
Avoid getting any gel on your cuticles or surrounding skin. If you do, use an orange wood stick or a small brush dipped in alcohol to clean it up before curing. Gel that cures on the skin can lead to lifting.
Step 5: Cure the Base Coat Under Your Lamp
Once the base coat is applied to all nails on one hand (or fewer, depending on your lamp size), place your hand into the UV or LED nail lamp. Follow the manufacturer’s instructions for curing time.
Typically, LED lamps cure faster (30-60 seconds) than UV lamps (60-120 seconds). Ensure your entire hand, especially your thumbs, is positioned correctly under the light. The base coat will likely feel sticky after curing; this is normal and is called the “inhibition layer.” Do not touch it or wipe it off yet.
Step 6: Apply Thin Layers of Gel Color Polish
Now for the fun part: color! Apply a very thin, even layer of your chosen gel color polish. Just like the base coat, remember to “cap” the free edge of each nail.
Thin layers are key to a long-lasting, even finish. Thick layers can wrinkle, bubble, or not cure properly. Again, clean up any polish that gets on your skin before curing.
After applying the first coat of color to one hand, cure it under the lamp for the recommended time. Repeat this process for a second, and possibly a third, thin coat of color until you achieve your desired opacity. Each color coat must be cured individually.
Pro Tip: If your gel polish is streaky, try warming the bottle slightly by rolling it between your palms. This can help thin the consistency for a smoother application.
Step 7: Finish with a Gel Top Coat
Once you’re happy with your color, it’s time to seal everything in with a top coat. Apply a thin, even layer of gel top coat over your cured color layers. This coat provides shine and protects your manicure.
Remember to “cap” the free edge with the top coat as well. This final capping step is crucial for preventing chips and extending the life of your gel manicure. Ensure the top coat covers all the color without touching your skin.
Cure the top coat under your lamp for the full recommended time. This final cure is often slightly longer than the base or color coats to ensure maximum durability and shine.
Step 8: Cleanse the Inhibition Layer and Hydrate
After the final cure, your nails will still feel sticky. This is the inhibition layer, a residue that forms during the curing process. Wipe down each nail thoroughly with a lint-free wipe soaked in rubbing alcohol.
This step will reveal the beautiful, glossy, non-sticky finish of your gel manicure. Finally, massage a drop of cuticle oil into your cuticles and the skin around your nails. This nourishes and rehydrates, promoting healthy nail growth and enhancing the overall look of your manicure.
Common Mistakes to Avoid
Applying Gel Too Thickly
A common mistake is applying gel polish too thick, thinking it will provide better coverage or last longer. Thick layers often lead to the gel wrinkling, bubbling, or not curing completely, especially in the center. Always apply gel in very thin, even coats, curing each layer fully before applying the next. Patience here pays off in a smooth, durable finish.
Improper Nail Preparation
Skipping or rushing nail preparation is a recipe for disaster. If nails are not properly filed, buffed, dehydrated, and free of oils and dust, the gel will not adhere correctly. This leads to premature lifting and chipping. Dedicate ample time to thorough preparation; it’s the foundation of a long-lasting gel manicure.
Getting Gel on Your Skin
Allowing gel polish to touch your cuticles or surrounding skin before curing is a major cause of lifting. Once cured, the gel adheres to the skin and will pull away from the nail as your skin moves, creating gaps for moisture to enter. Always clean up any gel that touches your skin with an orange wood stick or a small brush before placing your hand in the lamp.
Under-Curing or Over-Curing
Both under-curing and over-curing can compromise your gel manicure. Under-curing leaves the gel soft, sticky, and prone to chipping, and can even cause allergic reactions. Over-curing can make the gel brittle and prone to cracking. Always follow the specific curing times recommended by your gel polish and lamp manufacturers, as times can vary between brands and lamp types (UV vs. LED).
Troubleshooting
Gel Peeling or Lifting
If your gel manicure is peeling or lifting shortly after application, the most likely culprits are improper nail preparation or thick application. Ensure you are thoroughly buffing the nail surface, dehydrating it, and capping the free edge with each coat. Also, check that you are applying very thin layers and not getting any gel on your cuticles.
Dull or Sticky Finish After Curing
A dull or sticky finish after the final cure usually means you haven’t wiped off the inhibition layer properly. After the top coat has fully cured, use a lint-free wipe saturated with rubbing alcohol (at least 70% isopropyl alcohol) to thoroughly cleanse each nail. If the finish is still dull, your top coat might be under-cured, so try curing it for an additional short cycle.
Bubbles in the Polish
Bubbles in your gel polish can be caused by applying the gel too thickly, shaking the bottle vigorously before use, or using an old, thick polish. To prevent this, roll the bottle gently between your palms instead of shaking. Always apply very thin coats. If you notice bubbles during application, try to gently smooth them out with your brush before curing.
Key Takeaways
- Thorough nail preparation is the most critical step for a long-lasting gel manicure.
- Always apply gel polish in very thin, even layers to prevent bubbling and ensure proper curing.
- “Capping” the free edge of your nail with each coat helps prevent chips and lifting.
- Clean up any gel that touches your skin before curing to avoid premature lifting.
- Follow the specific curing times for your lamp and gel polish system to ensure optimal results.
- Don’t forget to wipe off the sticky inhibition layer after the final top coat cure for a glossy finish.
Frequently Asked Questions
How long do at-home gel nails typically last?
With proper application and care, at-home gel nails can last anywhere from 2 to 3 weeks. Longevity depends heavily on nail preparation, the quality of products used, and how well you protect your nails from daily wear and tear.
Can I use regular nail polish under or over gel polish?
No, it is not recommended to use regular nail polish under or over gel polish. Gel systems are designed to work together, curing under UV/LED light. Regular polish will not cure and can prevent the gel layers from adhering properly, leading to lifting and peeling.
Is a UV or LED lamp better for curing gel polish?
Both UV and LED lamps effectively cure gel polish. LED lamps are generally faster and have a longer bulb life. UV lamps can cure a wider range of gel types but take longer. Many modern gel polishes are formulated to be compatible with both types of lamps.
How do I remove gel nails safely at home?
To remove gel nails, gently buff the top coat to break the seal, then soak cotton balls in 100% pure acetone. Place a soaked cotton ball on each nail, secure with foil wraps, and wait 10-15 minutes. The gel should become soft and easy to gently push off with an orange wood stick. Never peel or forcefully scrape off gel, as this can damage your natural nails.
Our Top Recommended Finds
- UV/LED Nail Lamp: Essential for curing gel polish, look for one with multiple timer settings.
- Gel Polish Starter Kit: Often includes a base coat, top coat, a few color polishes, and basic prep tools, perfect for beginners.
- Nail File and Buffer Set: High-quality files and buffers are crucial for proper nail preparation and shaping.
Embrace Your Inner Nail Artist
Doing your own gel nails at home is more than just a beauty routine; it’s a creative outlet and a moment of self-care. With this guide, you have all the knowledge to start creating beautiful, lasting manicures from the comfort of your own space. Practice makes perfect, so don’t be discouraged if your first attempt isn’t flawless. Each manicure is an opportunity to refine your technique and discover new colors and designs. Gather your tools, clear your schedule, and let your nail art journey begin today!