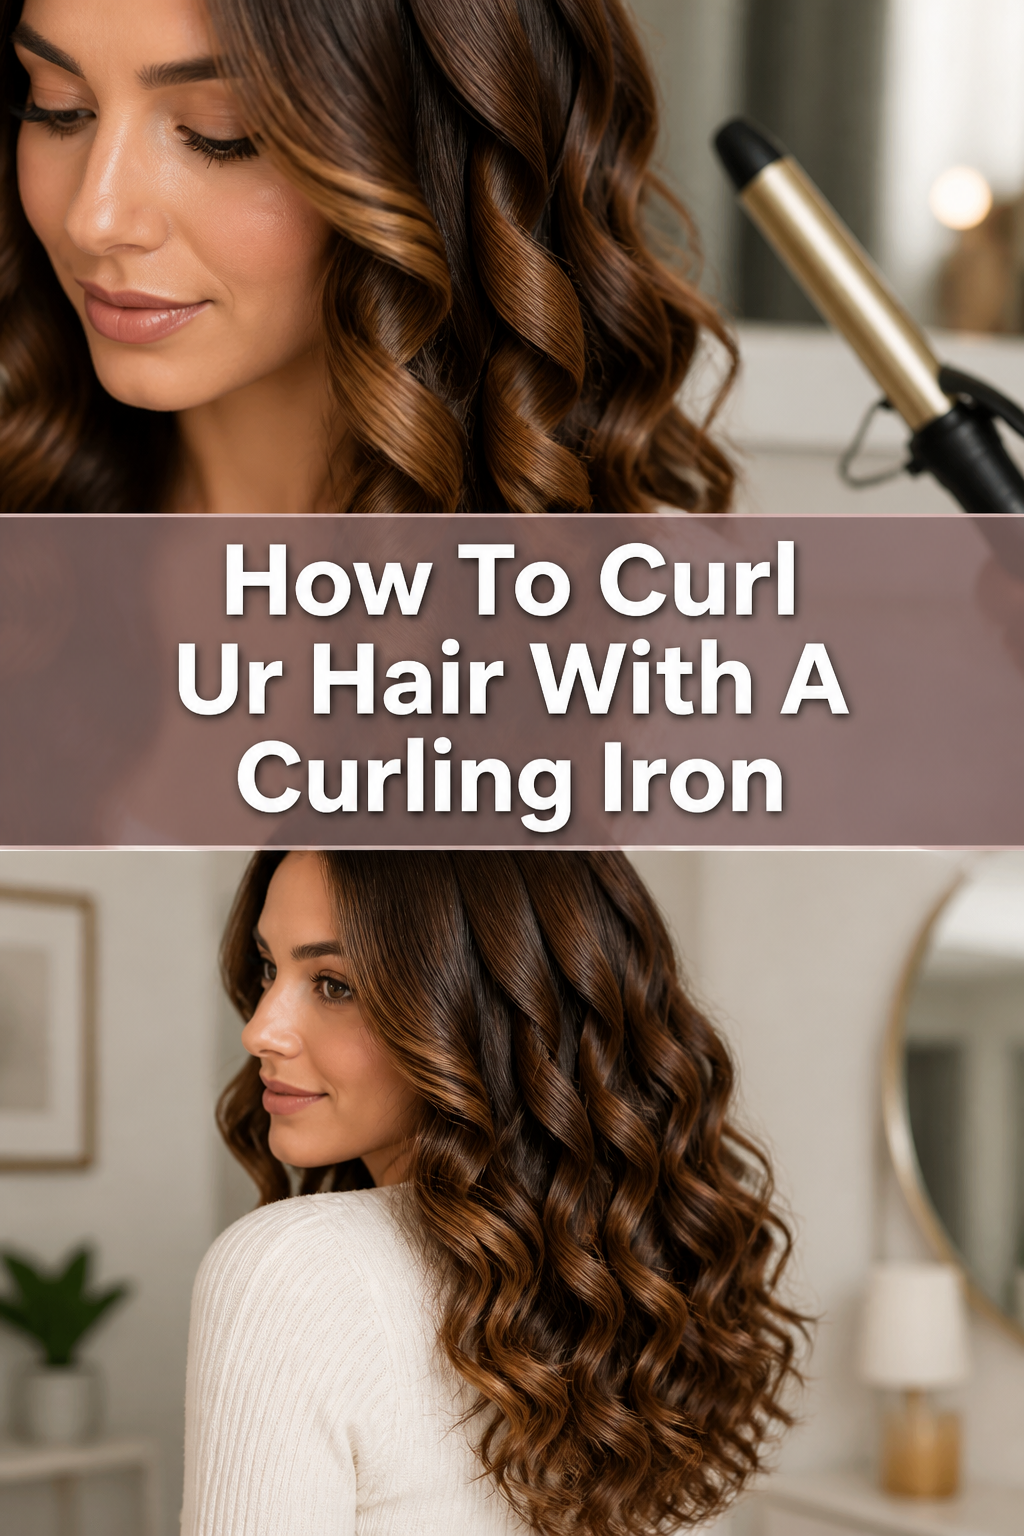
How To Curl Ur Hair With A Curling Iron
I remember the first time I tried to curl my hair for a school dance and ended up with a literal 90-degree kink at the bottom of my head.
It took years of burnt fingertips and flat waves to finally master the art of the perfect bounce.
This guide is built on those years of trial and error so you can skip the frustration and get straight to the salon-quality results.

Quick Overview
Getting the perfect curl is about more than just heat; it is about technique and preparation.
- Time needed: 15 to 30 minutes depending on hair thickness.
- Difficulty: Beginner
- What you’ll need: A curling iron, heat protectant spray, hair clips, a brush, and finishing spray.
Step-by-Step Instructions
Step 1: Start With Completely Dry Hair
Ensure your hair is 100% dry before you even think about touching that curling iron.
Applying high heat to damp hair causes the water to turn into steam inside the hair shaft, which can lead to permanent damage.
Listen for any sizzling sounds; if you hear them, stop immediately and grab your blow dryer.
Pro Tip: Air-dried hair often holds a curl better than freshly blow-dried hair because it has more natural texture.
Step 2: Apply a Quality Heat Protectant
Mist your hair evenly with a heat protectant spray from roots to ends.
Think of this as a shield that prevents the iron from frying your delicate strands.
Comb through your hair after spraying to make sure every single hair is coated.
Wait about thirty seconds for the spray to dry so you aren’t applying heat to a wet product.
Step 3: Choose the Right Temperature
Adjust the heat setting based on your specific hair type rather than just cranking it to the max.
Fine or bleached hair should stay between 250 and 300 degrees Fahrenheit.
Normal hair can handle 300 to 350 degrees, while thick or coarse hair might need 350 to 400 degrees.
Remember that you can always increase the heat if the curl isn’t taking, but you can’t undo heat damage.
Step 4: Section Your Hair Thoroughly
Divide your hair into at least three main horizontal layers: bottom, middle, and top.
Clip the top two layers out of the way so you can focus on the hair at the nape of your neck.
Work with sections that are about one inch wide for the most consistent results.
If you take sections that are too thick, the heat won’t reach the center of the hair, and the curl will fall out instantly.
Pro Tip: Smaller sections create tighter curls, while larger sections create loose, beachy waves.
Step 5: Master the Direction of the Curl
Point the iron downward and decide which way you want the hair to turn.
For a natural, face-framing look, always curl the hair away from your face.
This means on the right side of your head, you rotate the iron clockwise, and on the left side, you go counter-clockwise.
Alternate the direction of the curls in the back sections if you want a more voluminous, messy texture.
Step 6: The Wrap and Hold Technique
Clamp the hair near the mid-shaft rather than at the very ends to avoid “fishhook” kinks.
Roll the iron up toward the roots, leaving about an inch of space so you don’t burn your scalp.
Hold the hair on the iron for about five to eight seconds.
If your hair is very thick, you might need ten seconds, but never exceed fifteen.
Step 7: Release and Catch the Curl
Open the clamp and gently slide the iron out of the hair without pulling.
Instead of letting the hot curl drop immediately, catch it in your palm for a few seconds.
Allow the curl to cool in its coiled shape to “set” the style.
This is the secret step that makes professional curls last for days instead of hours.
Pro Tip: If you have stubborn hair, pin the coiled curl to your head with a bobby pin until it is completely cold.
Step 8: Repeat and Finish
Continue this process through the middle and top layers of your hair.
Once your entire head is curled, let the hair sit undisturbed for five minutes.
Run your fingers through the curls or use a wide-tooth comb to break them up into soft waves.
Finish with a light mist of flexible-hold hairspray to keep everything in place without making it crunchy.
Common Mistakes to Avoid
Curling From the Bottom Up
Many people clamp the very ends of their hair and roll all the way up to the top.
This applies the most heat to your ends, which are the oldest and most fragile part of your hair.
It also results in a curl that is tight at the bottom and flat at the top.
The correct way is to start the clamp in the middle of the hair strand and roll upward, then feed the ends in last.
Using the Wrong Barrel Size
If you want beach waves but use a half-inch barrel, you will end up with tight ringlets that look nothing like your goal.
Conversely, a two-inch barrel is often too large to hold a curl in most hair types, leading to hair that looks straight an hour later.
A one-inch barrel is the “Goldilocks” size that works for almost everyone and every style.
Pick your tool based on the specific look you want to achieve that day.
Holding the Iron for Too Long
It is a myth that holding the iron longer makes the curl last longer.
Once the hair reaches the temperature of the iron, the bond is set.
Anything beyond ten seconds is usually just burning the outer cuticle of the hair.
If your curls aren’t staying, the issue is likely your prep products or your cooling technique, not the “cook” time.
Troubleshooting
The Curls Fall Out Immediately
This usually happens because the hair was too “slippery” from too much conditioner or silk products.
Try using a sea salt spray or a volumizing mousse on damp hair before you blow-dry it to give the iron something to grip.
Also, make sure you are letting the curls cool completely before touching them.
Gravity is the enemy of a warm curl, so if you let it hang while it is hot, it will stretch out.
The Ends Look Frizzy or Kinked
Frizzy ends are often caused by “fishhooks,” which happen when the ends of the hair aren’t fully tucked into the iron or are bent the wrong way.
Make sure you smooth the hair as you wrap it and ensure the ends are lying flat against the barrel.
If the damage is already done, a tiny drop of hair oil can help smooth the cuticle back down.
Check your iron for any product buildup, as sticky residue can also cause snagging and frizz.
Key Takeaways
- Preparation is everything: Always use heat protectant and ensure hair is bone-dry.
- Sectioning matters: Work in small, manageable pieces to ensure even heat distribution.
- Directional awareness: Curl away from the face for a modern, flattering look.
- Let it cool: The cooling process is what actually “locks” the curl into place.
- Temperature control: Match the heat to your hair thickness to prevent unnecessary damage.
Frequently Asked Questions
Is a curling iron or a curling wand better?
A curling iron has a clamp, which gives you more control and creates a more polished, uniform look.
A curling wand requires you to wrap the hair manually and usually results in a more relaxed, “undone” appearance.
Both are great, but beginners often find the clamp on an iron easier to manage once they get the hang of the wrist motion.
How can I curl my hair without getting those weird creases?
Creases happen when you hold the clamp too tight or start the clamp at the very end of the hair.
Try to keep the iron moving slightly as you wrap, and don’t squeeze the clamp with excessive force.
If you keep getting creases, you might prefer a curling wand where there is no clamp to cause marks.
Should I brush my curls out?
Yes, almost always! Leaving curls exactly as they come off the iron can look a bit dated and stiff.
Wait until the hair is completely cold, then use your fingers or a wide-tooth comb to soften them.
This blends the sections together and creates a more cohesive, voluminous hairstyle.
How often can I use a curling iron without damaging my hair?
Ideally, you should limit heat styling to two or three times a week to maintain hair health.
Using high-quality tools with ceramic or tourmaline plates helps distribute heat more evenly and reduces the risk of hot spots.
Always prioritize deep conditioning treatments once a week if you are a frequent heat user.
Our Top Recommended Finds
- Ceramic 1-Inch Curling Iron: This is the most versatile tool for creating everything from tight curls to loose waves.
- Professional Grade Heat Protectant: Look for one that protects up to 450 degrees and adds a bit of shine.
- Sectioning Clips: Strong alligator-style clips are essential for keeping thick hair out of your way while you work.
Level Up Your Styling Game
Now that you have the basics down, you can start experimenting with different textures and styles.
Try leaving the last inch of your hair out of the iron for a trendy “straight-end” beach look.
You can also look into how to use a flat iron to create waves, which is a completely different but equally beautiful technique.
The best way to improve is to practice on a day when you don’t have anywhere to be, so grab your iron and start experimenting today.