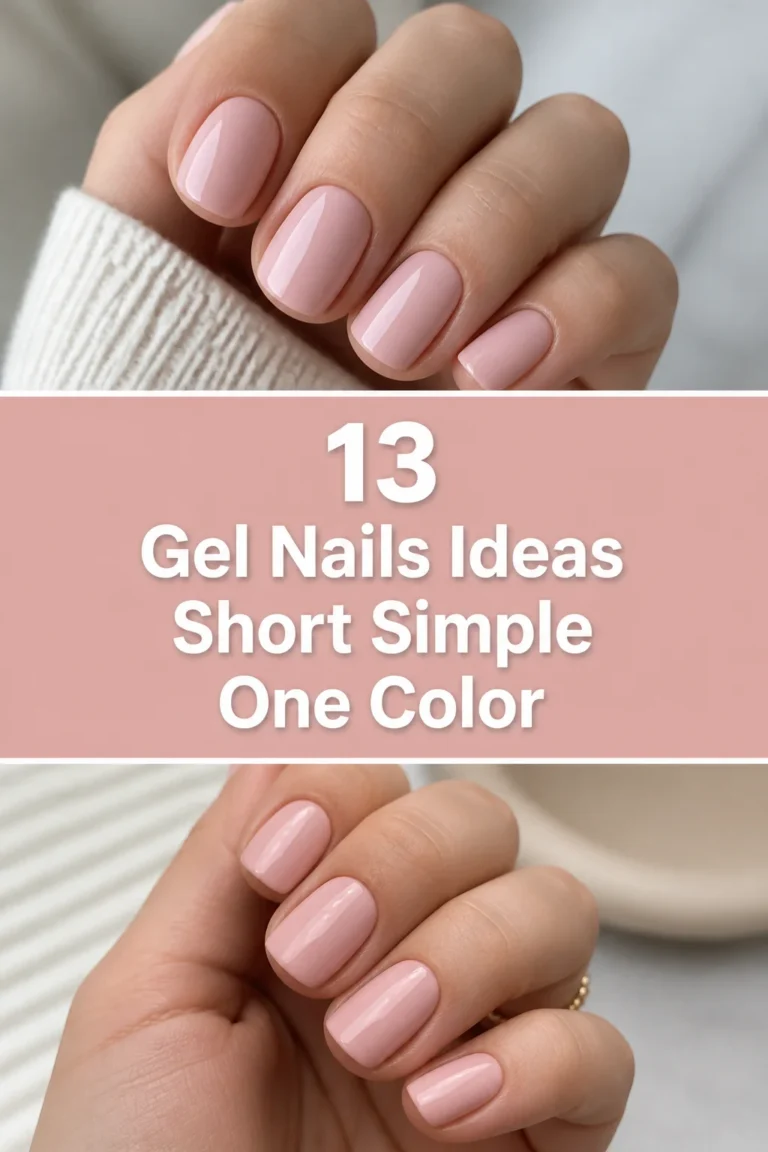
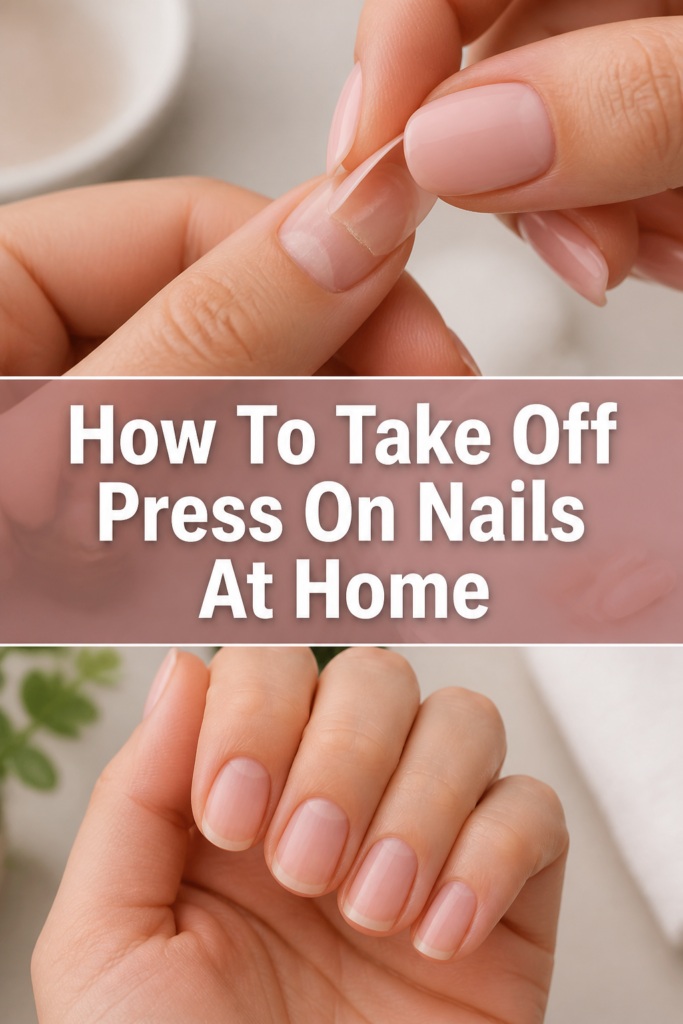
💅 How To Take Off Press On Nails At Home
Press-on nails offer instant style and convenience, making them a fantastic choice for a quick manicure. But when it’s time for a refresh, removing them improperly can damage your natural nails. I’ve learned this the hard way from countless press-on applications and removals over the years. This guide shares my tried-and-true methods to ensure a gentle, effective, and nail-friendly removal process right from your home.
Quick Overview
This guide will walk you through safe, effective methods to remove your press-on nails without causing damage. You’ll learn how to gently loosen the adhesive and care for your natural nails afterward.
- Time needed: 15-30 minutes (depending on adhesive strength)
- Difficulty: Beginner
- What you’ll need: Warm water, dish soap, cuticle oil, rubbing alcohol, orange wood stick/cuticle pusher, nail file/buffer, cotton pads.
Step-by-Step Instructions
Step 1: Prepare Your Workspace
Gather all your necessary tools before you begin. Having everything within reach makes the process smoother and prevents interruptions. A clean, well-lit surface is ideal.
You’ll need a bowl for soaking, your chosen removal solutions, and tools like an orange wood stick. This preparation ensures you can focus on gentle removal.
Step 2: Gently Break the Seal
Before soaking, take a moment to assess each press-on nail. Some might already be slightly loose, making them easier to start.
Using a cuticle pusher or an orange wood stick, very gently try to lift the edges of each press-on nail. Focus on the sides and cuticle area. Do not force anything that feels stuck.
This initial gentle prying helps to introduce air or liquid underneath later. It’s about creating a tiny gap, not ripping the nail off.
Pro Tip: Work slowly and methodically. If a nail resists, move to another and return to it later. Patience is key to preventing damage.
Step 3: Choose Your Soaking Method
There are a few effective ways to soak your nails, depending on the type of adhesive used. The goal is to soften the glue without harming your natural nails.
The most common and gentle method involves warm water and soap. For stronger glues, a little rubbing alcohol can be added.
Avoid harsh acetone unless absolutely necessary, as it can be very drying to your nails and skin. Always start with the gentlest option first.
Step 4: The Warm Soapy Water Soak
Fill a bowl with warm water, ensuring it’s comfortable to the touch. Add a few drops of mild dish soap to the water.
The soap helps to break down the adhesive over time. You can also add a teaspoon of cuticle oil or olive oil to the water for extra hydration.
Submerge your fingertips into the warm soapy water. Relax and let your nails soak for 10-15 minutes.
The warmth and soap work together to slowly loosen the bond between the press-on and your natural nail. Don’t rush this part.
Step 5: Add Rubbing Alcohol (If Needed)
If after 10-15 minutes of soaking in warm soapy water, your press-ons are still firmly attached, consider adding rubbing alcohol. This is a good next step before resorting to anything stronger.
Remove your hands from the bowl and pat them dry. Then, saturate a cotton pad with rubbing alcohol.
Hold the alcohol-soaked cotton pad over a stubborn press-on nail for a minute or two. The alcohol helps to dissolve the adhesive.
Alternatively, you can add a small amount of rubbing alcohol directly to your warm soapy water bath for a more intense soak.
Step 6: Gently Pry and Lift
After soaking, return to your orange wood stick or cuticle pusher. Starting from the loosened edges, gently slide the stick underneath the press-on nail.
Work slowly around the edges, wiggling the stick slightly to further break the adhesive bond. You should feel less resistance now.
If a nail still feels very secure, don’t force it. Re-soak for another 5-10 minutes. The goal is for the nail to lift easily.
Continue this gentle prying motion until the press-on nail completely detaches from your natural nail.
Pro Tip: If you feel any pain or strong resistance, stop immediately. Forcing a press-on off can lift layers of your natural nail, leading to damage and weakening.
Step 7: Remove Residual Glue
Once all the press-on nails are removed, you’ll likely have some sticky residue left on your natural nails. This is perfectly normal.
Saturate a new cotton pad with rubbing alcohol or a non-acetone nail polish remover. Gently rub the residue until it dissolves.
You can also use a fine-grit buffer to carefully buff away any remaining glue. Be very gentle and avoid over-buffing your natural nail plate.
Ensure all glue is removed to prevent uneven surfaces and prepare your nails for their next treatment.
Step 8: Nourish Your Natural Nails
After removal, your natural nails might feel a little dry or sensitive. This is the perfect time to give them some much-needed care.
Apply a generous amount of cuticle oil to your cuticles and nail beds. Massage it in thoroughly to promote circulation and hydration.
Follow up with a rich hand cream or lotion, massaging it into your hands and nails. This helps to restore moisture.
Consider leaving your nails bare for a day or two to let them breathe and recover fully before applying another set of press-ons or polish.
Common Mistakes to Avoid
Forcing or Ripping Nails Off
The most common mistake people make is trying to rip or forcibly pry off press-on nails. This can cause severe damage to your natural nail plate, leading to peeling, breakage, and thinning. It can also be quite painful. Always prioritize gentle methods and adequate soaking time to loosen the adhesive naturally.
Using Harsh Tools
Using metal tools, sharp objects, or anything not designed for nail care can scratch or damage your natural nails and cuticles. Stick to an orange wood stick or a plastic cuticle pusher. These are softer and designed to be less abrasive, protecting your nail health.
Skipping the Soaking Process
Ignoring the soaking step means you’re trying to remove nails with the adhesive still fully active. Soaking is crucial because it softens the glue, making removal effortless and safe. Without proper soaking, you risk tearing off layers of your natural nail along with the press-on.
Neglecting Post-Removal Nail Care
After removing press-ons, your natural nails need attention. Skipping moisturizing with cuticle oil and hand cream can leave them dry, brittle, and prone to breakage. Proper aftercare helps restore moisture and strength, keeping your nails healthy for future manicures.
Troubleshooting
Nails Won’t Budge After Soaking
If your press-on nails are still stubborn after the initial warm soapy water soak, it means the adhesive is particularly strong. Don’t get discouraged. Extend your soaking time by another 10-15 minutes, ensuring the water stays warm. You can also add a small amount of rubbing alcohol to the water for extra dissolving power. For very persistent glue, try holding an alcohol-soaked cotton pad directly on the nail for a few minutes before attempting to pry again.
Sticky Residue Remains
It’s common to have some glue residue after removal. If rubbing alcohol isn’t fully removing it, try applying a small amount of cuticle oil directly to the residue and letting it sit for a minute. The oil can help break down the stickiness. Then, gently rub with a cotton pad. A very fine-grit nail buffer can also be used, but buff with extreme caution to avoid thinning your natural nail. Work in one direction and stop as soon as the residue is gone.
Natural Nails Feel Weak or Peeling
This can happen if the press-ons were on for too long, or if removal was a bit too aggressive. Immediately start a routine of applying cuticle oil multiple times a day to your nail beds and cuticles. Consider using a nail strengthener polish for a few weeks. Avoid applying any new nail enhancements or polish until your nails have regained some strength and appear healthier. Keeping them bare for a while helps them recover.
Key Takeaways
- Always begin with a gentle approach, assessing each nail before attempting removal.
- Soaking is the most crucial step; warm soapy water is usually sufficient for loosening adhesive.
- Use an orange wood stick or plastic cuticle pusher to gently pry and lift, never force.
- Rubbing alcohol is a good option for dissolving stubborn glue residue safely.
- Thoroughly remove all glue residue to ensure a smooth, clean nail surface.
- Hydrate your natural nails and cuticles immediately after removal with oil and lotion.
- Patience and gentleness are key to preventing damage to your natural nails.
Frequently Asked Questions
Can I reuse my press-on nails after removal?
It depends on how carefully you remove them and the quality of the press-ons. If you remove them gently and there’s minimal glue residue left, many press-on nails can be reused. You’ll need to clean off any old glue and apply new nail adhesive tabs or glue for reapplication.
How long should I leave press-on nails on?
Most press-on nails are designed to last anywhere from a few days to two weeks, depending on the adhesive used and how well they were applied. It’s generally not recommended to leave them on for longer than two weeks to allow your natural nails to breathe and prevent potential moisture buildup underneath.
Is acetone safe to use for press-on nail removal?
While acetone can dissolve nail glue quickly, it’s very harsh and drying to your natural nails and surrounding skin. It can weaken your nails and make them brittle. It’s best to reserve acetone for very stubborn glue as a last resort and always follow up with intense hydration.
How can I make my press-on nails last longer?
To maximize wear time, ensure your natural nails are clean and dry before application. Use alcohol to remove any oils. Apply a thin, even layer of glue, and press firmly for at least 30 seconds. Avoid prolonged water exposure and use gloves for household chores.
Our Top Recommended Finds
- Cuticle Oil Pen: Easy to apply on the go, perfect for keeping cuticles and nails hydrated after removal.
- Soft-Grit Nail Buffer: Ideal for gently buffing away any remaining glue residue without damaging your natural nail.
- Orange Wood Sticks: Essential for safe and gentle lifting of press-on nails and pushing back cuticles.
Embrace Your Natural Nail Journey
Taking off press-on nails at home doesn’t have to be a daunting task. With the right tools and a gentle approach, you can maintain healthy, strong natural nails. Remember, proper care during removal is just as important as the initial application.
Give your nails the attention they deserve. By following these steps, you’re not just removing a manicure; you’re investing in the long-term health and beauty of your natural nails. Get started today and enjoy a seamless transition between your stunning press-on looks.