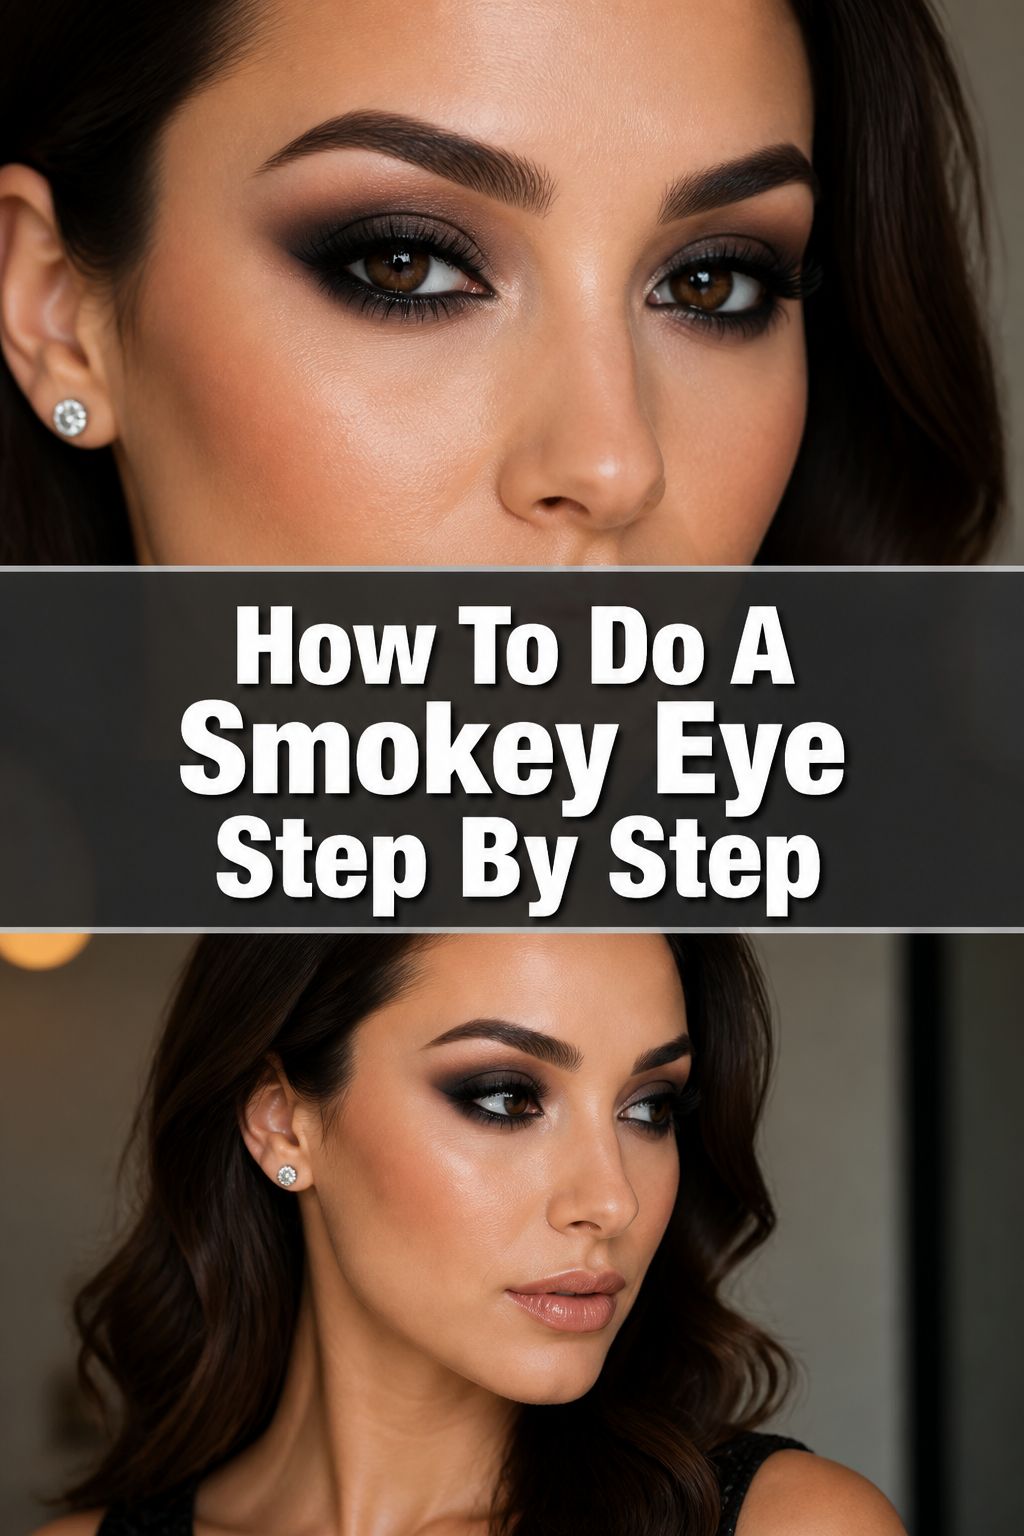
How To Do A Smokey Eye Step By Step
Mastering the smokey eye might seem like a challenge, but it’s truly an art anyone can learn.
I remember my first attempts often looked more like a bruised eye than a sultry gaze.
This guide breaks down the process into simple, manageable steps, ensuring you achieve that perfect smolder every time.

Quick Overview
You’re about to create a classic, captivating smokey eye that enhances your natural beauty and confidence.
This look is versatile, perfect for an evening out or adding a touch of drama to your day.
- Time needed: 20-30 minutes (for beginners, less with practice)
- Difficulty: Intermediate
- What you’ll need: Eyeshadow primer, dark eyeshadow (black, deep brown, charcoal), medium transition shadow, light highlight shadow, flat eyeshadow brush, blending brush, eyeliner, mascara.
Step-by-Step Instructions
Step 1: Prep Your Lids
Start by applying a thin layer of eyeshadow primer to your entire eyelid, from lash line to brow bone.
Gently tap it in with your finger or a small brush until evenly distributed.
Pro Tip: Primer creates a smooth base, intensifies shadow color, and prevents creasing, ensuring your smokey eye lasts all day or night.
Step 2: Lay Down Your Base
Take a creamy black or dark brown eyeliner pencil and draw a thick line along your upper lash line.
Don’t worry about perfection here; this line will serve as the darkest base for your smokey effect.
Using a smudger brush or your fingertip, gently smudge this line upwards and outwards, creating a soft, diffused dark base.
Step 3: Apply the Main Shadow
Dip a flat eyeshadow brush into your darkest powder eyeshadow shade.
Press this shadow directly over the creamy base you just created, starting at your lash line.
Pat the color onto the lid, building intensity, and extend it up to your crease.
Focus the darkest pigment closest to your lashes, gradually fading as you move upwards.
Pro Tip: Patting the shadow, rather than sweeping, helps to deposit more pigment and reduce fallout, giving a richer color payoff.
Step 4: Blend Out the Edges
Now, pick up a fluffy blending brush and a medium-toned transition shade.
This shade should be a few steps lighter than your main dark color, like a warm brown or a muted grey.
Apply this transition shade into your crease and slightly above it, using circular motions to blend the harsh edges of the dark shadow.
Work patiently, blending until there are no obvious lines, just a seamless gradient.
Step 5: Add Depth and Highlight
For added dimension, take a slightly shimmery or matte light eyeshadow.
Apply this to your inner corner of the eye and just under your brow bone.
This step brightens the eye and lifts the brow, creating contrast with the darker lid.
Step 6: Define the Lower Lash Line
Using the same dark powder eyeshadow from Step 3 and a small, precise brush, gently sweep the color along your lower lash line.
Start with a small amount and build up the intensity, connecting it to the outer corner of your upper lid shadow.
Blend it softly to avoid a harsh line, ensuring it mirrors the smokey effect on your upper lid.
Pro Tip: For a softer look, use the medium transition shade on your lower lash line instead of the darkest color. This keeps the eyes open and less intense.
Step 7: Line Your Eyes
Carefully apply a black eyeliner to your upper lash line, getting as close to the lashes as possible.
You can choose a pencil, gel, or liquid liner, depending on your preference.
This step defines the eye and makes your lashes appear fuller, completing the dramatic frame.
Step 8: Finish with Mascara
Curl your eyelashes if desired, then generously apply several coats of black mascara to both your upper and lower lashes.
Wiggle the wand from the base to the tips to ensure every lash is coated and lifted.
This final touch opens up the eyes and completes your stunning smokey look.
Common Mistakes to Avoid
Going Too Dark Too Fast
Many people apply too much dark shadow initially, making it difficult to blend and soften.
Always start with a small amount of product and build intensity gradually.
It’s much easier to add more shadow than to take it away once applied.
Skipping Primer
Ignoring eyeshadow primer often leads to creasing, fading, and a less vibrant color payoff.
Primer is a non-negotiable step for a long-lasting, flawless smokey eye.
It creates a smooth canvas and locks your shadow in place.
Forgetting to Blend
Unblended eyeshadow can look harsh and unpolished, creating noticeable lines instead of a seamless transition.
Blending is the most crucial step for a professional-looking smokey eye.
Invest in a good blending brush and take your time to diffuse all edges.
Ignoring the Lower Lash Line
Neglecting the lower lash line can make your eyes look top-heavy and incomplete.
Extending the smokey effect to the lower lash line balances the look and truly makes it a “smokey” eye.
Ensure it’s well-blended to avoid a harsh or raccoon-like appearance.
Troubleshooting
Shadow Fallout
If you experience dark shadow particles falling onto your cheeks, gently tap off excess product from your brush before applying.
You can also hold a tissue under your eye or apply a thick layer of translucent powder before starting, which can be brushed away later, taking any fallout with it.
Looks Too Harsh/Racoon Eyes
This usually means you haven’t blended enough or used too much dark shadow too high up the lid.
Go back in with a clean blending brush and blend the edges more thoroughly, using light, circular motions.
You can also use a skin-toned eyeshadow or a clean brush to soften the very top edge of the shadow.
Doesn’t Last All Day
If your smokey eye fades or creases, the most common culprit is skipping primer or not setting your cream base.
Ensure you use a good quality eyeshadow primer and pat your powder shadow firmly over any cream products to set them.
A setting spray applied at the end of your makeup routine can also significantly extend wear time.
Key Takeaways
- Always start with an eyeshadow primer for longevity and vibrant color.
- Build your dark shadow color gradually, starting light and adding more as needed.
- Blending is paramount; take your time to diffuse all harsh lines for a seamless gradient.
- Extend the smokey effect to your lower lash line for a balanced and complete look.
- A light highlight on the inner corner and brow bone adds dimension and brightness.
- Finish with eyeliner and mascara to define and open up your eyes.
Frequently Asked Questions
What colors can I use for a smokey eye?
While black and grey are classic, a smokey eye can be created with almost any deep color.
Try deep browns, forest greens, navy blues, or even rich purples for a unique twist.
The key is the gradient of dark to light, not just the specific color.
Can I do a smokey eye for daytime?
Absolutely! For a daytime smokey eye, opt for softer shades like warm browns, taupes, or muted charcoals instead of intense black.
Keep the blending very soft and avoid extending the shadow too far out or up.
Use less product and focus on a subtle definition rather than dramatic intensity.
How do I clean up mistakes?
For small mistakes or fallout, use a piece of tape to gently lift off any fallen shadow.
For more precise clean-up, dip a small, flat brush or a cotton swab into micellar water or makeup remover.
Carefully trace along the edge of your shadow to sharpen the line or remove excess product, then re-blend your concealer if needed.
What’s the difference between a smokey eye and a cut crease?
A smokey eye features a soft, diffused gradient of color, with no harsh lines visible between shades.
A cut crease, by contrast, involves a sharp, defined line that “cuts” across the crease, often separating a matte shade in the crease from a lighter, shimmery shade on the lid.
They are distinct techniques creating different effects.
Our Top Recommended Finds
- Eyeshadow Primer: A good primer creates a tacky base that grabs onto pigment, making your colors pop and last longer without creasing.
- Versatile Eyeshadow Palette: Look for a palette that includes a range of dark, medium, and light shades, often with both matte and shimmer finishes, to give you options for different smokey looks.
- Fluffy Blending Brush: An essential tool for achieving that seamless, diffused look; a soft, fluffy brush is key for effortless blending.
Embrace Your Inner Artist
You now have all the tools and knowledge to create a stunning smokey eye.
Practice makes perfect, so don’t be afraid to experiment with different colors and intensities.
Take a moment to try this look today, and discover how a touch of drama can transform your entire appearance.