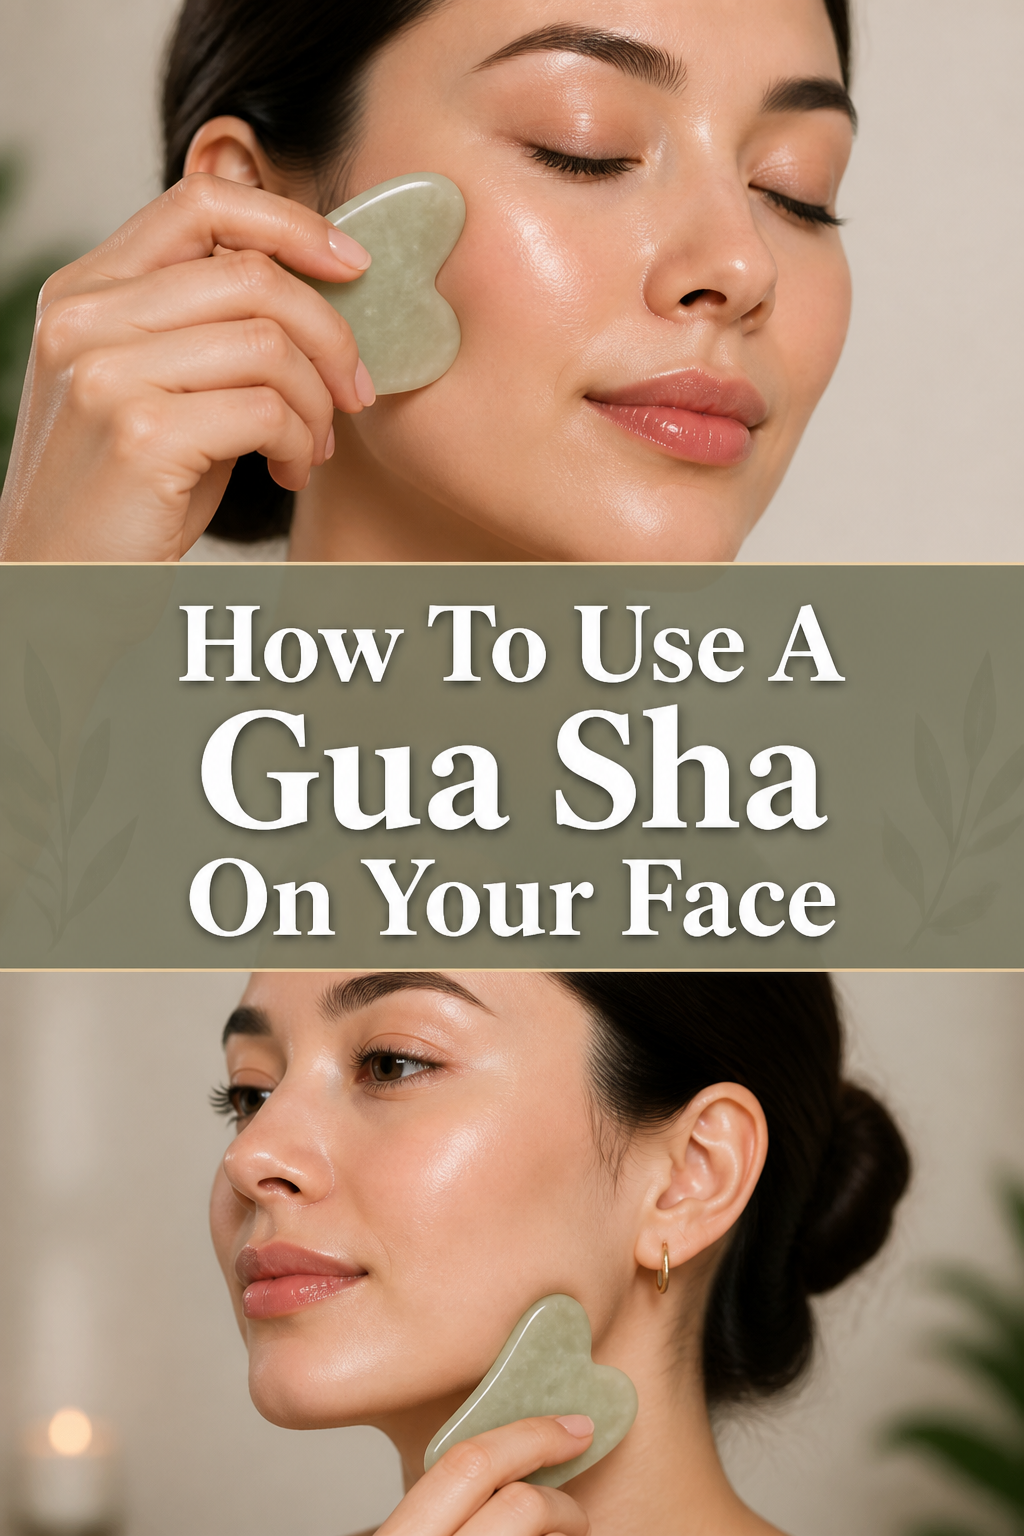
✨ How To Use A Gua Sha On Your Face
I have spent years experimenting with various facial massage techniques to manage persistent morning puffiness and jaw tension.
This guide distills everything I have learned about the traditional practice of Gua Sha into a practical, daily routine for modern skincare.
By following these steps, you will learn how to support your skin’s natural health and find a sense of calm in your beauty ritual.

Quick Overview
Using a Gua Sha tool is a meditative practice that focuses on moving lymphatic fluid and relaxing overactive facial muscles.
- Time needed: 5 to 10 minutes
- Difficulty: Beginner
- What you’ll need: A Gua Sha tool (jade, quartz, or metal), a high-quality facial oil, and a clean face.
Step-by-Step Instructions
Step 1: Cleanse and Hydrate Your Canvas
Start by thoroughly cleansing your face and neck to remove any dirt, makeup, or impurities.
Apply a hydrating mist or toner to damp skin to help the products that follow absorb more effectively.
Ensure your hands and your Gua Sha tool are also sanitized before you begin the process.
Pro Tip: Using a cold tool can help reduce inflammation more quickly, so consider keeping your Gua Sha in the refrigerator.
Step 2: Apply a Facial Oil for Slip
Select a facial oil that suits your skin type, ensuring it provides enough “slip” so the tool does not tug on your skin.
Warm a few drops of oil between your palms and press it gently into your face, neck, and chest.
Avoid using the Gua Sha on dry skin, as this can cause irritation, redness, or even fine broken capillaries.
Focus on areas where you feel the most tension, applying a slightly more generous amount of oil there.
Step 3: Open the Lymphatic Pathways in the Neck
Hold your Gua Sha tool at a 15-degree angle against the skin, almost flat against your neck.
Start at the base of your neck near the collarbone and stroke upward toward the jawline using the long flat side of the tool.
Repeat this movement five times in each section, moving from the center of the neck toward the ears.
Wiggle the tool slightly at the top of each stroke to encourage the fluid to drain into the lymph nodes located behind the ears.
Pro Tip: Always work on the neck first to “open the pipes” so that fluid from the face has a place to drain.
Step 4: Sculpt the Jawline
Use the curved or “V” shaped edge of your tool to hug the bone of your jawline.
Sweep from the center of your chin outward toward your earlobe with light to medium pressure.
Finish each stroke by giving the tool a little shake at the ear to stimulate the drainage point.
Repeat this five times on one side before moving to the other, noticing any areas of “crunchiness” where tension is held.
Step 5: Contour the Cheeks
Place the long flat edge of the Gua Sha tool against the side of your nose, resting it on the cheekbone.
Glide the tool outward toward your temple, following the natural curve of your bone structure.
Keep the tool flat against your skin rather than using the sharp edge to prevent unnecessary bruising.
Perform five slow, intentional strokes on each side, focusing on lifting the tissue as you move.
Step 6: De-puff the Under-Eye Area
Switch to the lightest pressure possible, as the skin under the eyes is incredibly thin and delicate.
Position the small rounded corner of the tool at the inner corner of your eye.
Slowly stroke outward toward the hairline, stopping at the temple to gently massage the area.
Visualize moving excess fluid away from the eyes to reduce the appearance of dark circles and bags.
Pro Tip: If you have very sensitive eyes, you can use your ring finger to hold the skin taut while you move the tool.
Step 7: Smooth the Brow Bone
Rest the notched edge of your tool on your brow bone, starting from the bridge of the nose.
Follow the arch of your eyebrow, pulling the tool toward the temple.
Apply a bit more pressure here if you suffer from tension headaches or spend long hours looking at screens.
Continue the movement five times, ensuring you are not dragging the tool back and forth, but only in one direction.
Step 8: Flatten the Forehead
Place the wide edge of the Gua Sha tool just above your eyebrows.
Stroke upward toward the hairline, covering the entire width of your forehead in sections.
Finish by moving the tool horizontally from the center of the forehead out toward the temples.
Use firm pressure here to help relax the “11 lines” between the brows and smooth the skin.
Step 9: The Final Drainage Sweep
Execute one final long stroke starting from the forehead, moving down the side of the face, and down the neck to the collarbone.
Direct all the fluid you have moved during the session down toward the body’s main lymphatic drainage points.
Take a deep breath and appreciate the warmth and circulation you have brought to your skin.
Common Mistakes to Avoid
Using a 90-Degree Angle
Many beginners hold the tool perpendicular to their face, using the sharp edge to “scrape” the skin. This can cause pain and irritation while failing to move the underlying fluid properly.
The correct technique involves keeping the tool almost flat, at about a 15 to 45-degree angle, to maximize the surface area contact. This allows the tool to gently “push” the fluid rather than cutting into the tissue.
Applying Too Much Pressure
It is a common misconception that harder pressure leads to better results. On the face, heavy pressure can cause bruising (petechiae) and may actually damage the delicate capillaries.
The lymphatic system is located just beneath the surface of the skin, so a light, feather-like touch is often more effective for drainage. Save the deeper pressure for the jaw or the back of the neck where muscles are thicker.
Moving the Tool Too Fast
Gua Sha is intended to be a slow and mindful practice. Moving the tool quickly does not allow the lymphatic fluid to flow and can lead to a frantic, rather than relaxing, experience.
Each stroke should take several seconds to complete. Focus on your breathing and the sensation of the tool moving across your skin to get the full benefits of the ritual.
Skipping the Neck
If you only massage your face, the fluid you move has nowhere to go and will eventually settle back into the facial tissues. The neck acts as the “drain” for the face.
Always start and end your routine by working on the neck to ensure the pathways are clear. This step is the secret to seeing a noticeable reduction in facial puffiness.
Troubleshooting
The Tool Is Dragging or Skipping
This usually happens when there is not enough oil on the skin or the oil has absorbed too quickly. If you feel any resistance or the tool “hops” across your skin, stop immediately.
Add two more drops of oil to the specific area you are working on. You can also use a facial mist to re-dampen the skin, which helps the oil spread more easily without feeling too heavy.
Skin Is Breaking Out After Use
Breakouts can occur if the Gua Sha tool is not cleaned properly between uses, leading to a buildup of bacteria. It can also happen if the oil you are using is comedogenic or too heavy for your skin type.
Wash your tool with warm water and gentle soap after every session. If the breakouts continue, try switching to a lighter oil like squalane or jojoba oil that mimics your skin’s natural sebum.
Seeing Small Red Dots (Petechiae)
Small red or purple dots indicate that the pressure was too intense for your facial capillaries. While this is common in body Gua Sha, it is generally avoided on the face for aesthetic reasons.
Reduce your pressure by half in your next session. If the dots appear, do not use the Gua Sha on that area until they have completely faded, and ensure you are using plenty of oil for lubrication.
Key Takeaways
- Preparation is vital: Always use a facial oil to provide slip and protect the skin barrier from friction.
- Angle matters: Keep the tool at a 15 to 45-degree angle to effectively move fluid and lift the skin.
- Work from the neck up: Clear the drainage pathways in the neck before focusing on the face to prevent fluid buildup.
- Be gentle: Use light pressure, especially around the eyes, to avoid bruising and irritation.
- Consistency is key: Performing this ritual 3 to 5 times a week yields better results than doing it once for a long period.
- Clean your tools: Sanitize your Gua Sha after every use to prevent bacteria from causing breakouts.
Frequently Asked Questions
How often should I use a Gua Sha?
For most people, using a Gua Sha three to four times a week is sufficient to see results. However, if you have a very gentle touch, you can incorporate it into your nightly routine every day. Listen to your skin; if it feels sensitive or looks overly red, give it a day or two of rest.
Is jade or rose quartz better for a Gua Sha?
The choice between jade and rose quartz is largely based on personal preference and energetic properties. Jade is traditionally known for its balancing and cooling properties, and it remains naturally cool to the touch. Rose quartz is often associated with soothing the heart and is slightly more durable than jade, which can be porous.
Can I use Gua Sha if I have active acne?
It is best to avoid using a Gua Sha tool directly over active, inflamed acne, as it can spread bacteria and cause further irritation. You can still use the tool on the neck and other clear areas of the face to encourage drainage. Once the inflammation has subsided, you can return to your full routine.
When is the best time of day to do it?
Morning sessions are excellent for reducing overnight puffiness and “waking up” the skin for the day ahead. Evening sessions are perfect for releasing the tension held in the jaw and forehead from stress. Choose the time that allows you to be the most consistent and relaxed.
Our Top Recommended Finds
- Stainless Steel Gua Sha Tool: This is a great choice because it is non-porous, easy to sanitize, and won’t break if you drop it on your bathroom floor.
- Rose Quartz Heart-Shaped Tool: The “V” notch in the heart shape is perfectly designed to fit the contours of the jawline and brow bone.
- Plant-Based Squalane Oil: Squalane is a lightweight, non-comedogenic oil that provides excellent slip for all skin types without clogging pores.
Elevate Your Daily Ritual
Now that you have the foundation for a proper Gua Sha practice, you can begin to customize the movements to your specific needs. Focus on the areas where you feel the most tension or where you want to see the most lift.
You might also consider exploring related techniques like facial reflexology or manual lymphatic drainage to further support your skin health. These practices work beautifully alongside Gua Sha to create a holistic approach to beauty.
The most important part of this journey is consistency and self-care. Pick up your tool today, find a quiet space, and enjoy the immediate sense of relaxation that this ancient practice provides.